> ## Documentation Index
> Fetch the complete documentation index at: https://help.lunacal.ai/llms.txt
> Use this file to discover all available pages before exploring further.
# How to Use lunacal if You Have Multiple Companies
> You can manage scheduling for multiple companies using Lunacal.
## Use Cases
> This guide is useful if you want to manage scheduling for more than one business or client under a single lunacal account.
Using the **Teams** feature, you can create multiple companies, each of which can have its own users and scheduling pages.
Common use cases:
* You have multiple independent companies that require independent scheduling pages.
* You run an agency with multiple clients, who each need their own scheduling options.
* You’re a consultant/freelancer working with several companies.
> In lunacal, each company is represented as a separate **Team**. Each team has its own members, events, scheduling pages, and settings.
## This help doc is divided into 4 sections:
1. **Section 1:** Create a new team for Company 1 and invite members
2. **Section 2:** Members will accept the invite and join the team
3. **Section 3:** Repeat this process for Company 2
4. **Section 4:** Create events and scheduling pages for each company
## Section 1: Create a New Team for every company and invite Members
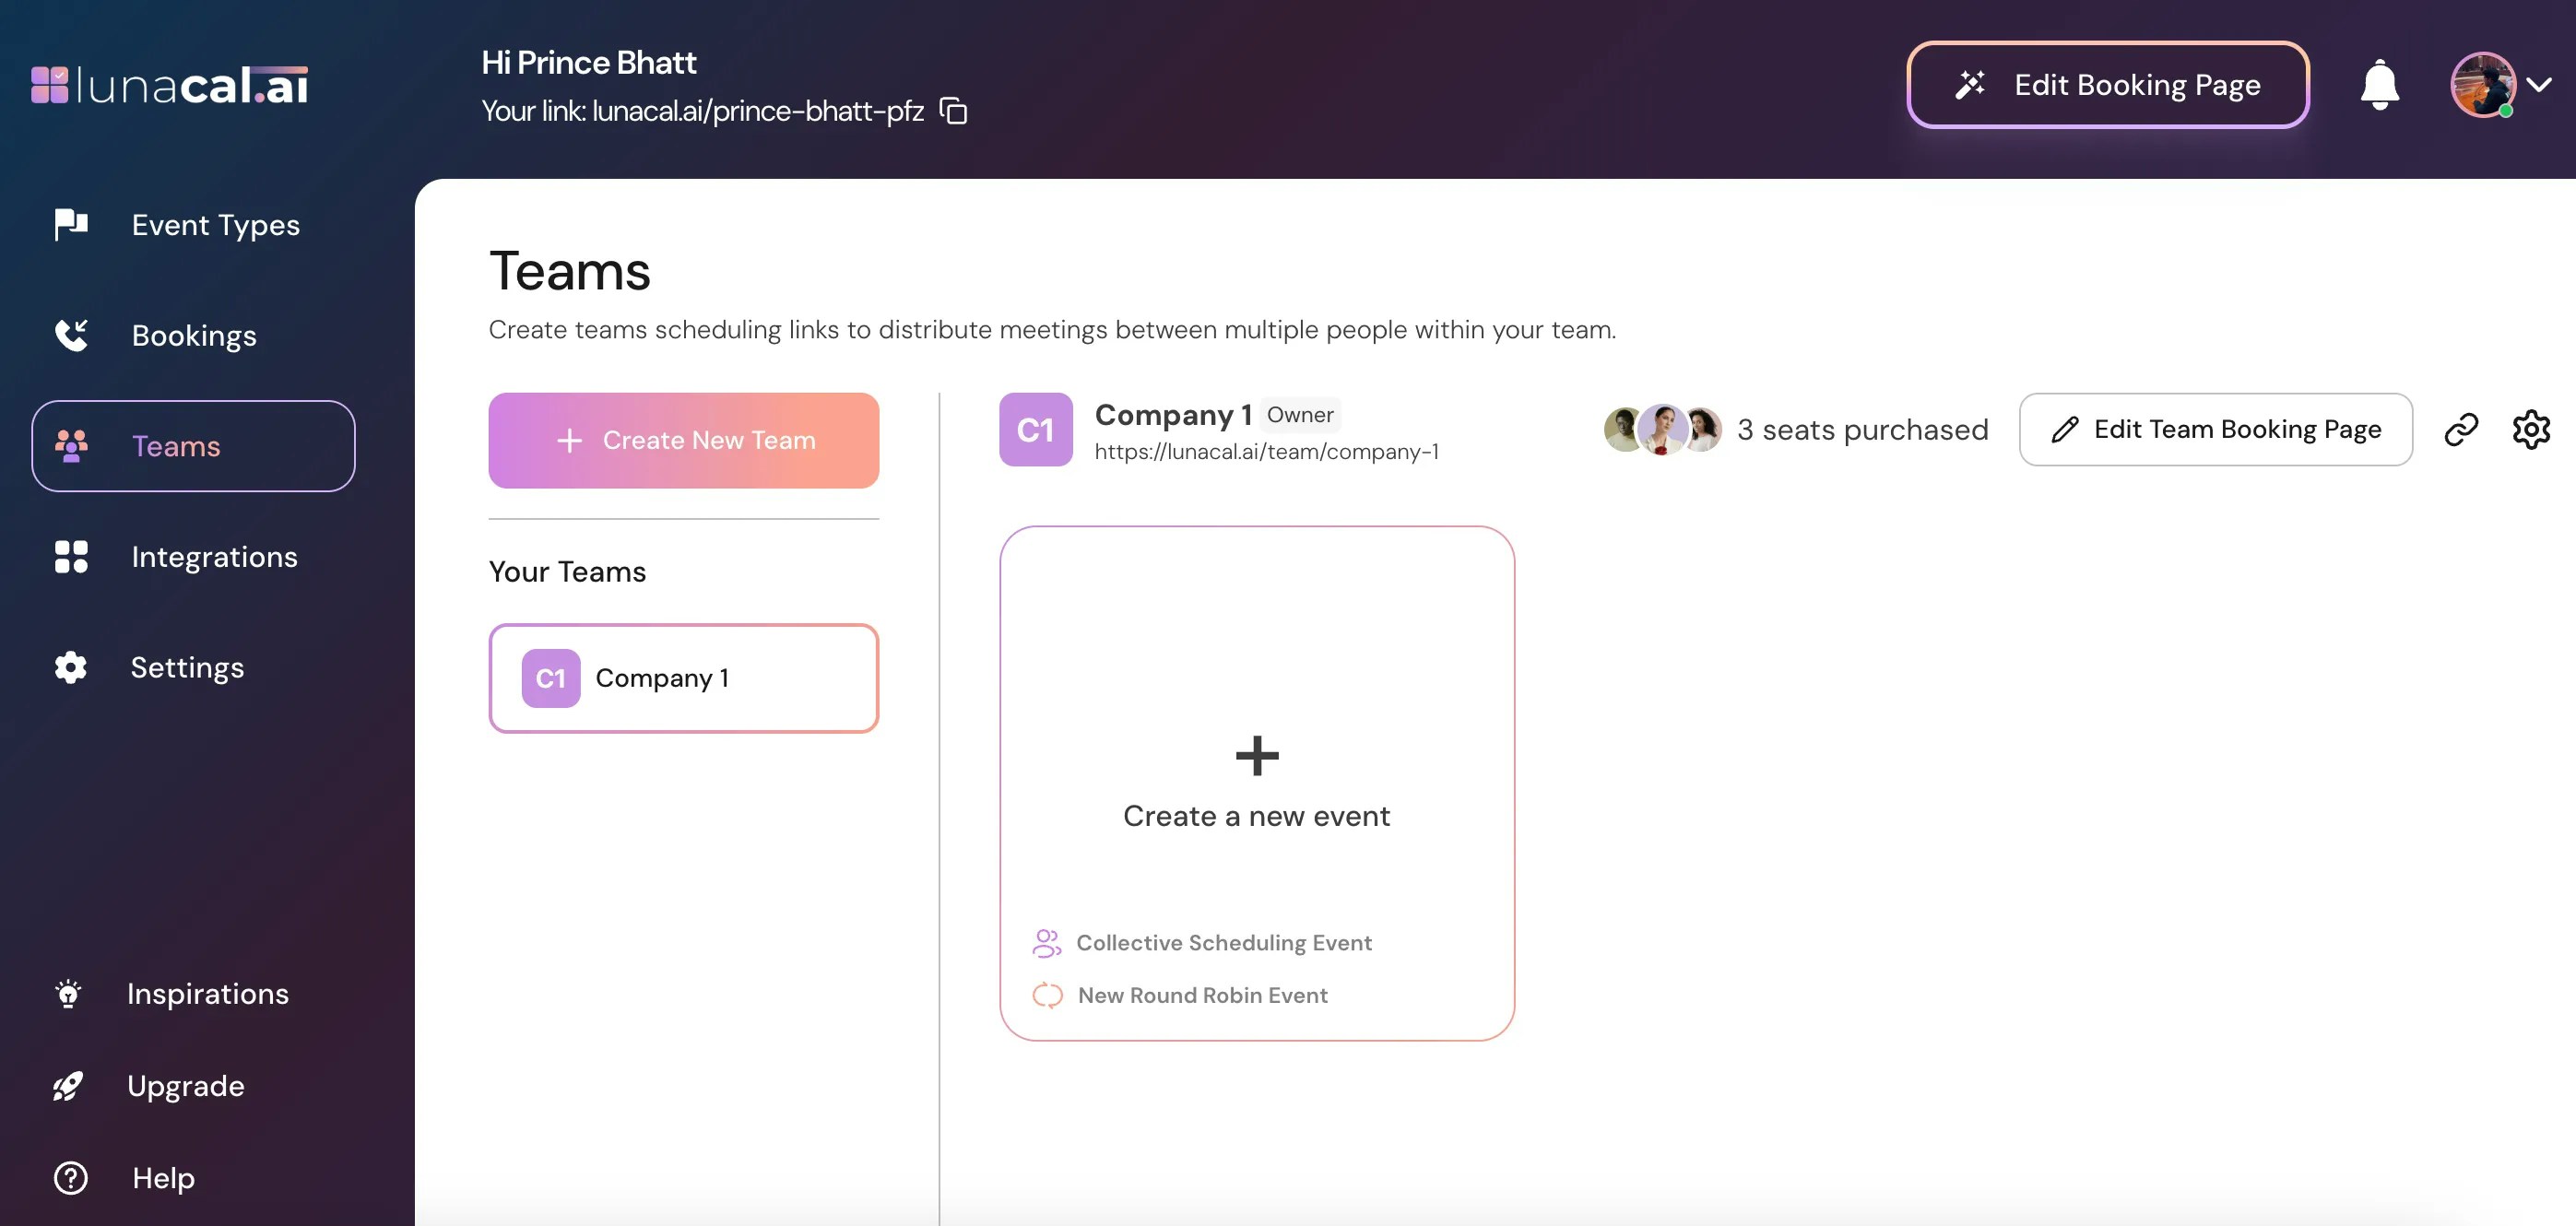
## Step 1
Navigate to the **Teams Section** and click on **“Create a New Team.”**
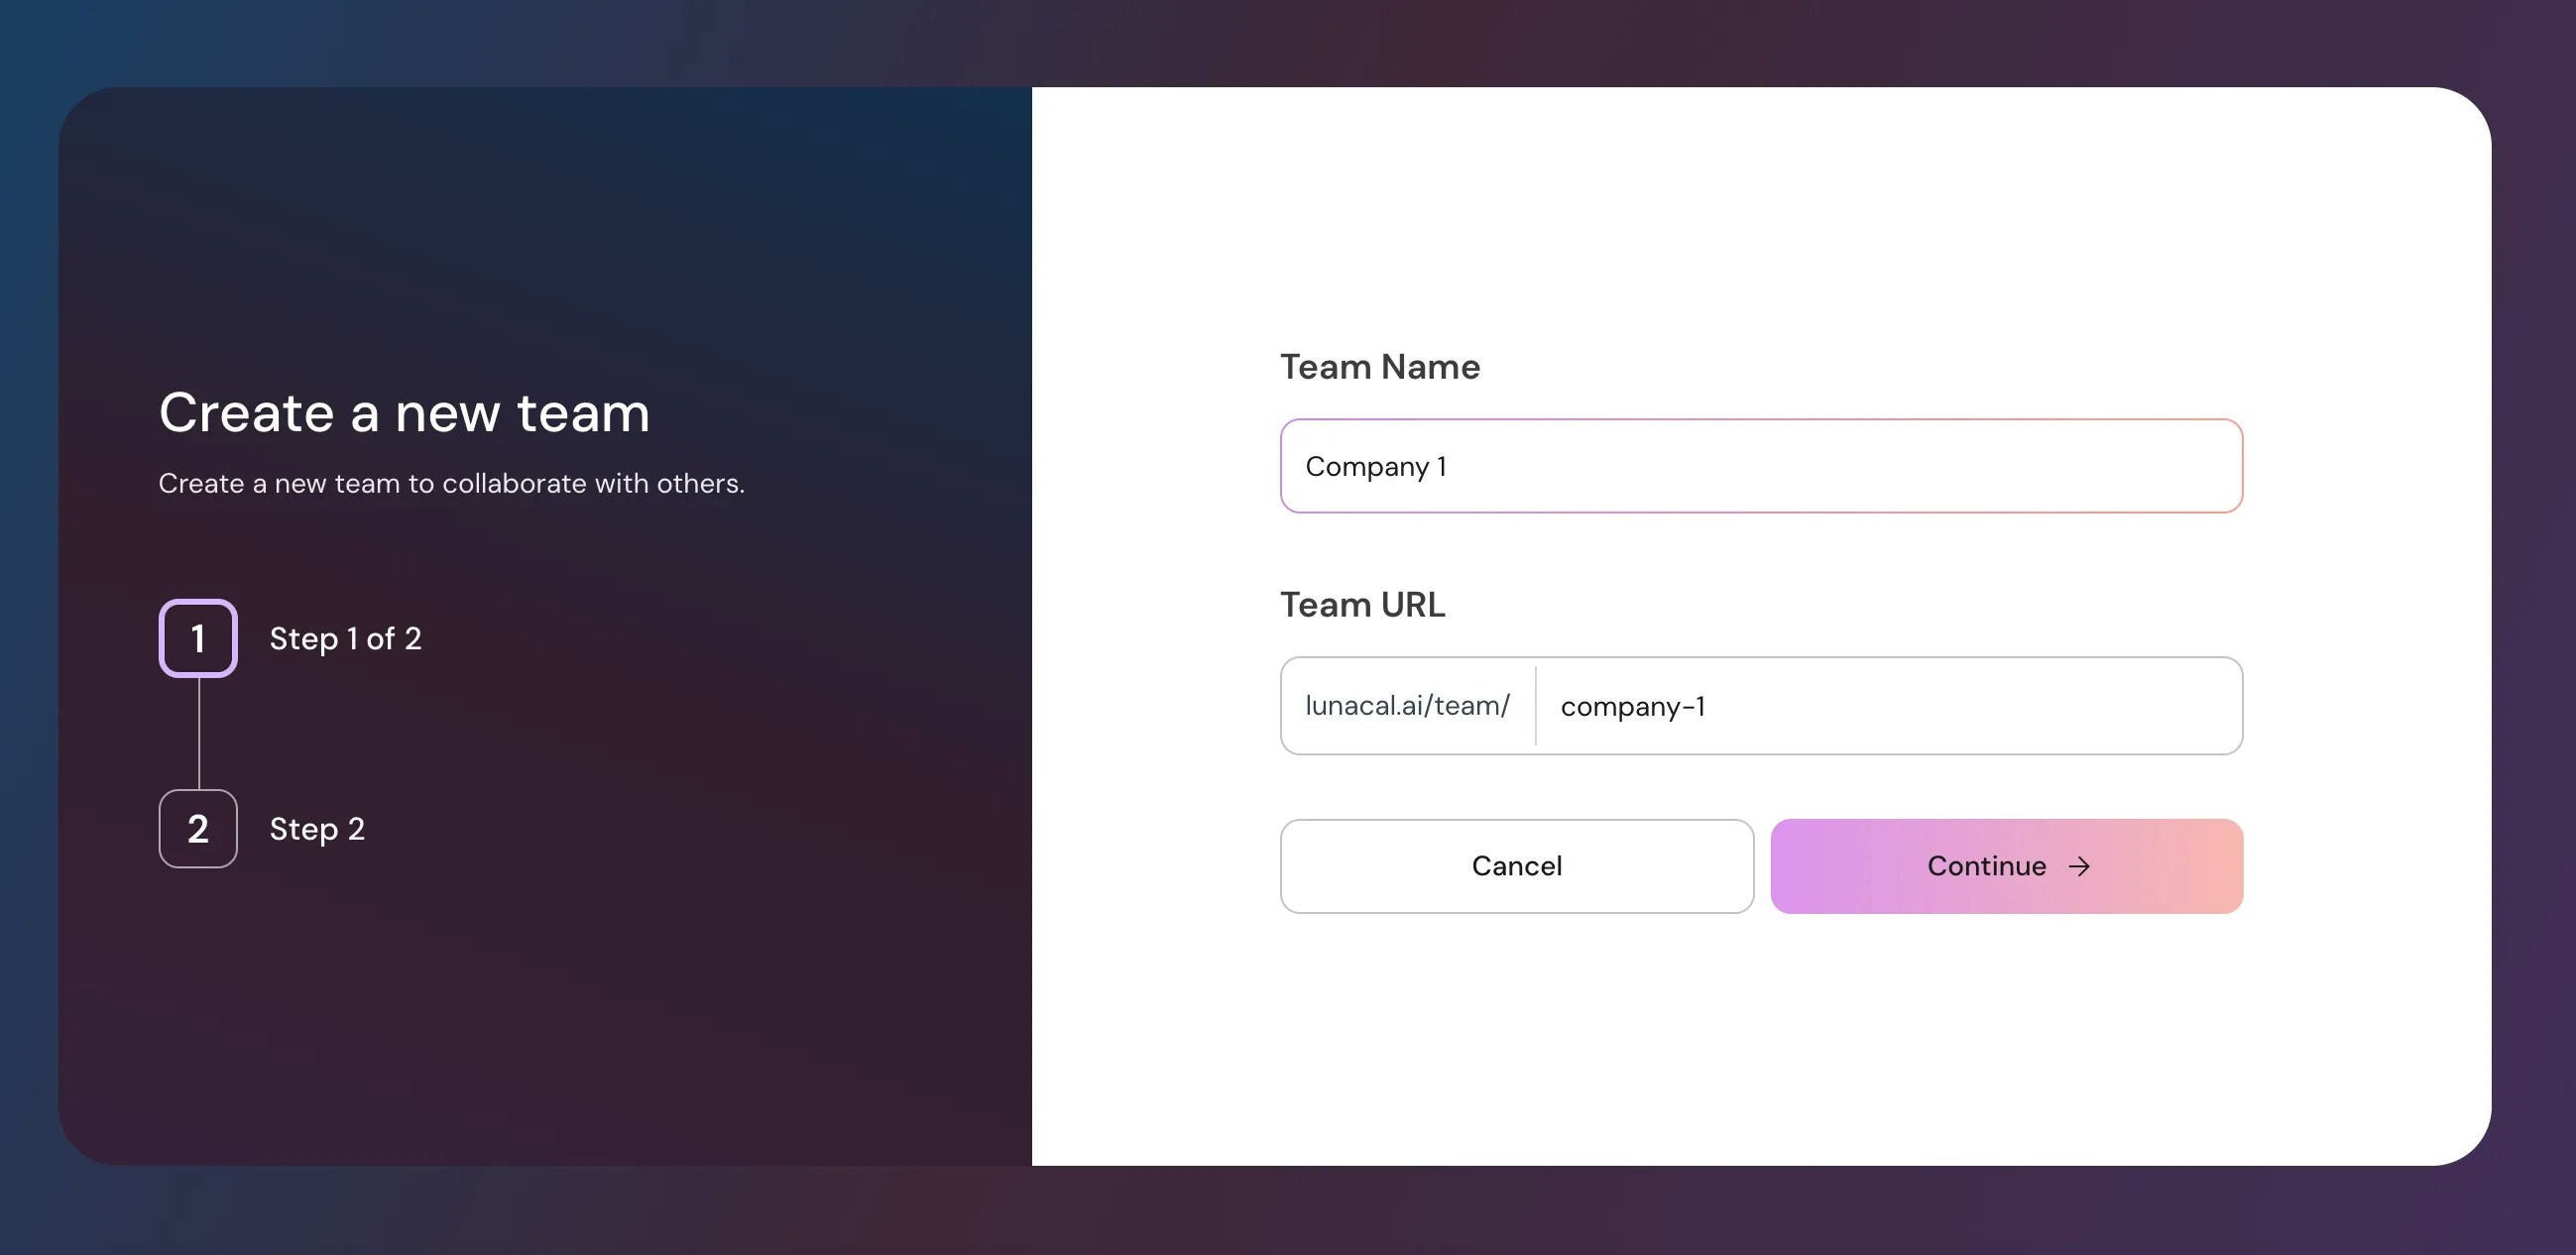
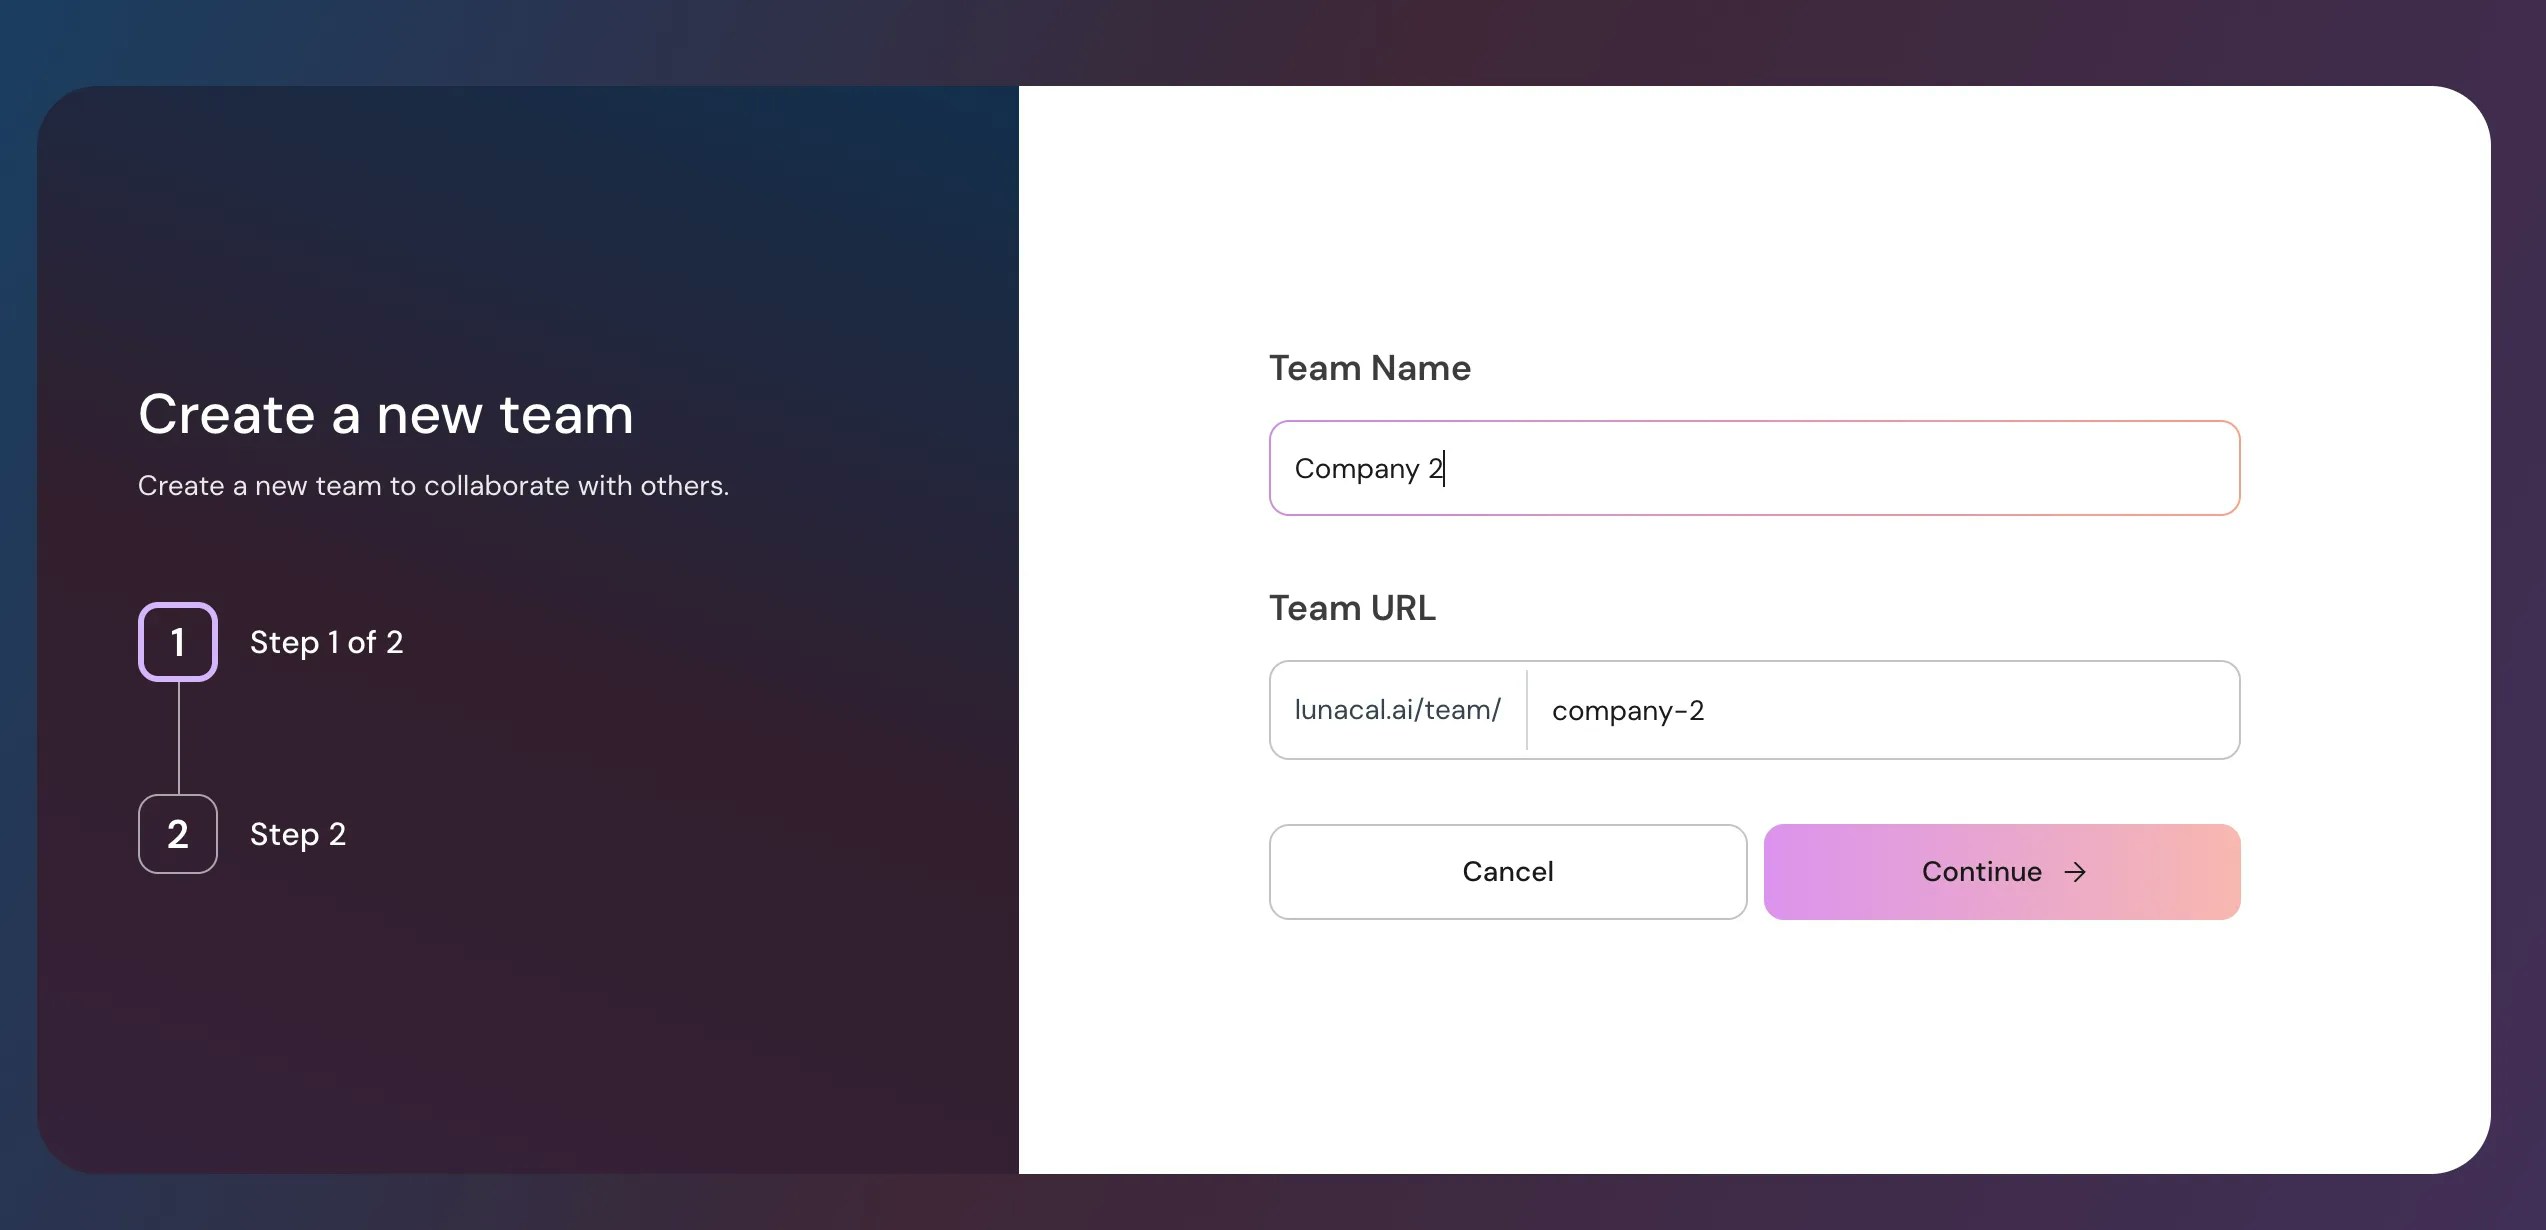
## Step 2
Enter the name of your company, for example **“Company 1”**, then click **Continue.**
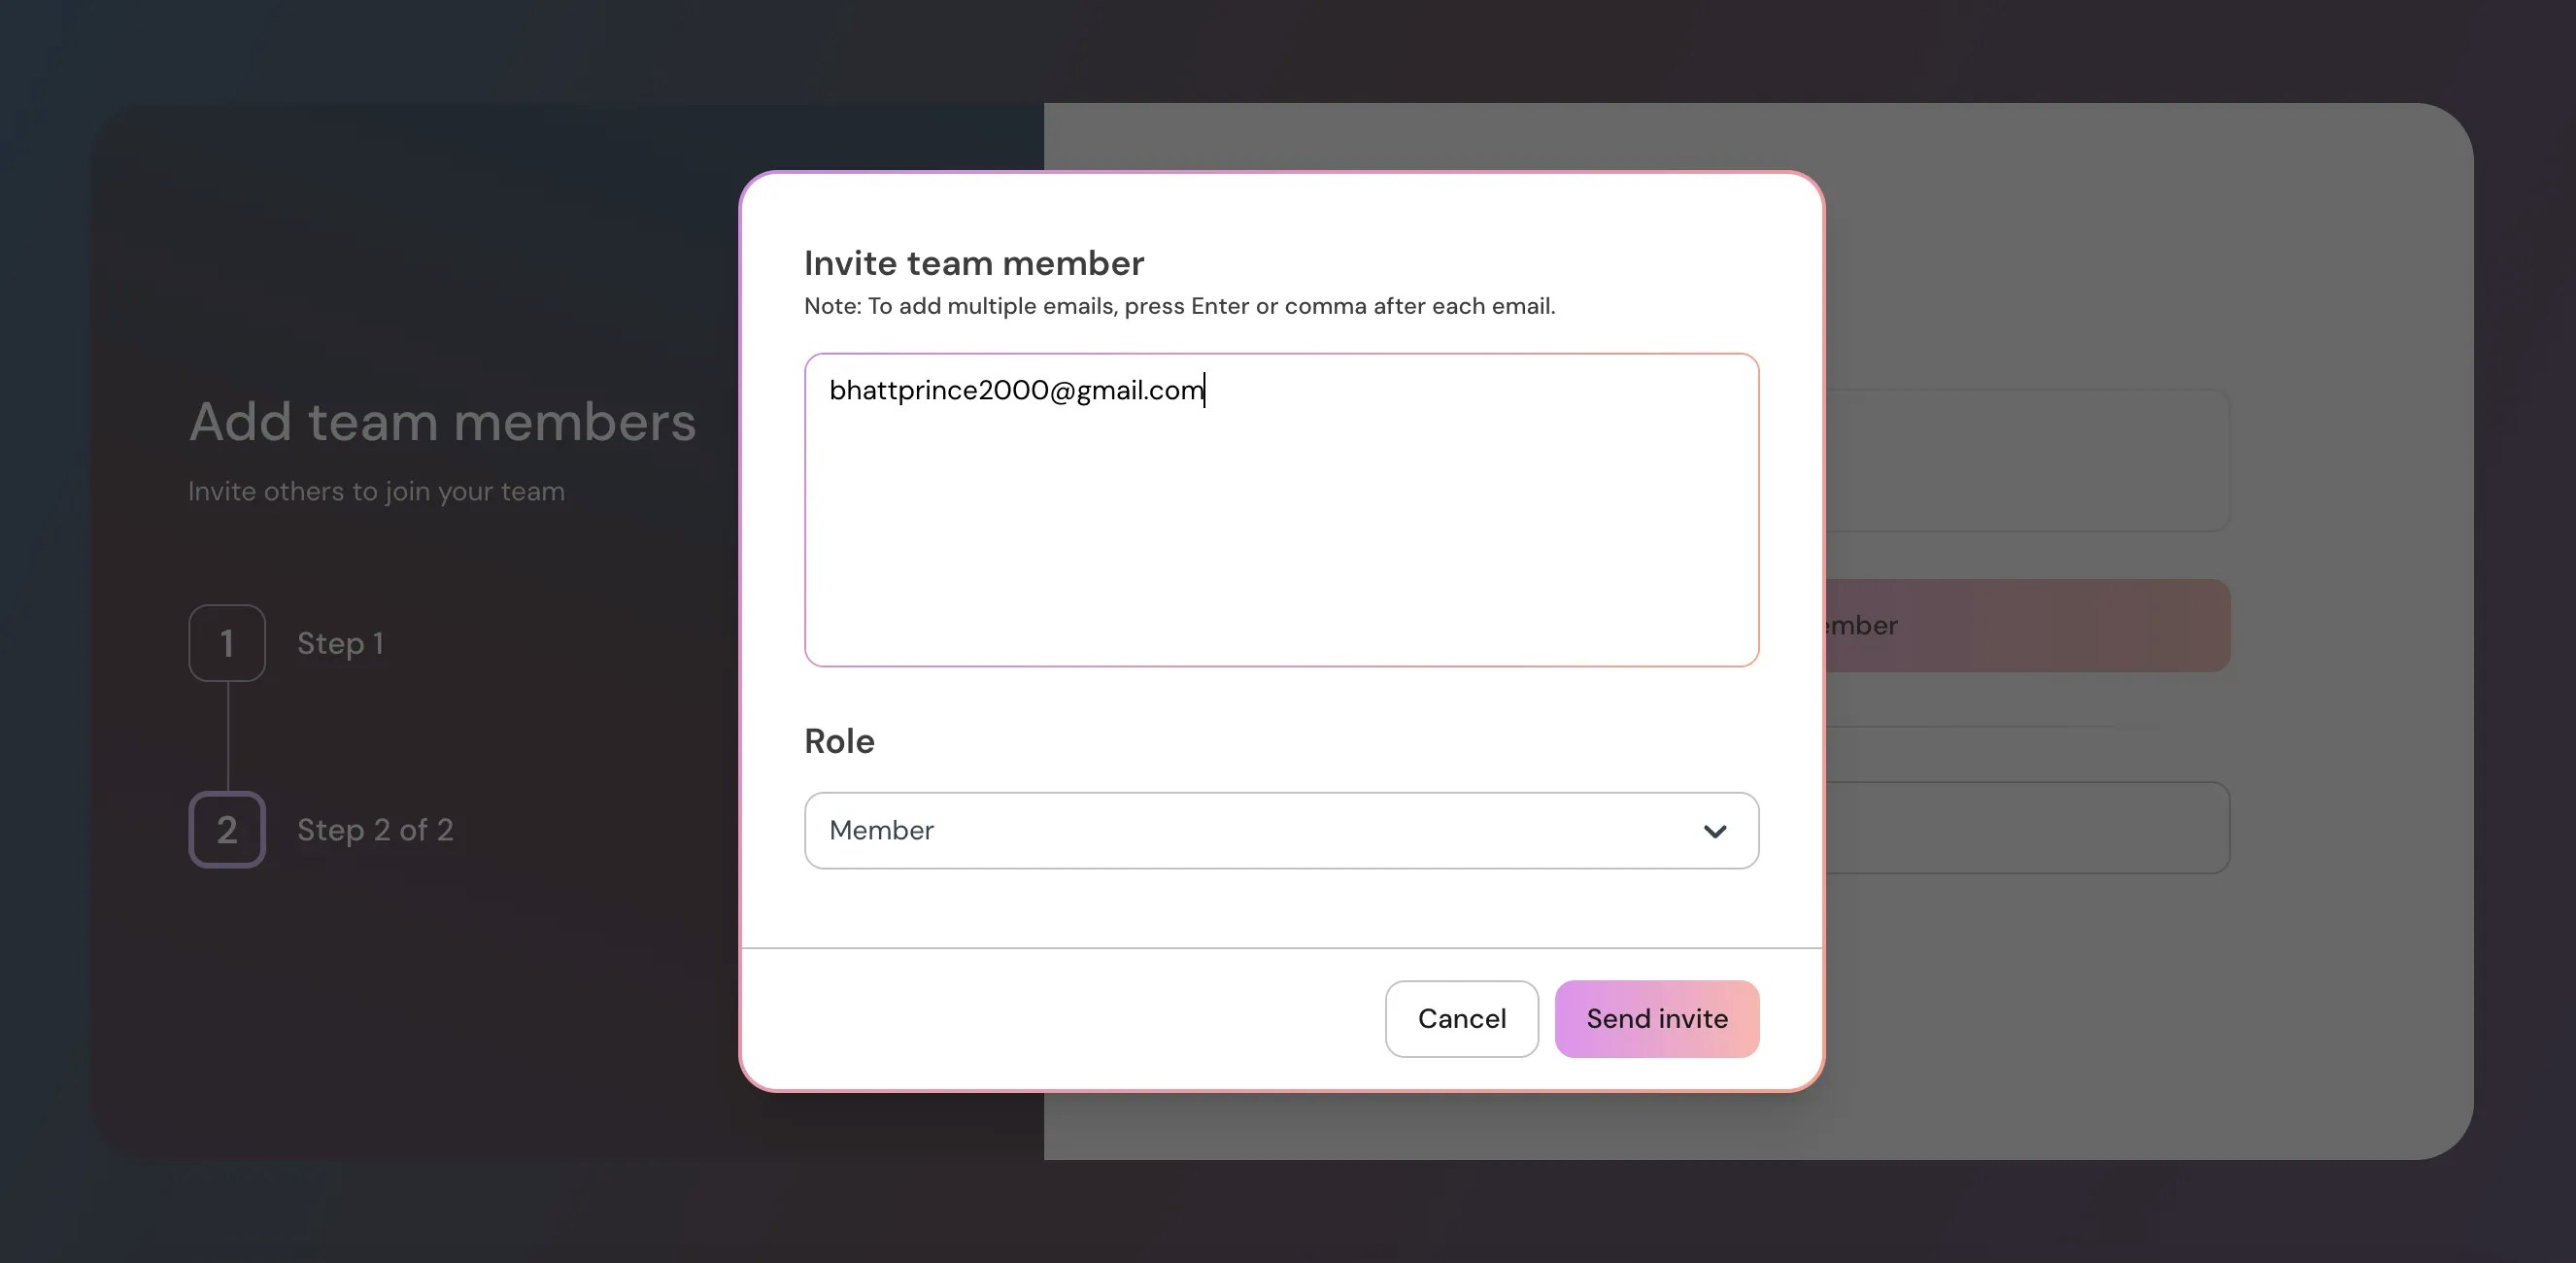
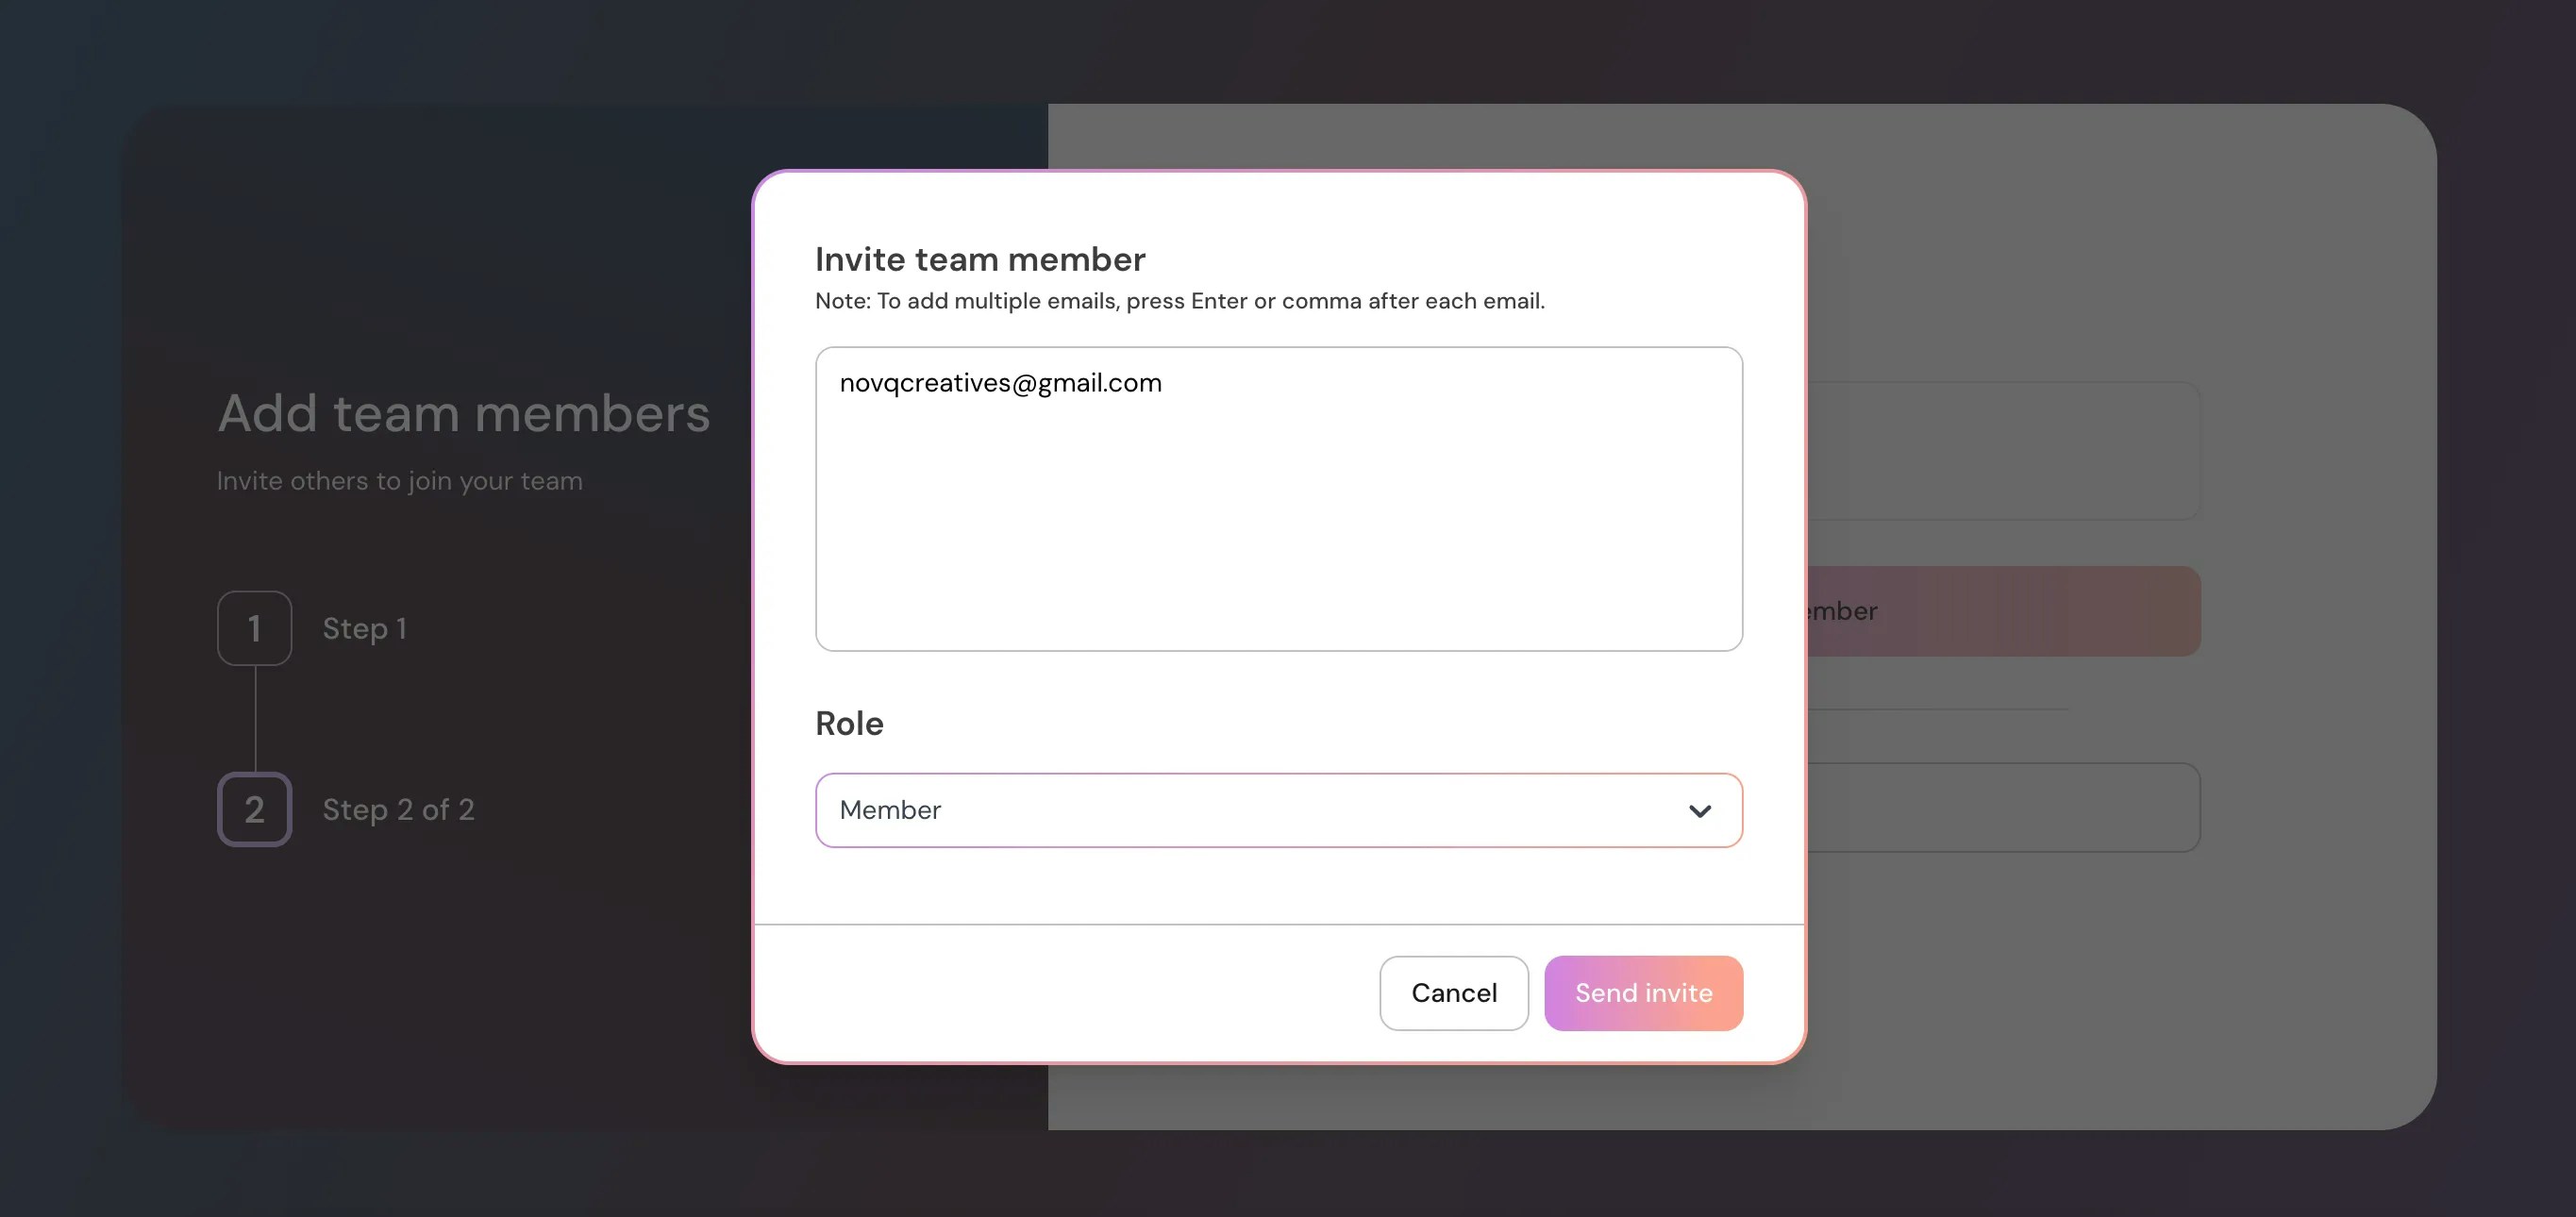
## Step 3
Enter the email address (or multiple addresses) of the team members you want to add.
**Note:** Every email ID you invite consumes 1 license/user from your plan. You must have enough users in your plan to invite multiple members.
***
## Section 2: Members Will Accept the Invite and Join the Team
## Step 4
All invited members will receive an email to join the team.
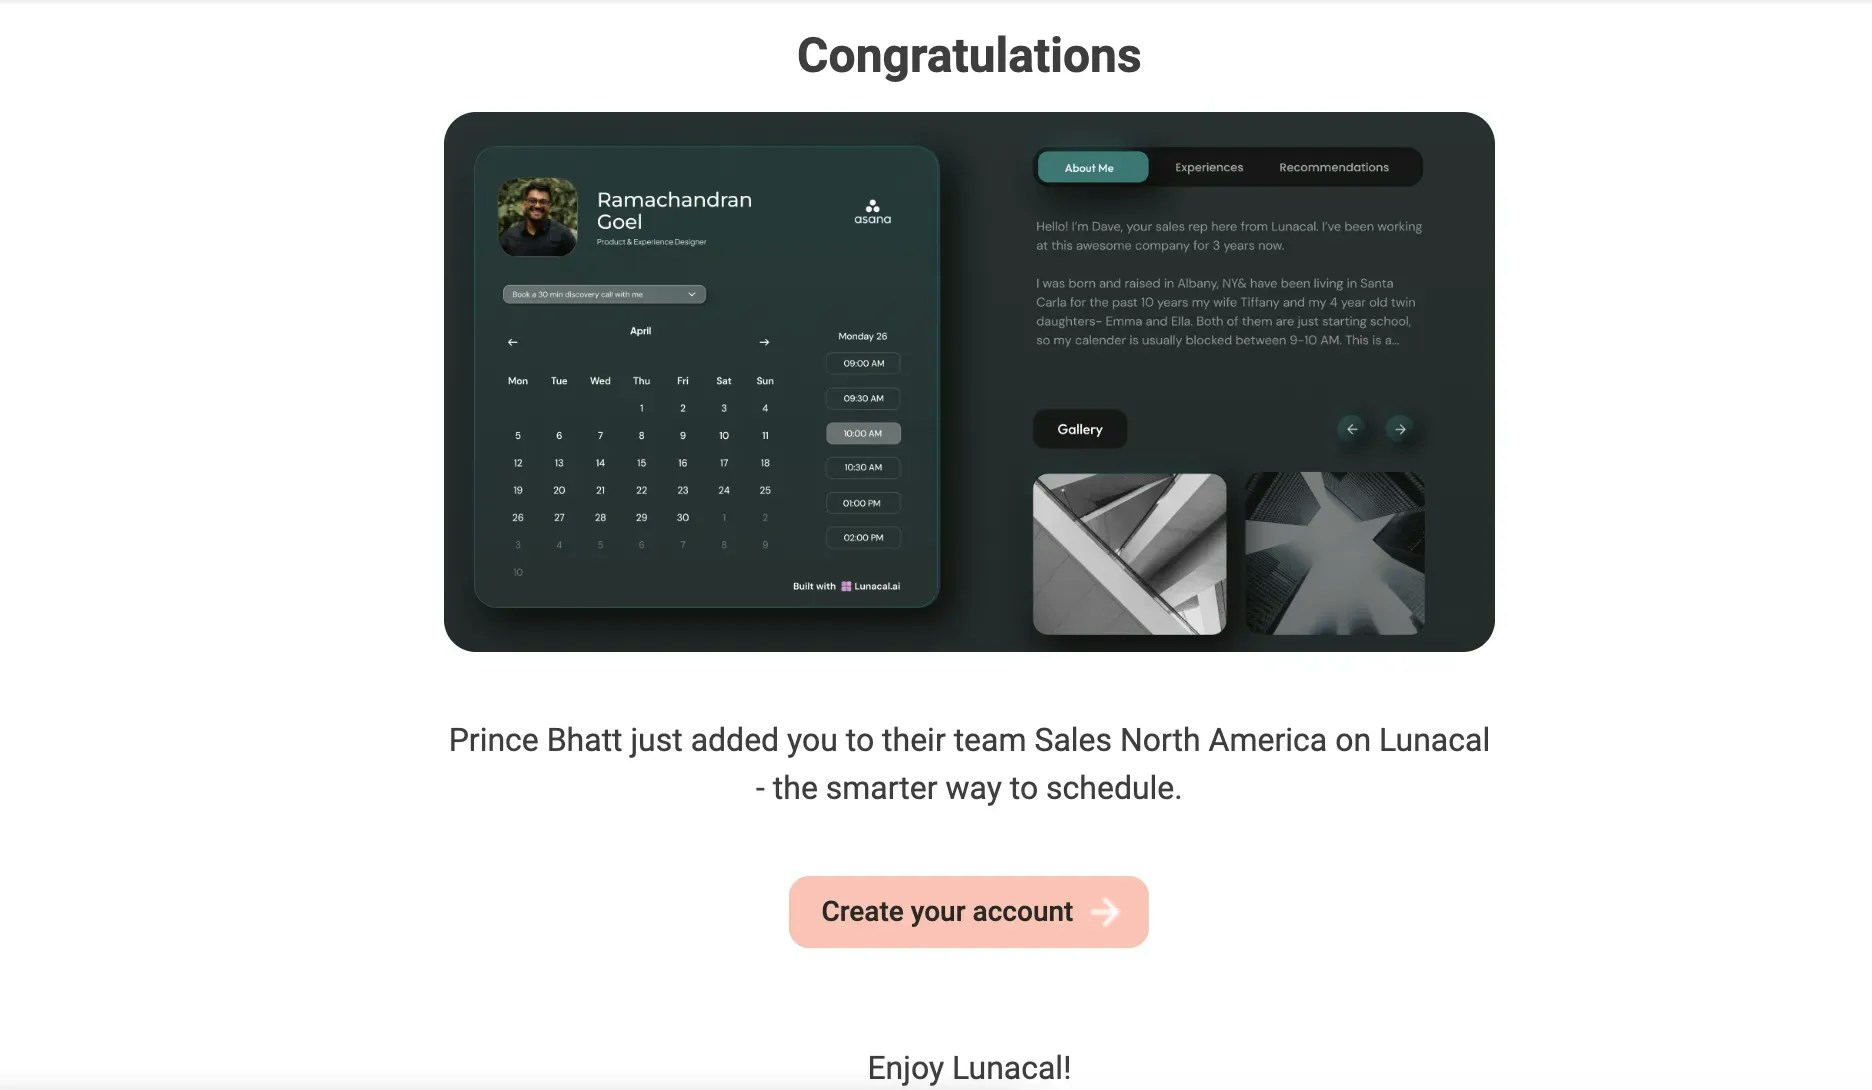
## Step 5
If they are not already on Lunacal, they need to click **“Create your account”** to join your team.
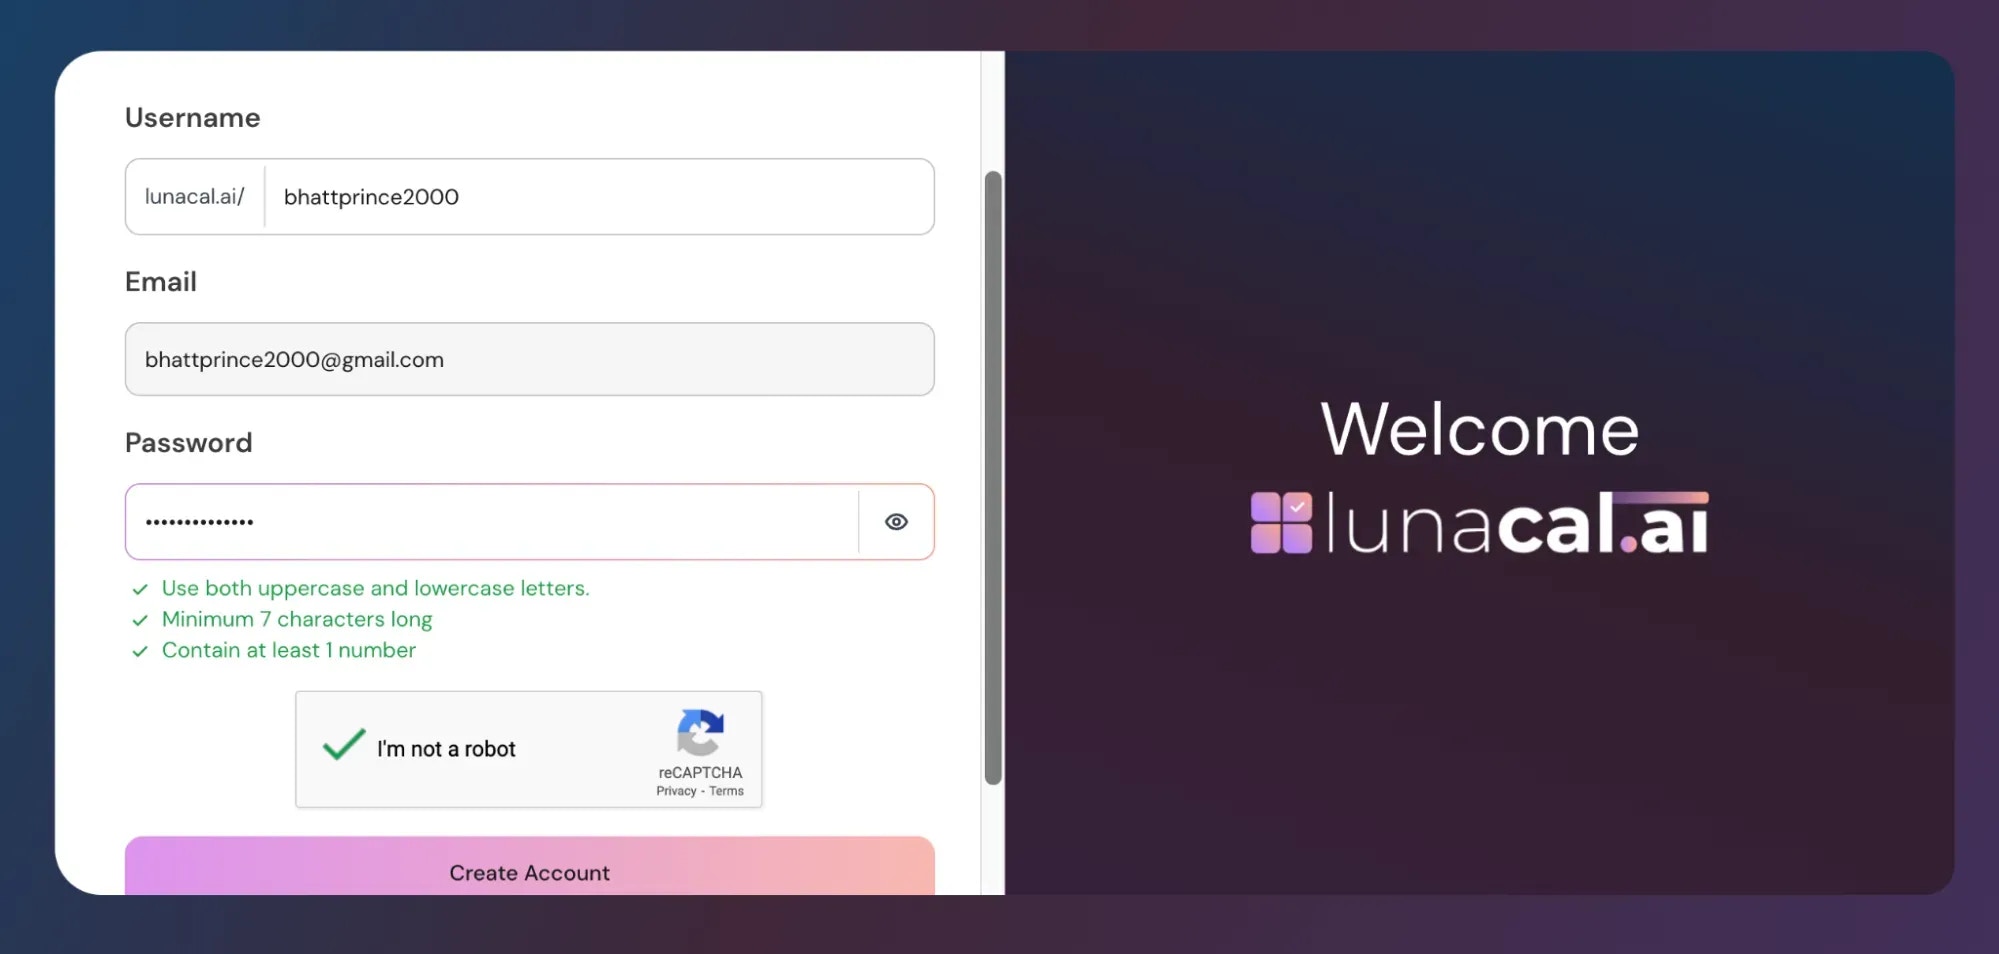
## Step 6
After clicking **“Create your account,”** they just need to complete the sign-up process to join lunacal.
## Step 7
Important: After creating their account, the user must go to the **Teams** section and click **Accept** to join the team.
***
## Section 3: Repeat This Process for Company 2 (If You Have More Than One Company)
## Step 8
Go to **Teams → “Create a New Team.”**
## Step 9
Enter the name of your other company, for example **“Company 2”**, then click **Continue.**
## Step 10
**Invite members** for this company as you did earlier. They will accept the invite, create an account (if needed), and join the team.
## Step 11
Now you have multiple companies set up: your primary account + 2 (or more) new teams.
***
## Section 4: Create Events and Scheduling Pages for Each Company
## Step 12
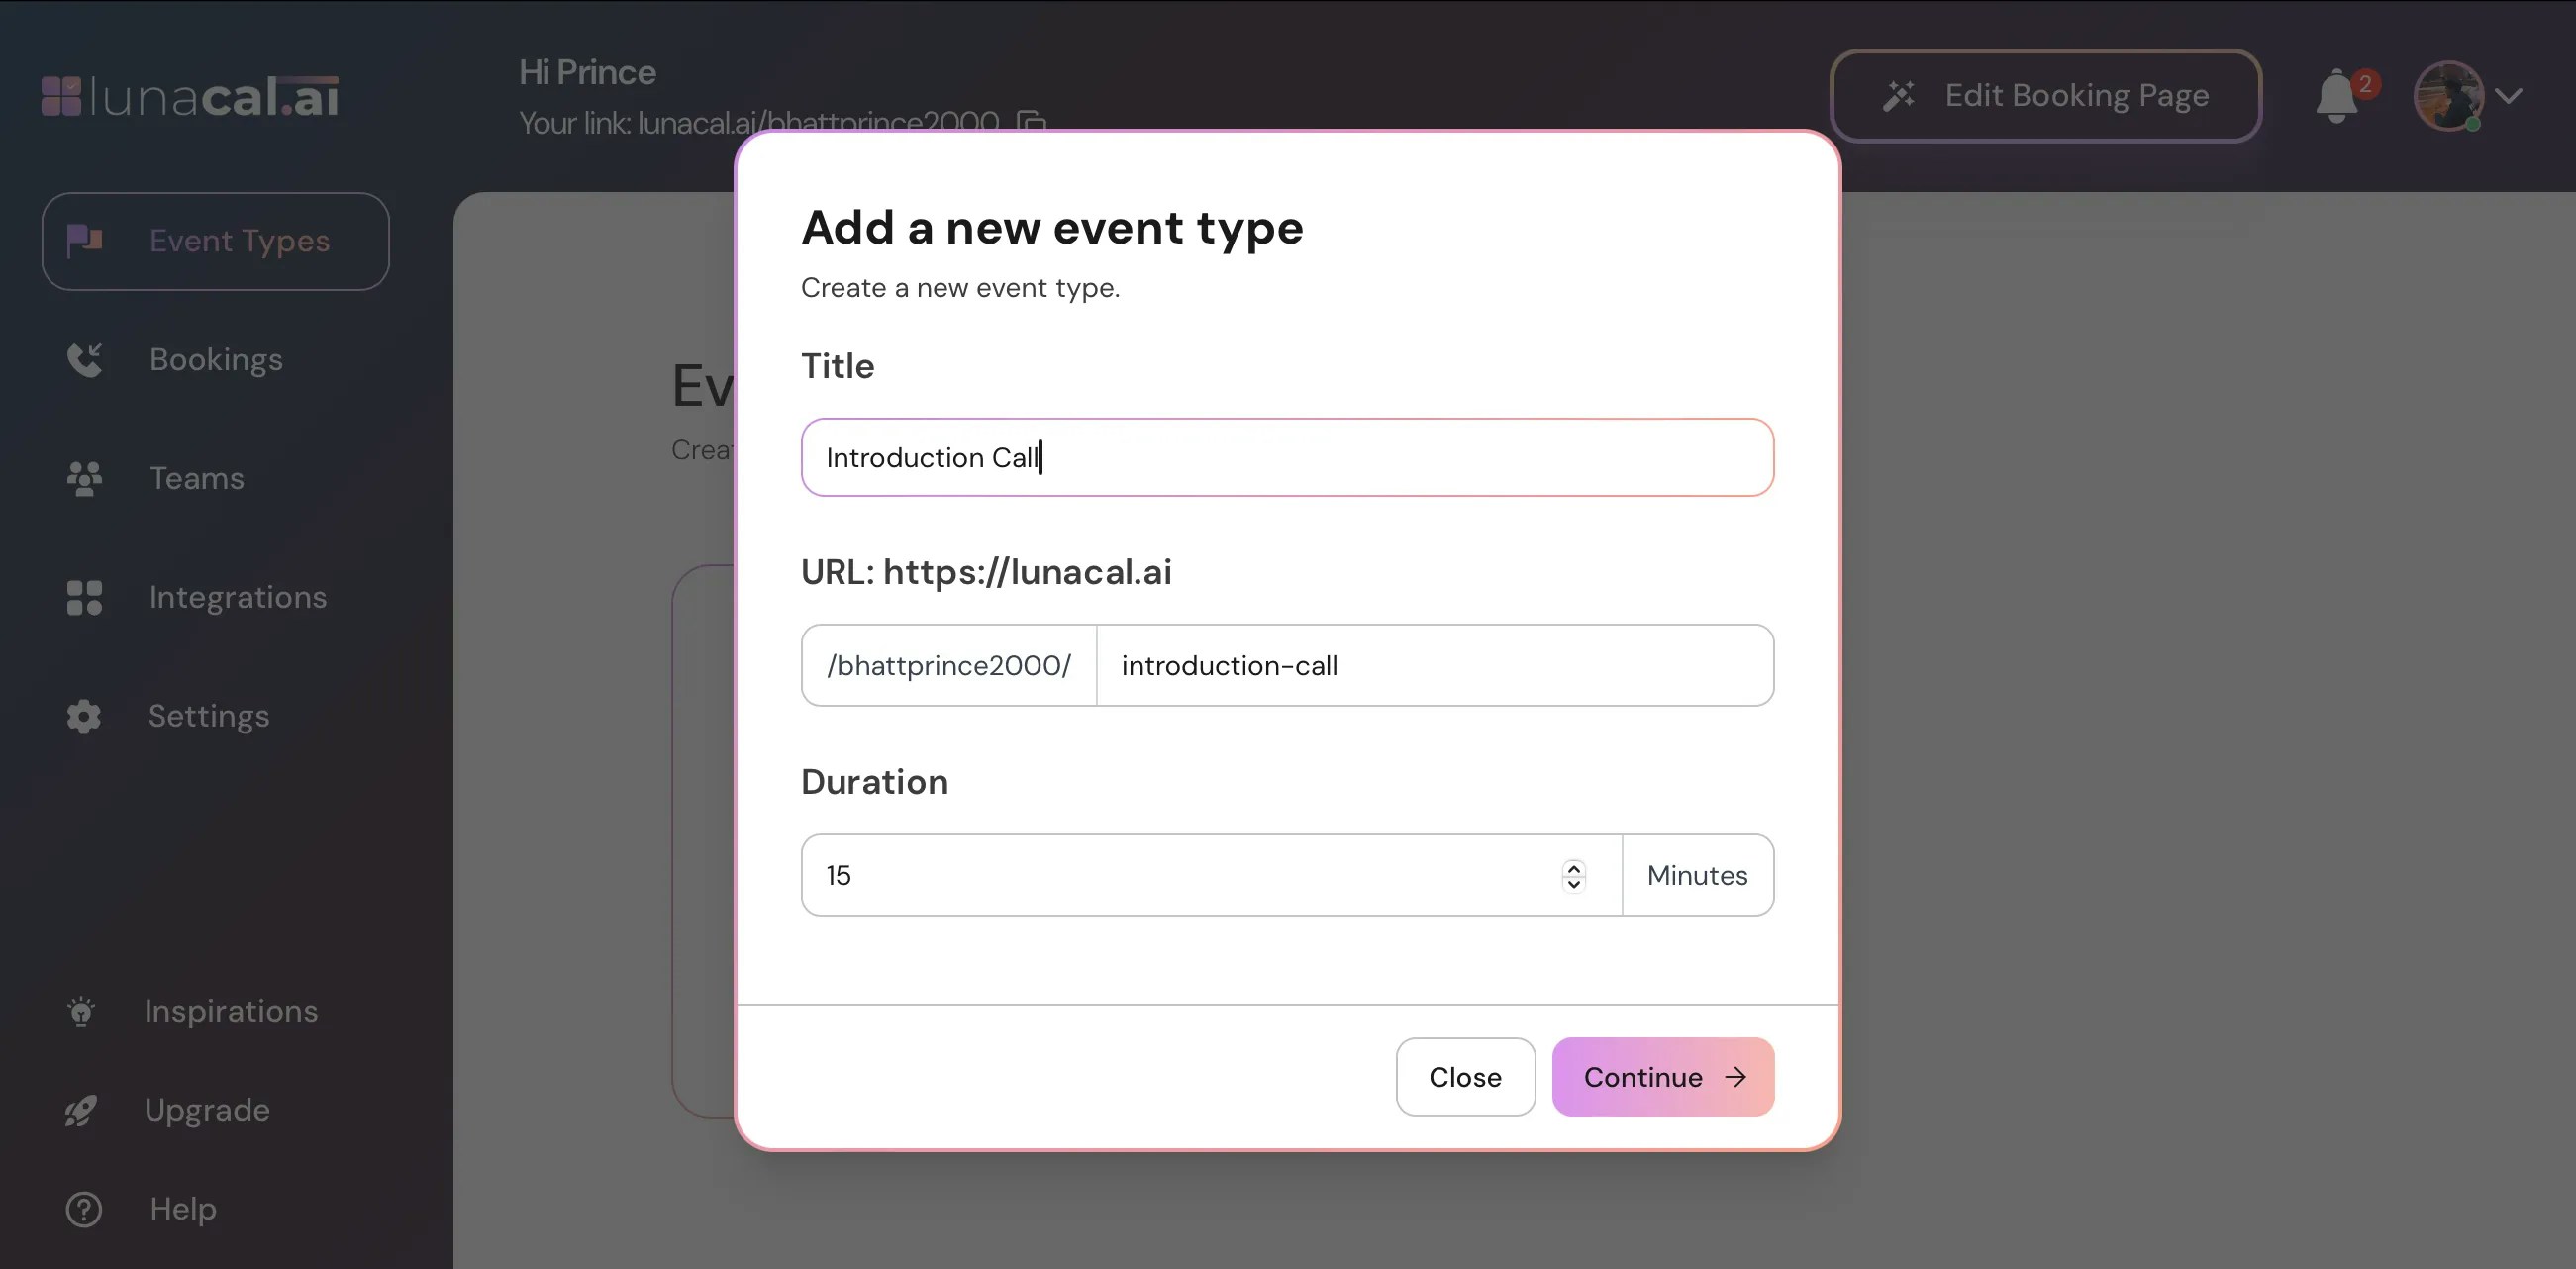
Each member has their own subscription and can create their own scheduling pages and events.
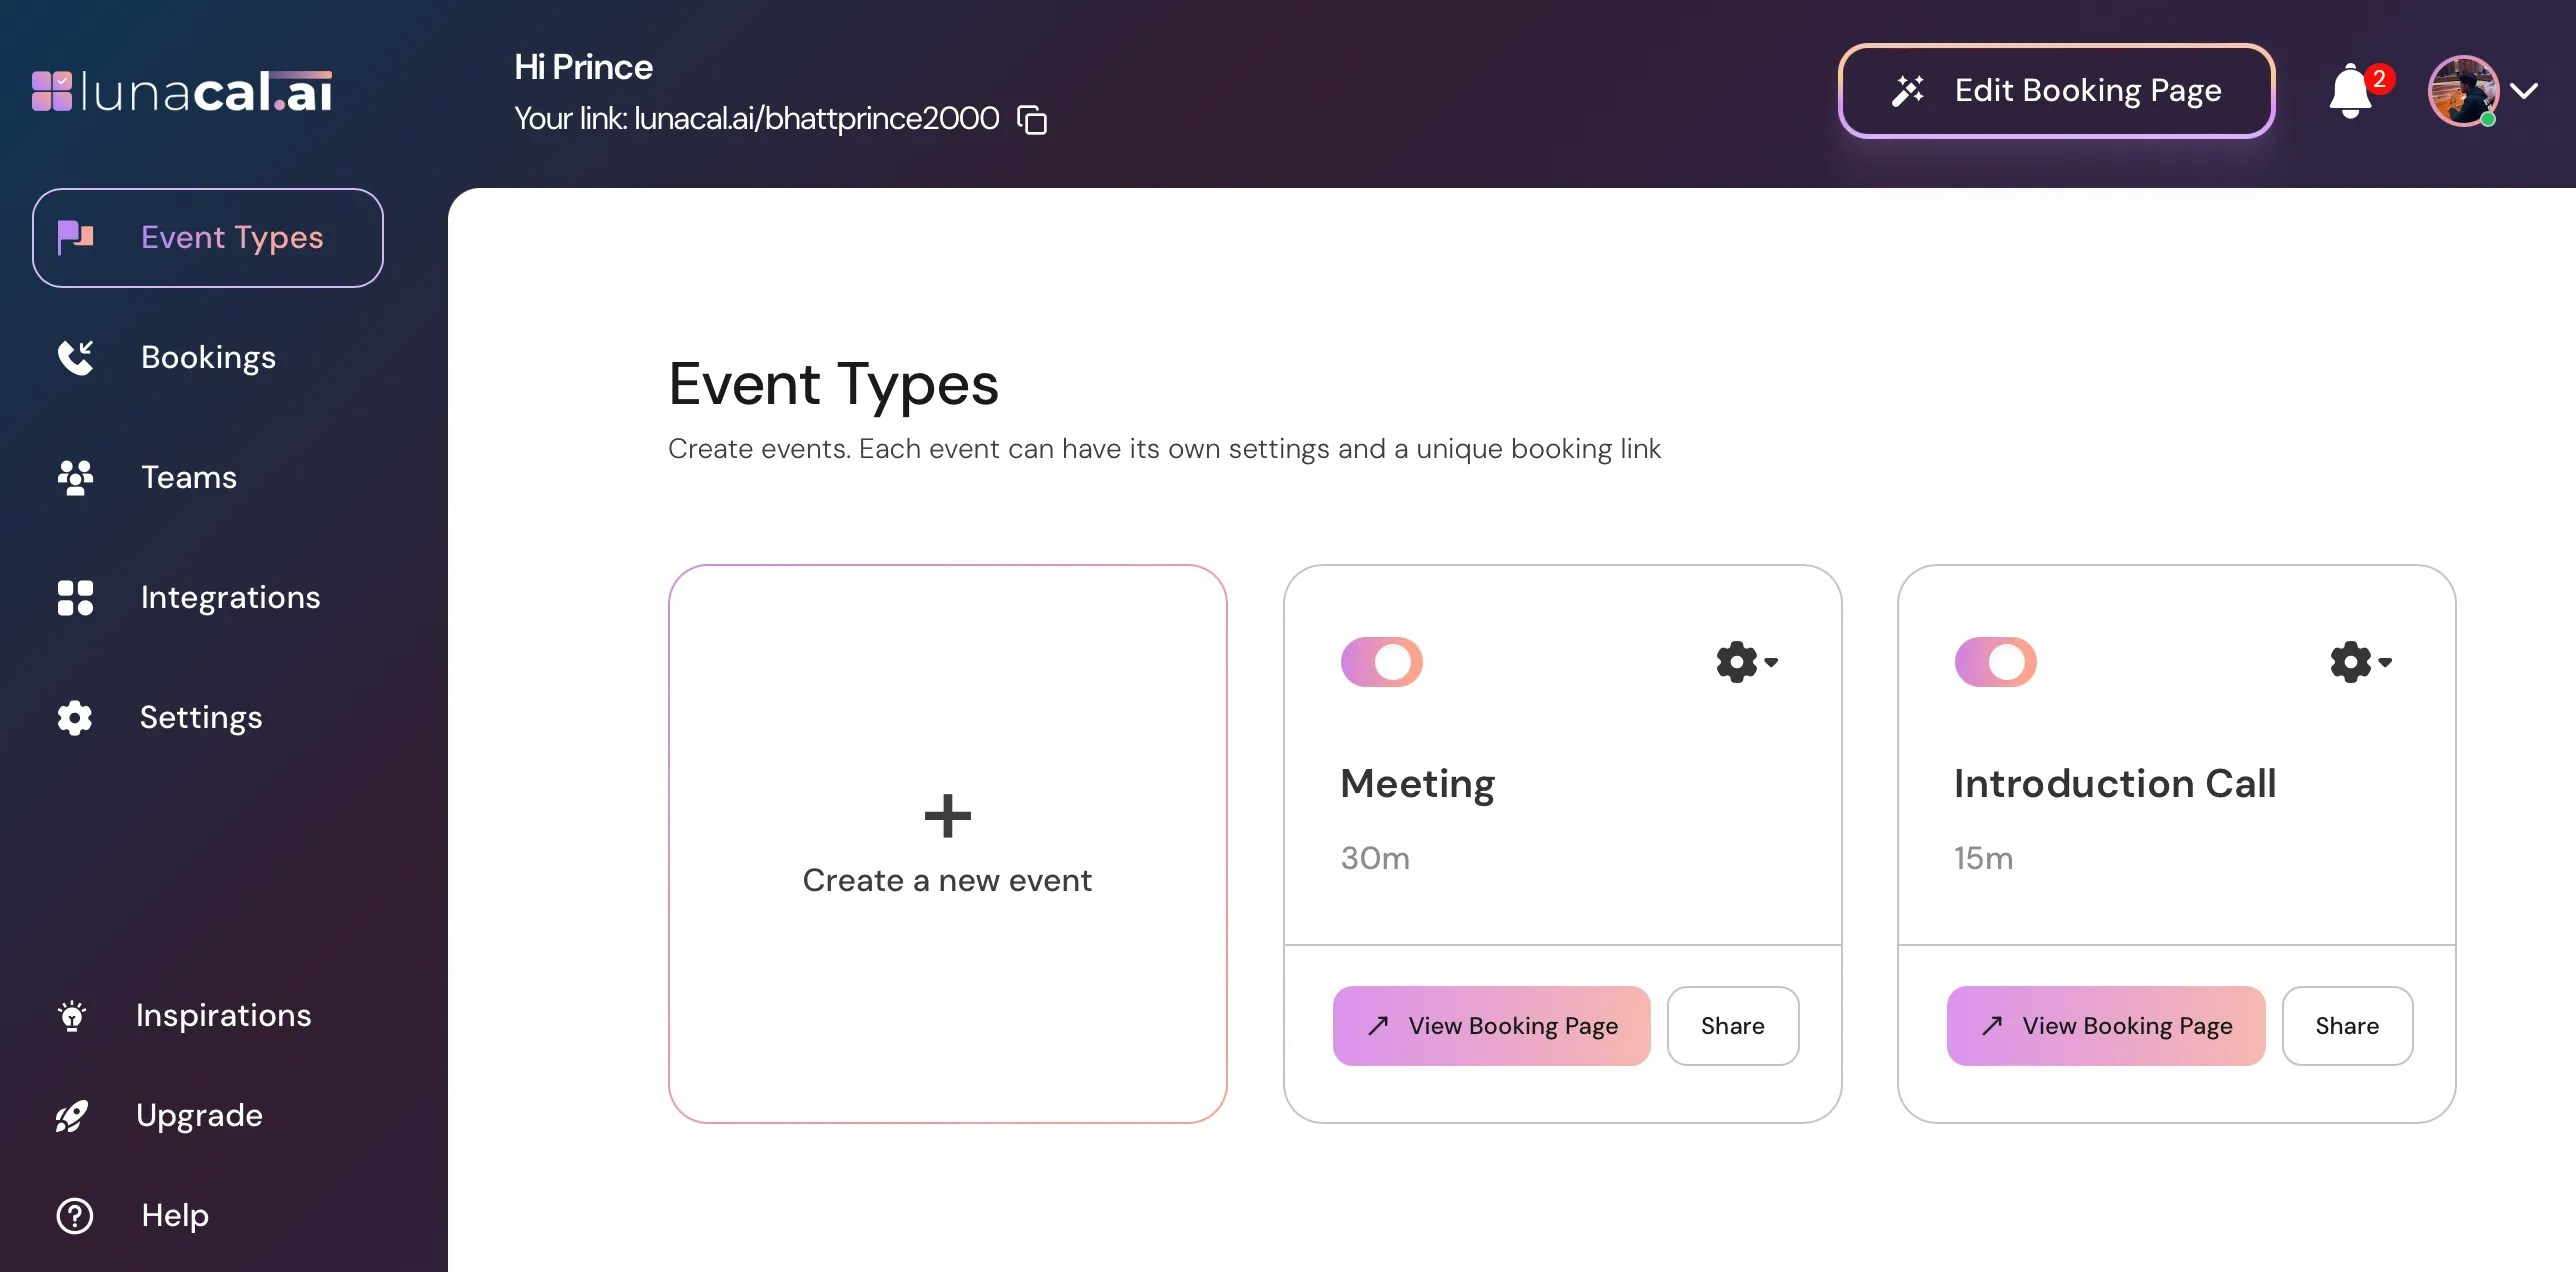
To do this, they can go to **“Event Types”** and create a new event.\\
They will also have their own settings, scheduling pages, availability, integrations, etc.
**Important:** Every member you add consumes a license and can create their own events.
***
## Example
Say you run an agency and have 2 clients:
* **New Age Salon** with 4 barbers (Jeff, Linda, Tara, Amy)
* **Dr. Dave Matthews**, an individual doctor
Setup process:
* Create **Team 1 (New Age Salon)** → invite all 4 barbers → consumes 4 licenses.
* Create **Team 2 (Dr. Dave)** → invite Dr. Dave → consumes 1 license.
Total = 5 licenses (4 + 1).
### How it works:
* Members of **New Age Salon** cannot see Dr. Dave’s details, and vice versa.
* When members accept the invite, they are upgraded to the paid plan automatically.
For Dr. Dave:
* Dr. Dave goes to **Event Types** and creates his own events.
* No need for Team events.
For New Age Salon:
* Each barber can create their own events (just like Dr. Dave).
* You can also create a **Team Booking Page** where all 4 members are listed. Clients can select a barber directly.
* If you don’t want clients to choose, you can create a **Round Robin Event** so barbers are automatically assigned whenever someone books.
***
## Related Docs
* [Event Setup](https://help.lunacal.ai/event-types/event-setup)
* [Team Booking Page](https://help.lunacal.ai/Teambooking-page)
* [Round Robin](https://help.lunacal.ai/Round-Robin)
* [Change Meta Title and Social Preview Image](https://help.lunacal.ai/seo-web)
* [Manage Bookings](https://help.lunacal.ai/manage-bookings)
* [Adding or Removing Team Members](https://help.lunacal.ai/company-setup)
* [Using Custom Domain with Team](https://help.lunacal.ai/company-setup)
 ## Step 2
Enter the name of your company, for example **“Company 1”**, then click **Continue.**
## Step 2
Enter the name of your company, for example **“Company 1”**, then click **Continue.**
 ## Step 3
Enter the email address (or multiple addresses) of the team members you want to add.
**Note:** Every email ID you invite consumes 1 license/user from your plan. You must have enough users in your plan to invite multiple members.
## Step 3
Enter the email address (or multiple addresses) of the team members you want to add.
**Note:** Every email ID you invite consumes 1 license/user from your plan. You must have enough users in your plan to invite multiple members.
 ***
## Section 2: Members Will Accept the Invite and Join the Team
## Step 4
All invited members will receive an email to join the team.
***
## Section 2: Members Will Accept the Invite and Join the Team
## Step 4
All invited members will receive an email to join the team.
 ## Step 5
If they are not already on Lunacal, they need to click **“Create your account”** to join your team.
## Step 5
If they are not already on Lunacal, they need to click **“Create your account”** to join your team.
 ## Step 6
After clicking **“Create your account,”** they just need to complete the sign-up process to join lunacal.
## Step 6
After clicking **“Create your account,”** they just need to complete the sign-up process to join lunacal.
 ## Step 7
Important: After creating their account, the user must go to the **Teams** section and click **Accept** to join the team.
## Step 7
Important: After creating their account, the user must go to the **Teams** section and click **Accept** to join the team.
 ***
## Section 3: Repeat This Process for Company 2 (If You Have More Than One Company)
## Step 8
Go to **Teams → “Create a New Team.”**
***
## Section 3: Repeat This Process for Company 2 (If You Have More Than One Company)
## Step 8
Go to **Teams → “Create a New Team.”**
 ## Step 9
Enter the name of your other company, for example **“Company 2”**, then click **Continue.**
## Step 9
Enter the name of your other company, for example **“Company 2”**, then click **Continue.**
 ## Step 10
**Invite members** for this company as you did earlier. They will accept the invite, create an account (if needed), and join the team.
## Step 10
**Invite members** for this company as you did earlier. They will accept the invite, create an account (if needed), and join the team.
 ***
## Section 4: Create Events and Scheduling Pages for Each Company
## Step 12
Each member has their own subscription and can create their own scheduling pages and events.
***
## Section 4: Create Events and Scheduling Pages for Each Company
## Step 12
Each member has their own subscription and can create their own scheduling pages and events.
 To do this, they can go to **“Event Types”** and create a new event.\\
 **Important:** Every member you add consumes a license and can create their own events.
 ***
## Example
Say you run an agency and have 2 clients:
* **New Age Salon** with 4 barbers (Jeff, Linda, Tara, Amy)
* **Dr. Dave Matthews**, an individual doctor
Setup process:
* Create **Team 1 (New Age Salon)** → invite all 4 barbers → consumes 4 licenses.
* Create **Team 2 (Dr. Dave)** → invite Dr. Dave → consumes 1 license.
Total = 5 licenses (4 + 1).
### How it works:
* Members of **New Age Salon** cannot see Dr. Dave’s details, and vice versa.
* When members accept the invite, they are upgraded to the paid plan automatically.
For Dr. Dave:
* Dr. Dave goes to **Event Types** and creates his own events.
* No need for Team events.
For New Age Salon:
* Each barber can create their own events (just like Dr. Dave).
* You can also create a **Team Booking Page** where all 4 members are listed. Clients can select a barber directly.
* If you don’t want clients to choose, you can create a **Round Robin Event** so barbers are automatically assigned whenever someone books.
***
## Related Docs
* [Event Setup](https://help.lunacal.ai/event-types/event-setup)
* [Team Booking Page](https://help.lunacal.ai/Teambooking-page)
* [Round Robin](https://help.lunacal.ai/Round-Robin)
* [Change Meta Title and Social Preview Image](https://help.lunacal.ai/seo-web)
* [Manage Bookings](https://help.lunacal.ai/manage-bookings)
* [Adding or Removing Team Members](https://help.lunacal.ai/company-setup)
* [Using Custom Domain with Team](https://help.lunacal.ai/company-setup)
***
## Example
Say you run an agency and have 2 clients:
* **New Age Salon** with 4 barbers (Jeff, Linda, Tara, Amy)
* **Dr. Dave Matthews**, an individual doctor
Setup process:
* Create **Team 1 (New Age Salon)** → invite all 4 barbers → consumes 4 licenses.
* Create **Team 2 (Dr. Dave)** → invite Dr. Dave → consumes 1 license.
Total = 5 licenses (4 + 1).
### How it works:
* Members of **New Age Salon** cannot see Dr. Dave’s details, and vice versa.
* When members accept the invite, they are upgraded to the paid plan automatically.
For Dr. Dave:
* Dr. Dave goes to **Event Types** and creates his own events.
* No need for Team events.
For New Age Salon:
* Each barber can create their own events (just like Dr. Dave).
* You can also create a **Team Booking Page** where all 4 members are listed. Clients can select a barber directly.
* If you don’t want clients to choose, you can create a **Round Robin Event** so barbers are automatically assigned whenever someone books.
***
## Related Docs
* [Event Setup](https://help.lunacal.ai/event-types/event-setup)
* [Team Booking Page](https://help.lunacal.ai/Teambooking-page)
* [Round Robin](https://help.lunacal.ai/Round-Robin)
* [Change Meta Title and Social Preview Image](https://help.lunacal.ai/seo-web)
* [Manage Bookings](https://help.lunacal.ai/manage-bookings)
* [Adding or Removing Team Members](https://help.lunacal.ai/company-setup)
* [Using Custom Domain with Team](https://help.lunacal.ai/company-setup)