Use it to track upcoming meetings, complete pending bookings(Unconfirmed), review past meetings, or handle cancellations — all from one dashboard.
Note: Only team owners, admins, or event owners can edit or update bookings, permissions matter (especially in teams).
Step 1
Click “Bookings” in the left menu. The page shows client names and event details grouped under “Upcoming”, “Unconfirmed”, “Past”, and “Canceled”.- Upcoming: Confirmed meetings scheduled in the future.
- Unconfirmed: Meetings that need action (e.g., payment pending or manual approval required).
- Past: Meetings that have already occurred.
- Canceled: Meetings that were canceled by you or the attendee.

Step 2
Use the “Edit” drop-down on any meeting to cancel, reschedule, request a reschedule, or change the “Location”. Example: A client asks to meet 30 minutes later—choose “Reschedule”, pick a new time, and send the update.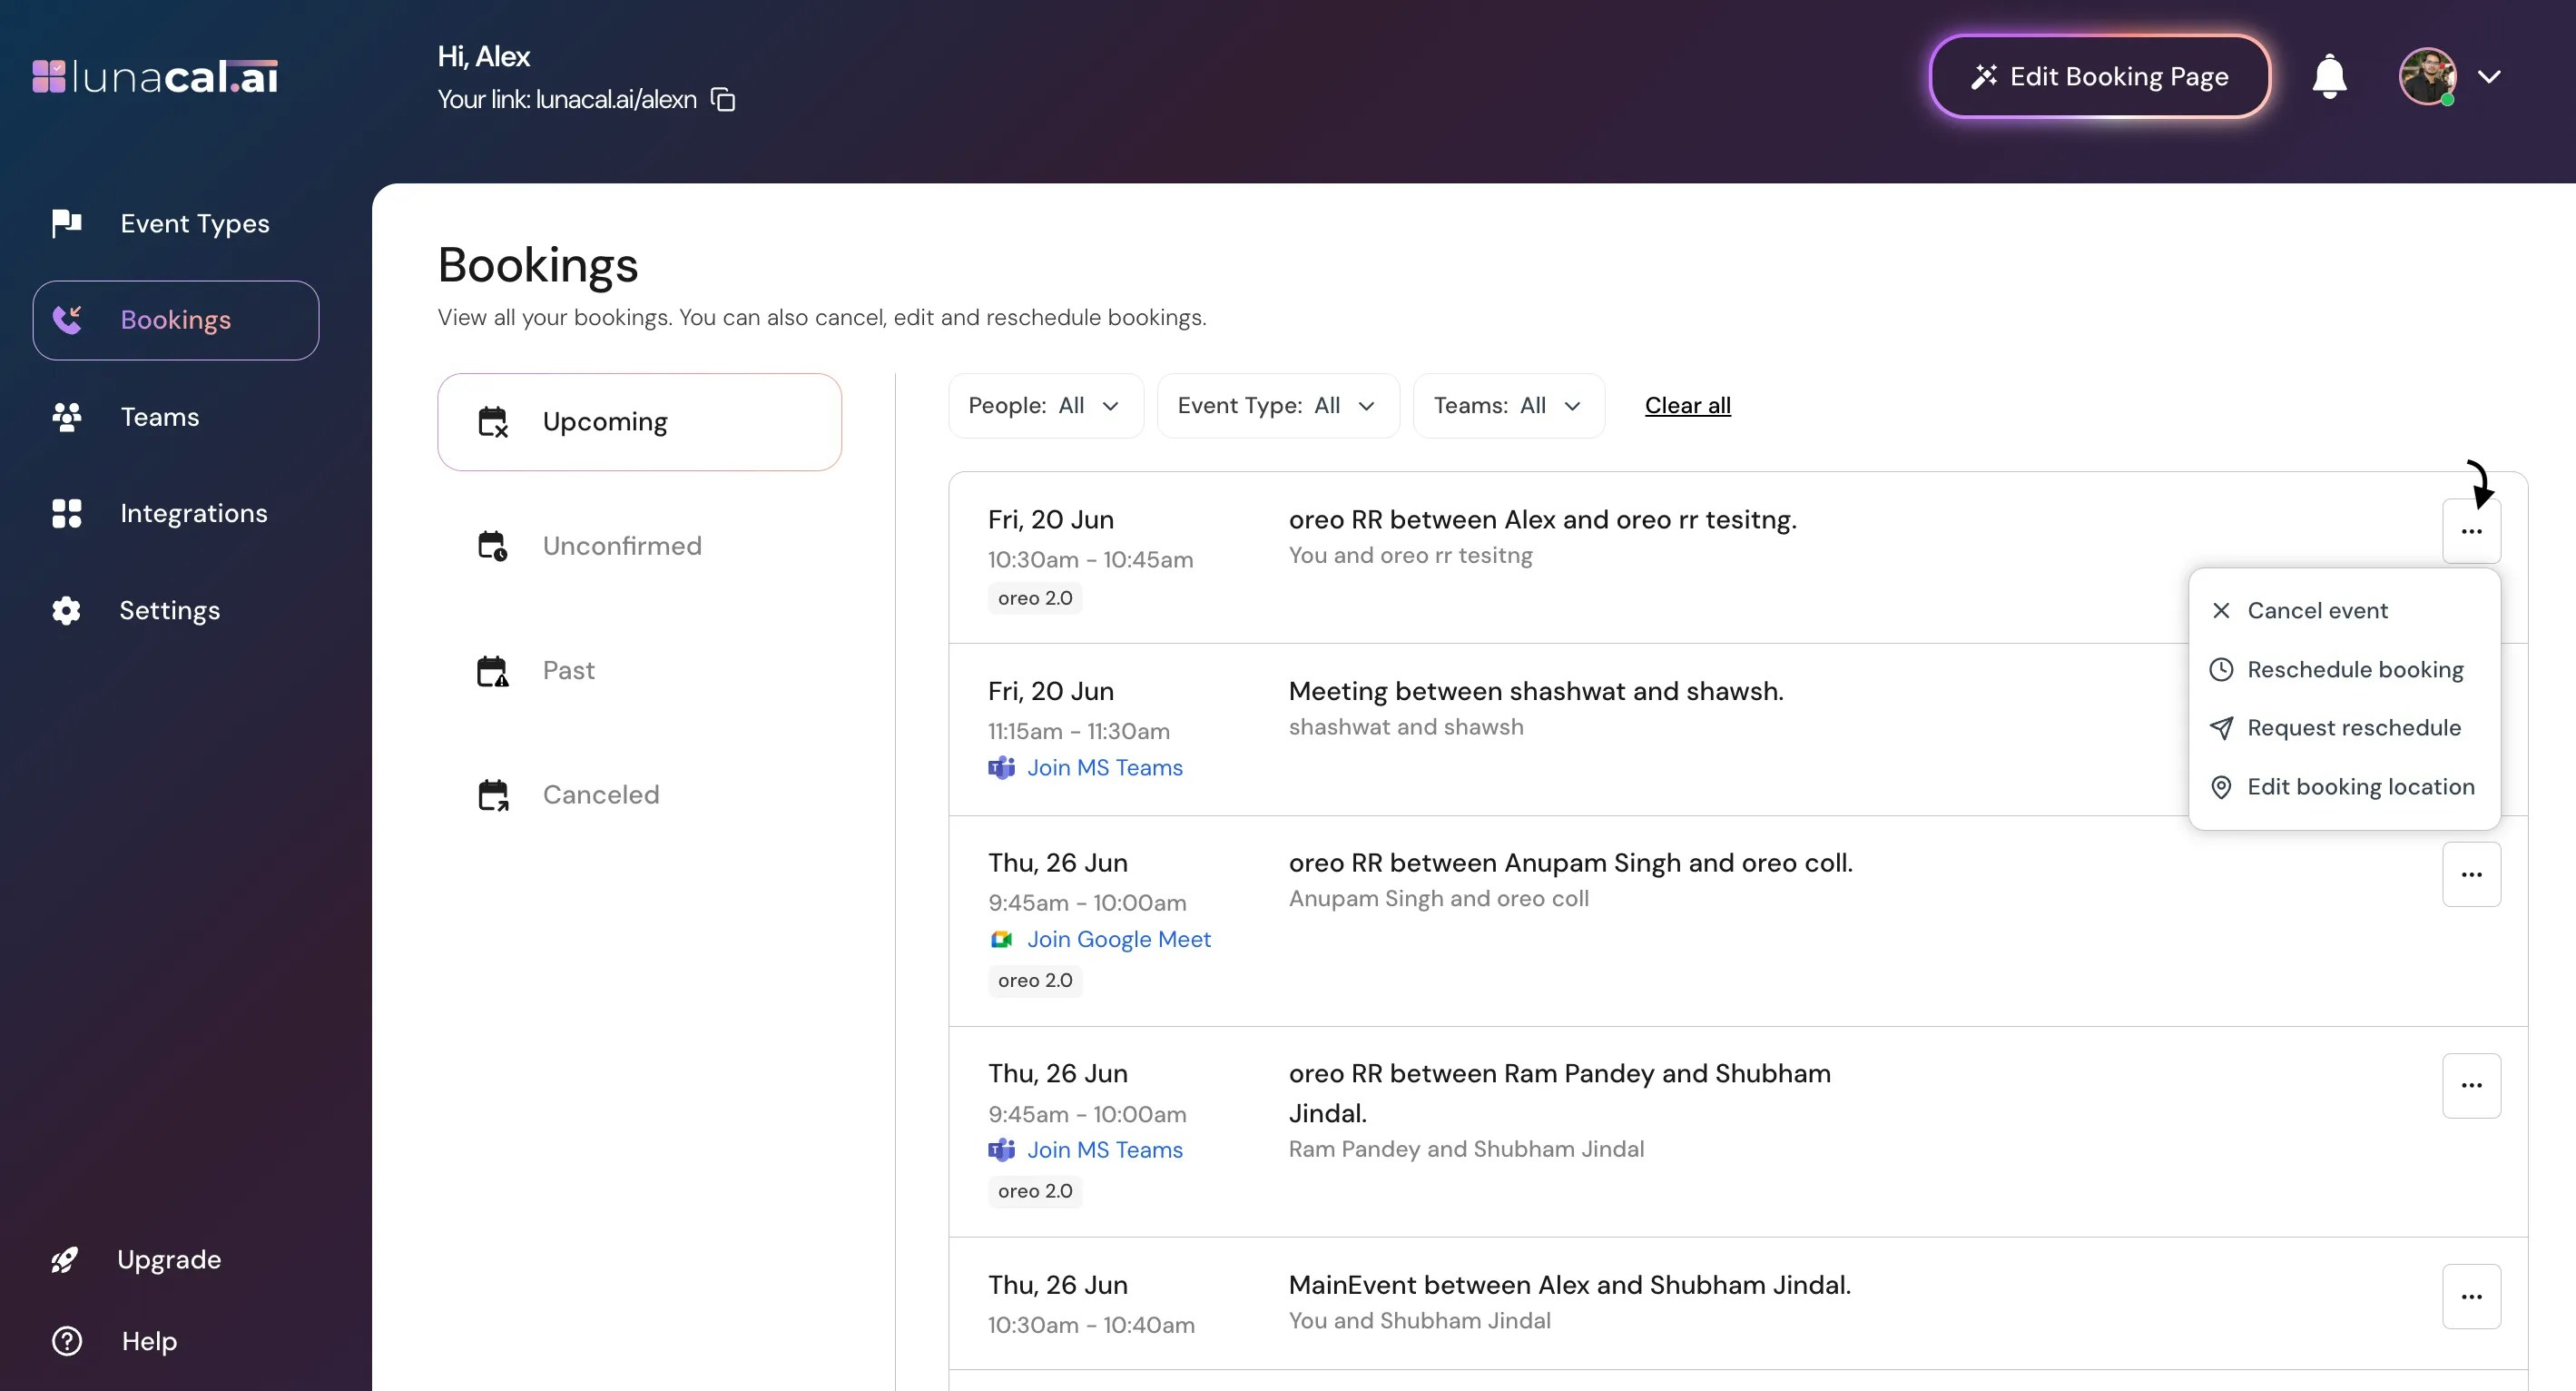
After you reschedule, cancel, or update the location, Lunacal automatically sends updated invites and confirmation emails to the attendees.
Step 3
To change where the meeting happens, select a new “Location” (e.g., Zoom, Google Meet, Phone, Office) and save. Example: You switch from in-person to Zoom because you’re traveling—set “Location” to Zoom so the link is included.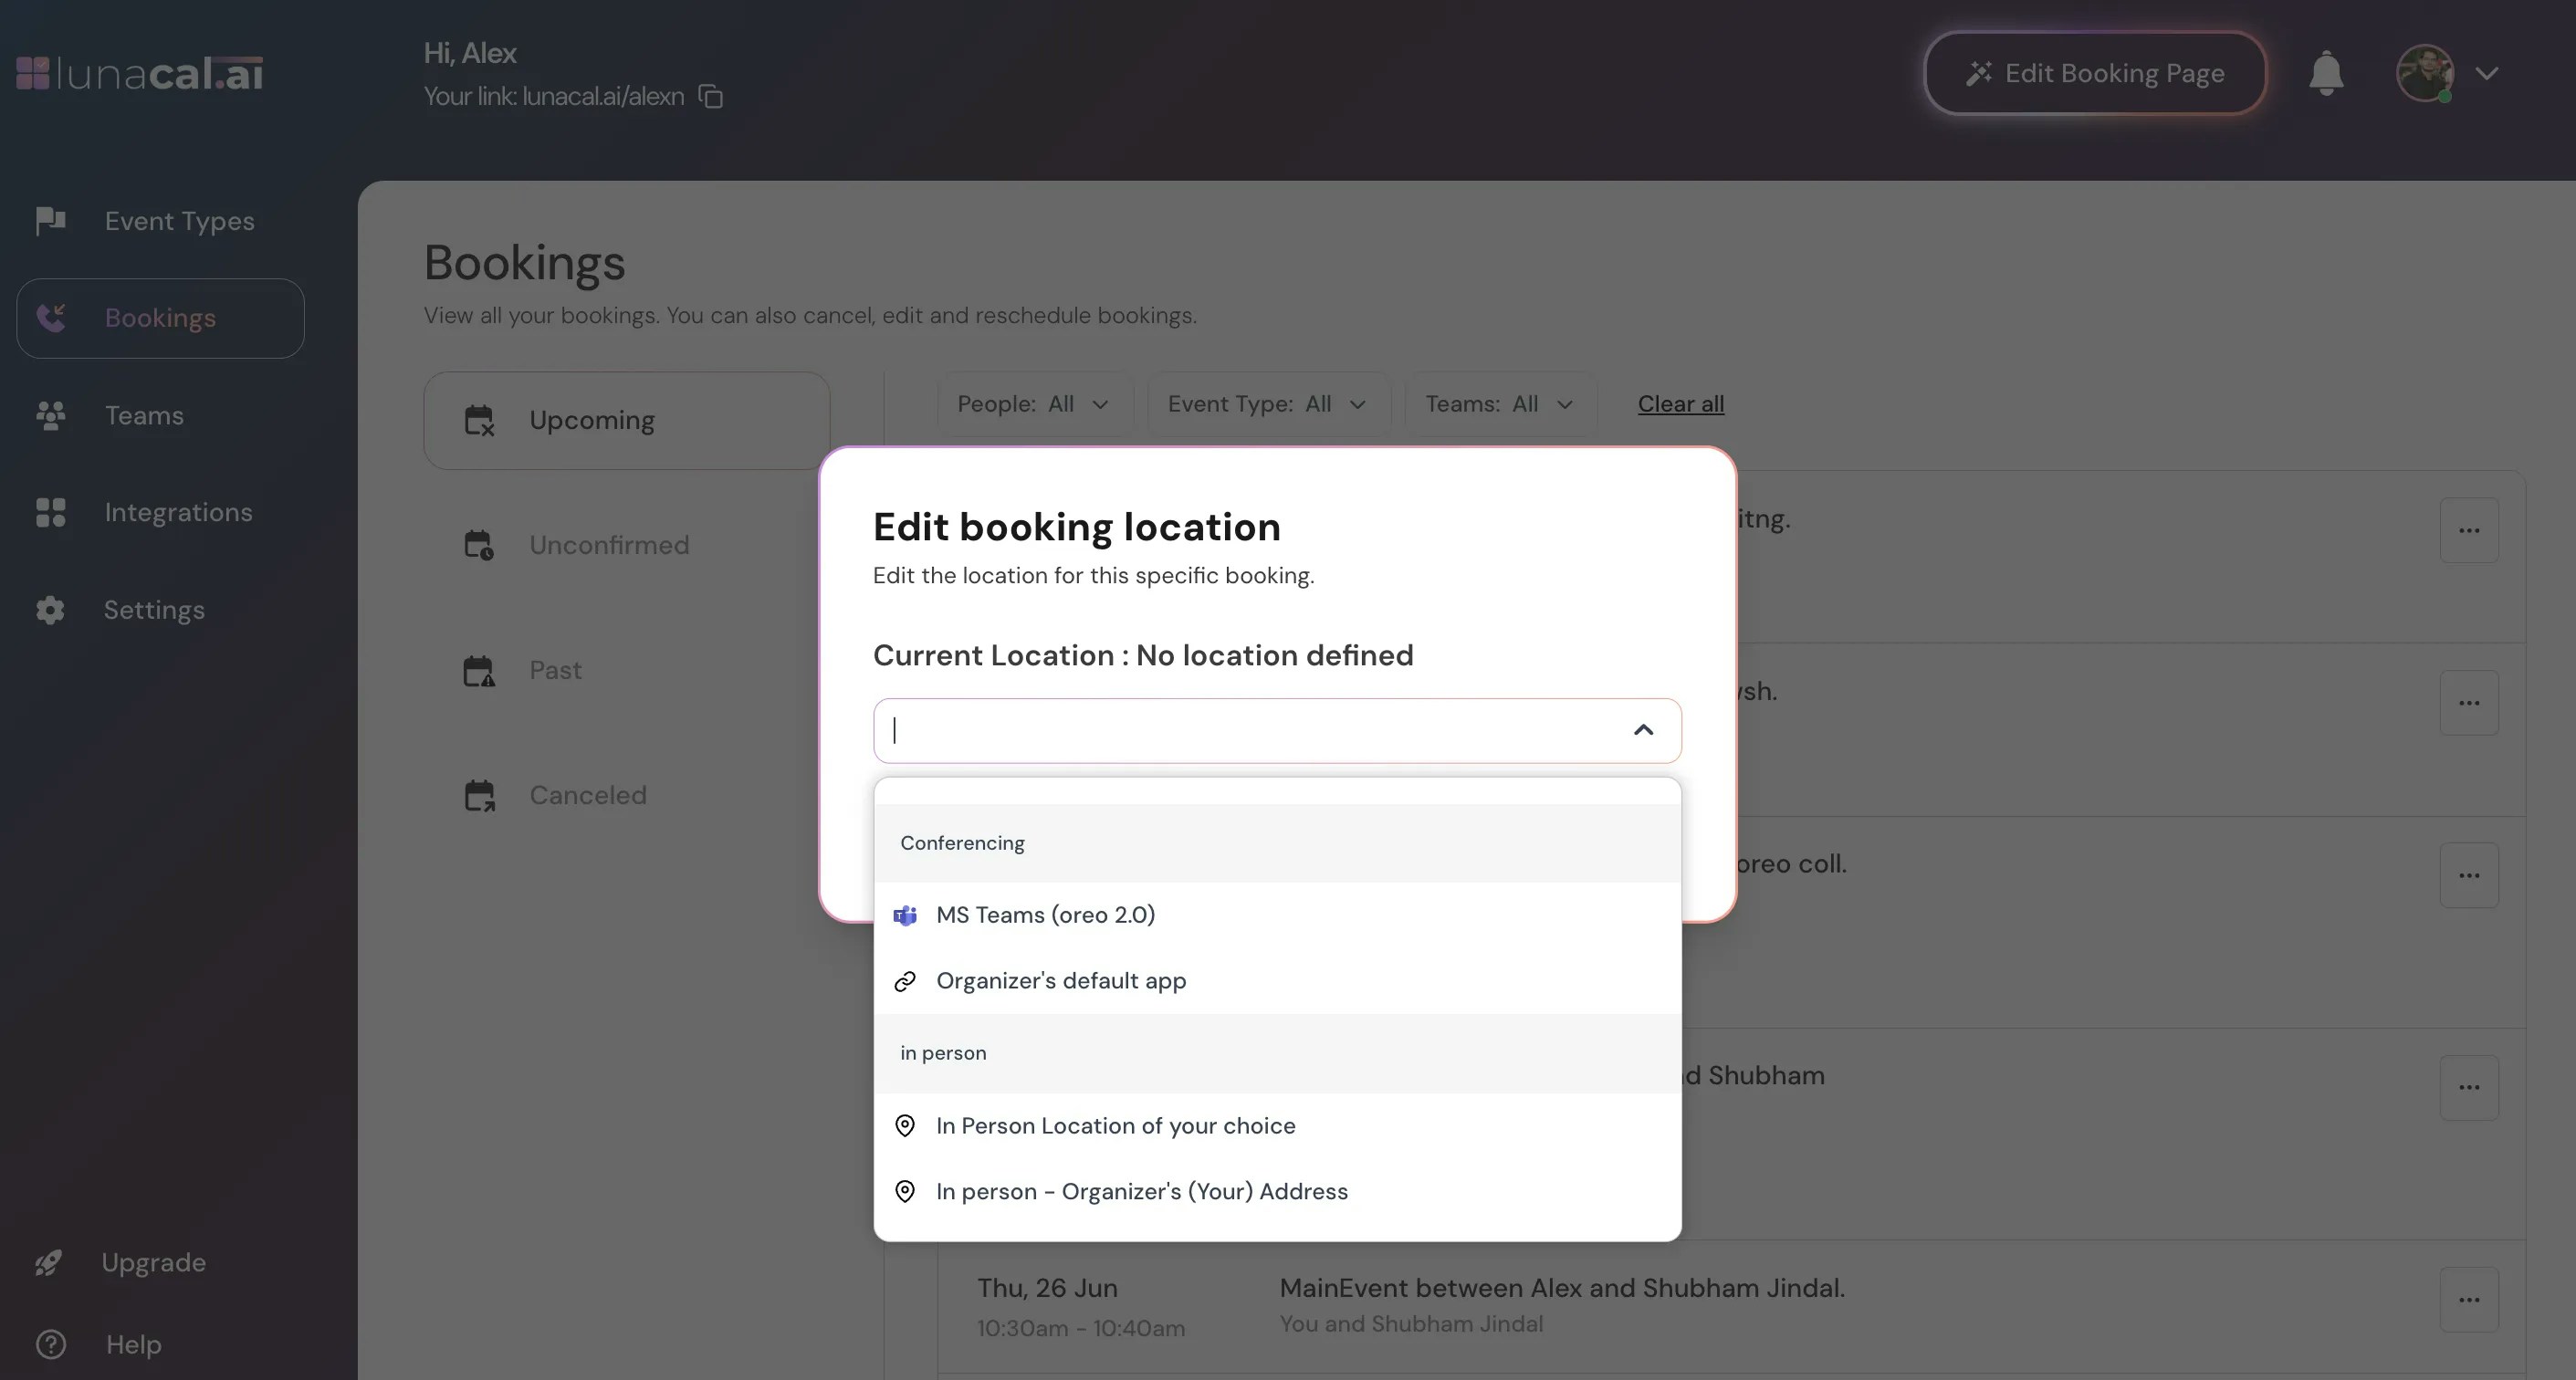
Step 4
Click a specific booking to see full details: event name, date and time, attendees, and “Location”. Example: Before the call, open the booking to copy the meet link and confirm the attendee’s email.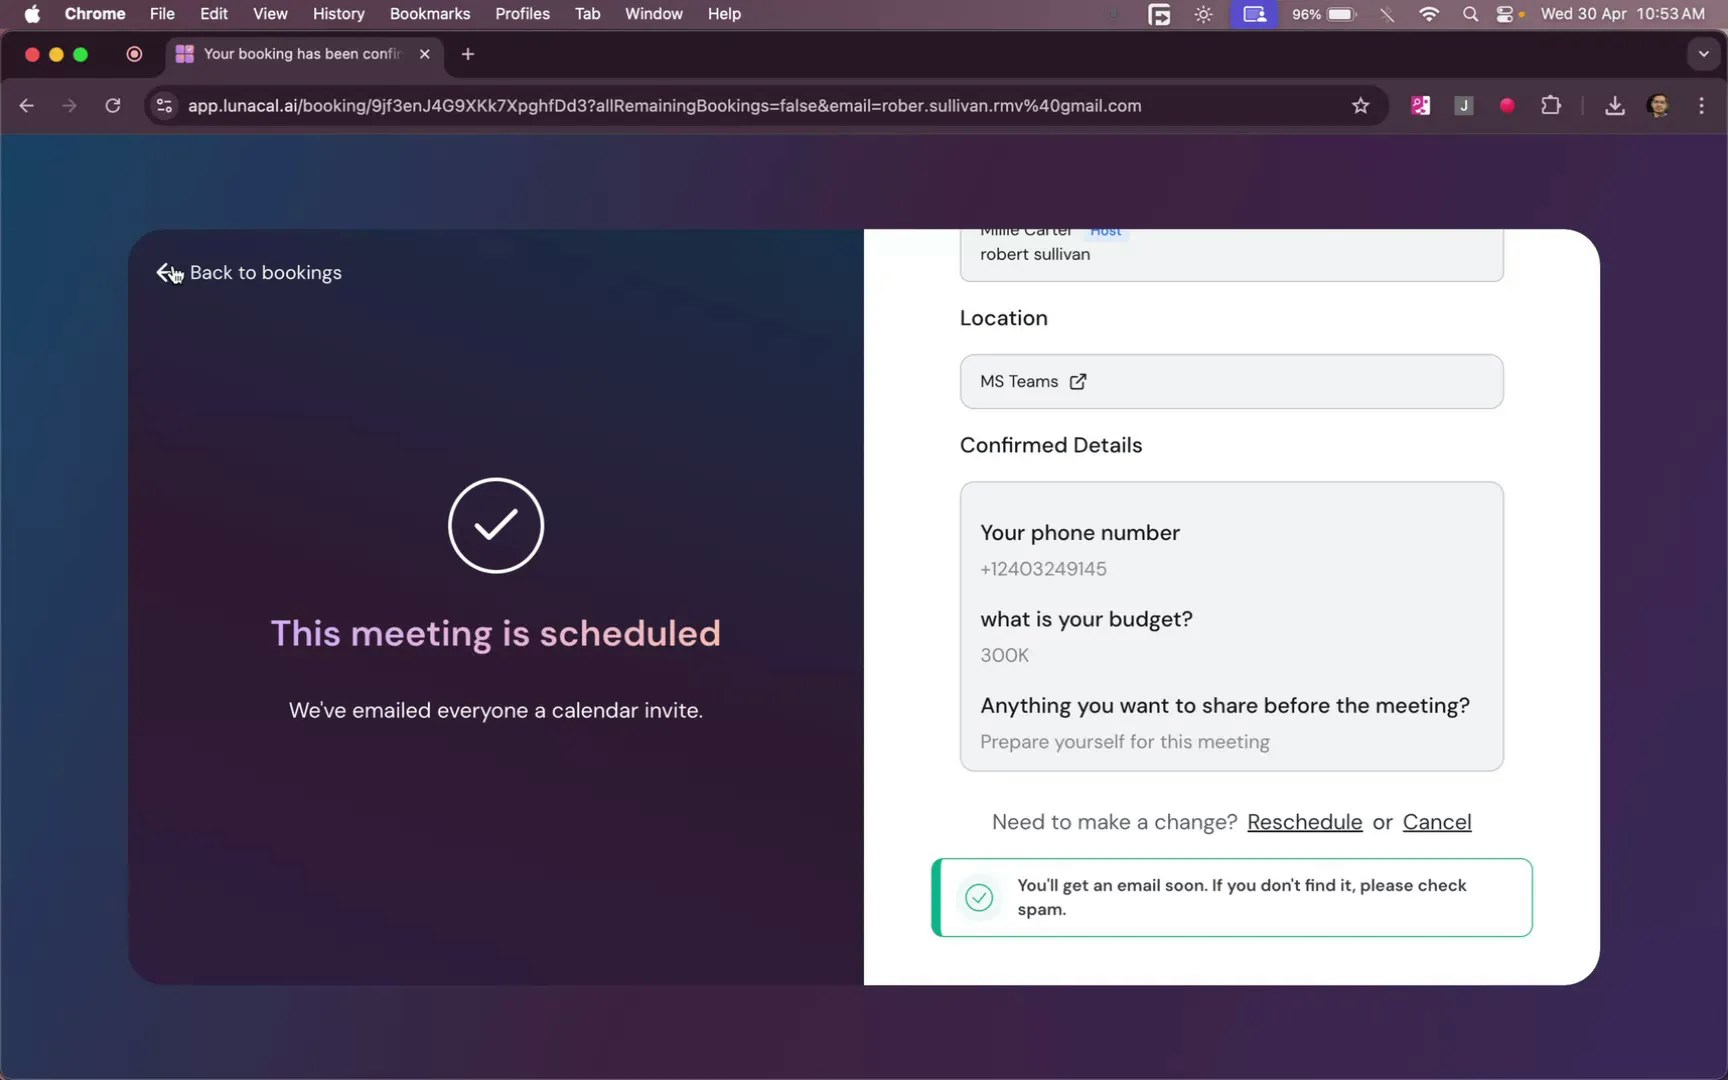
Inside the booking detail view, you can:
- See attendee contact info
- Copy conferencing links
Step 5
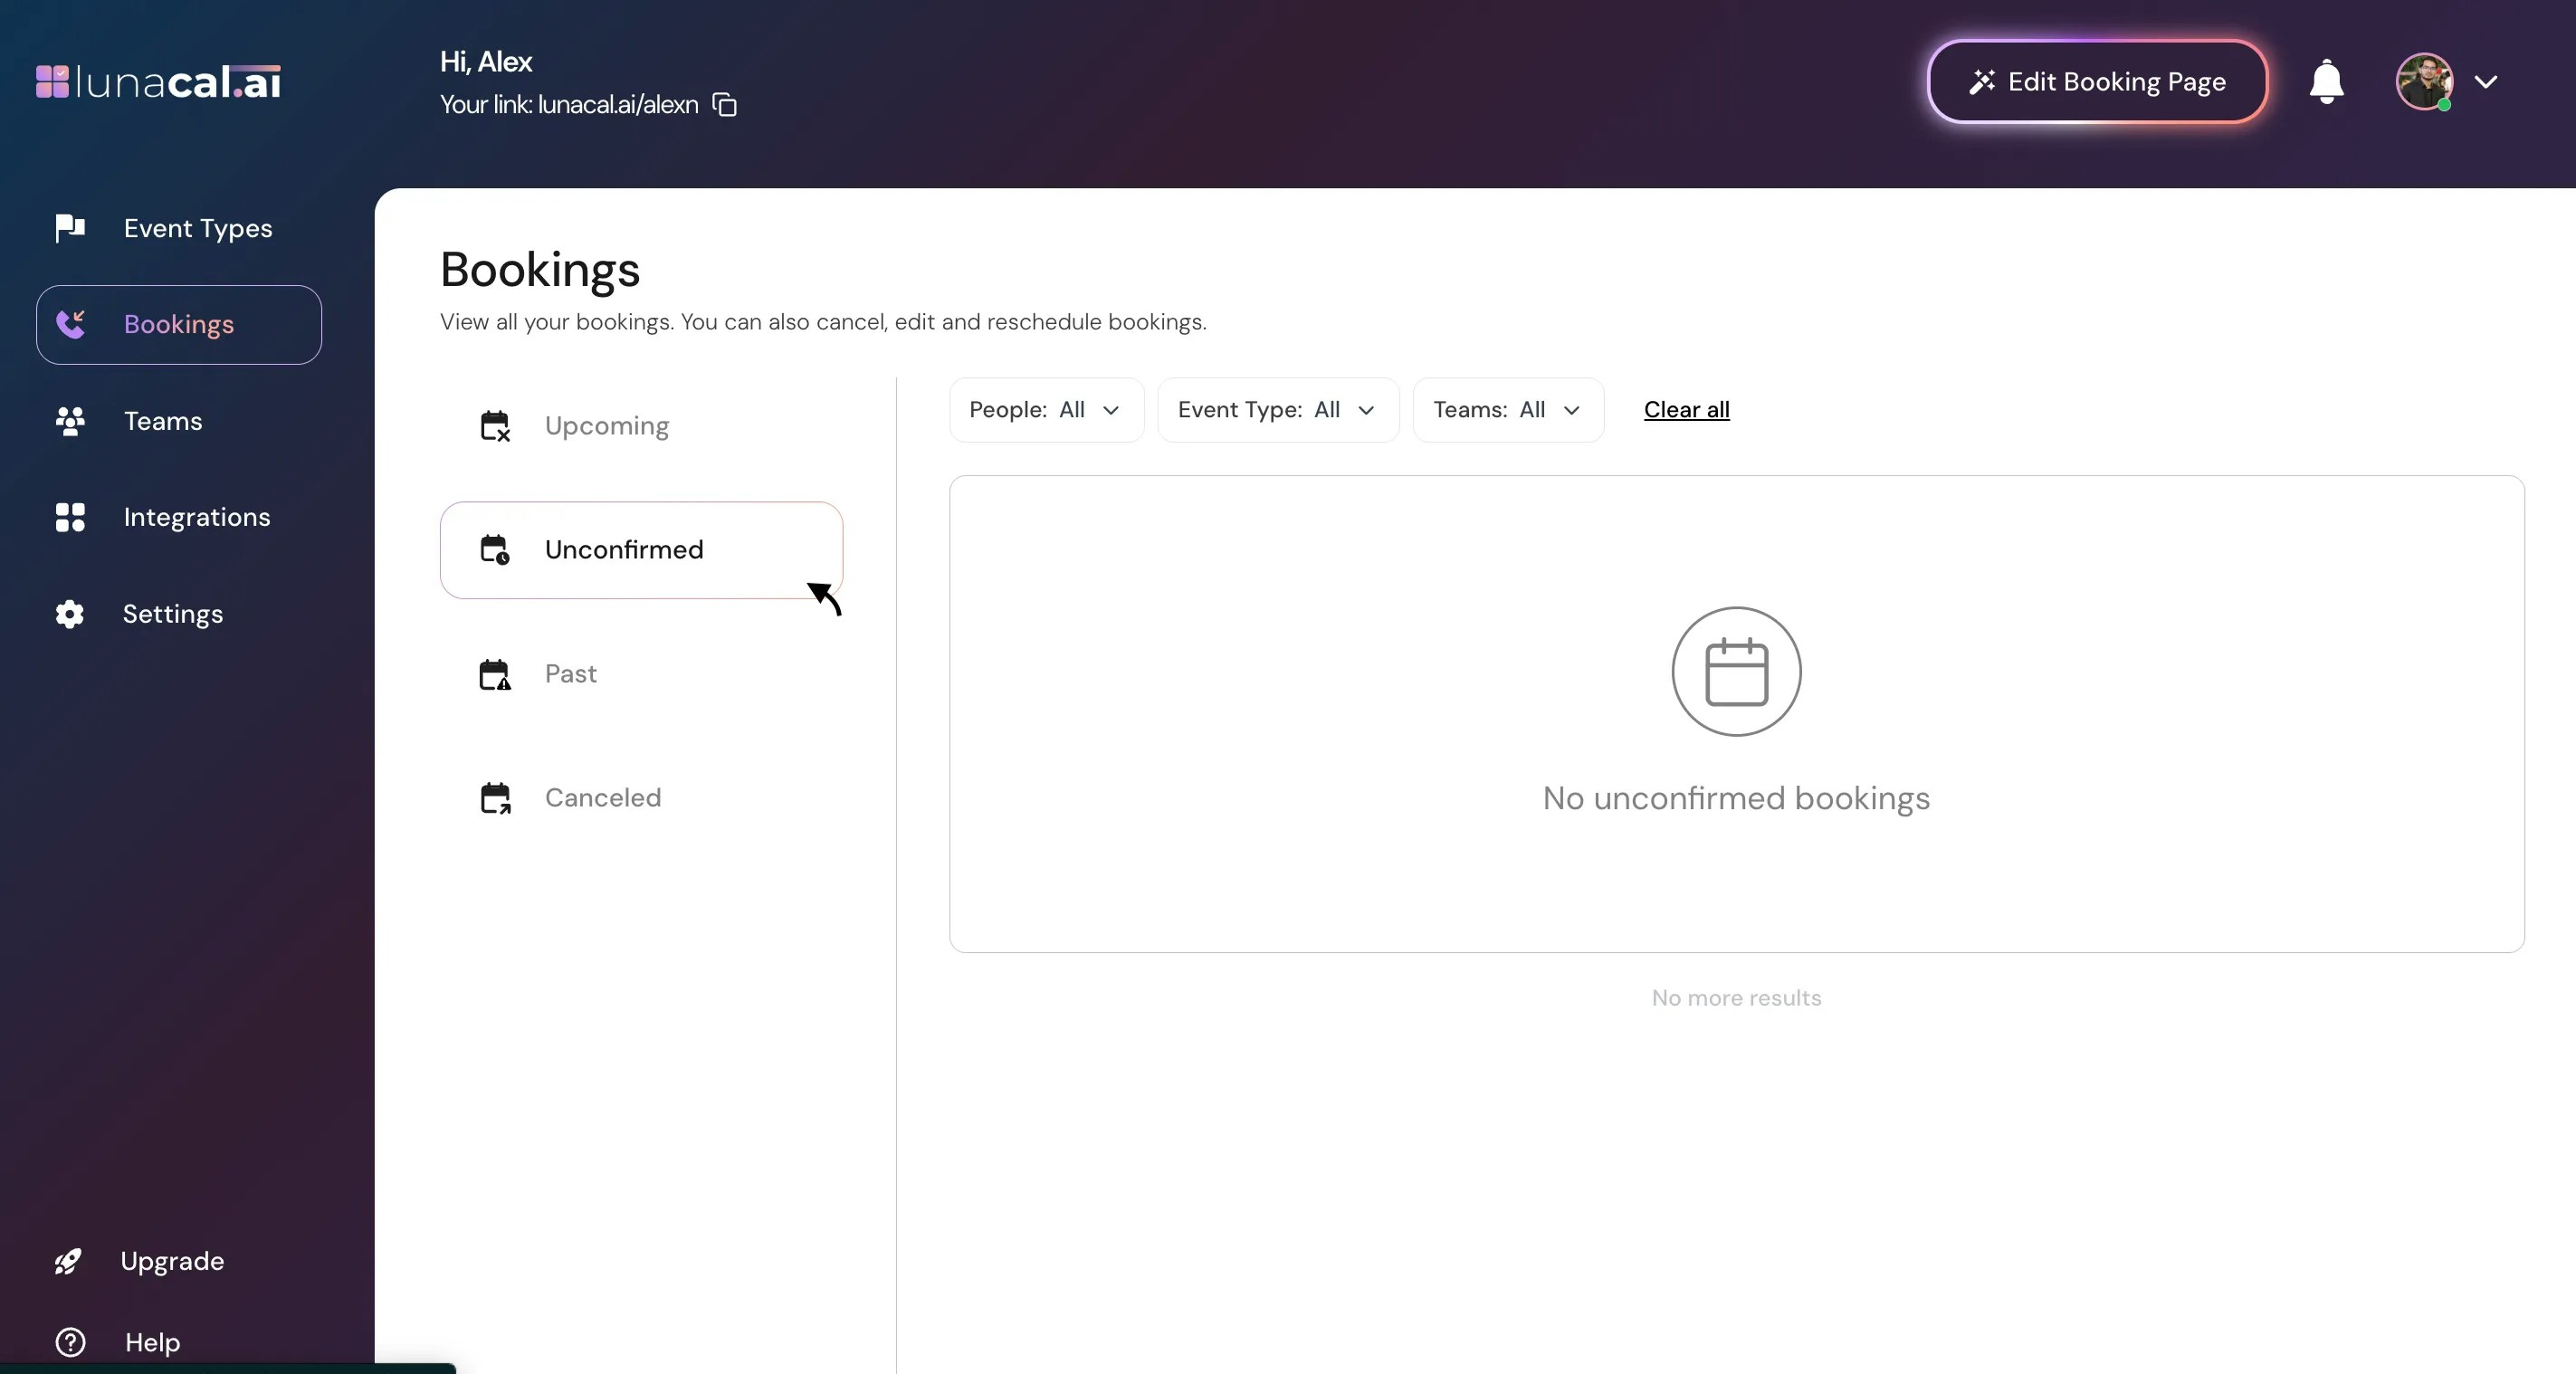
“Unconfirmed” shows bookings that haven’t been finalized yet—this includes cases where payment is pending. Example: Someone started booking a paid session but didn’t complete the payment—follow up or resend the link.“Unconfirmed” may also include bookings awaiting manual approval (if enabled) or missing required attendee actions like payment. Always review this section regularly.
Step 6
“Past” lists meetings that already happened so you can review what’s done or add notes to your CRM.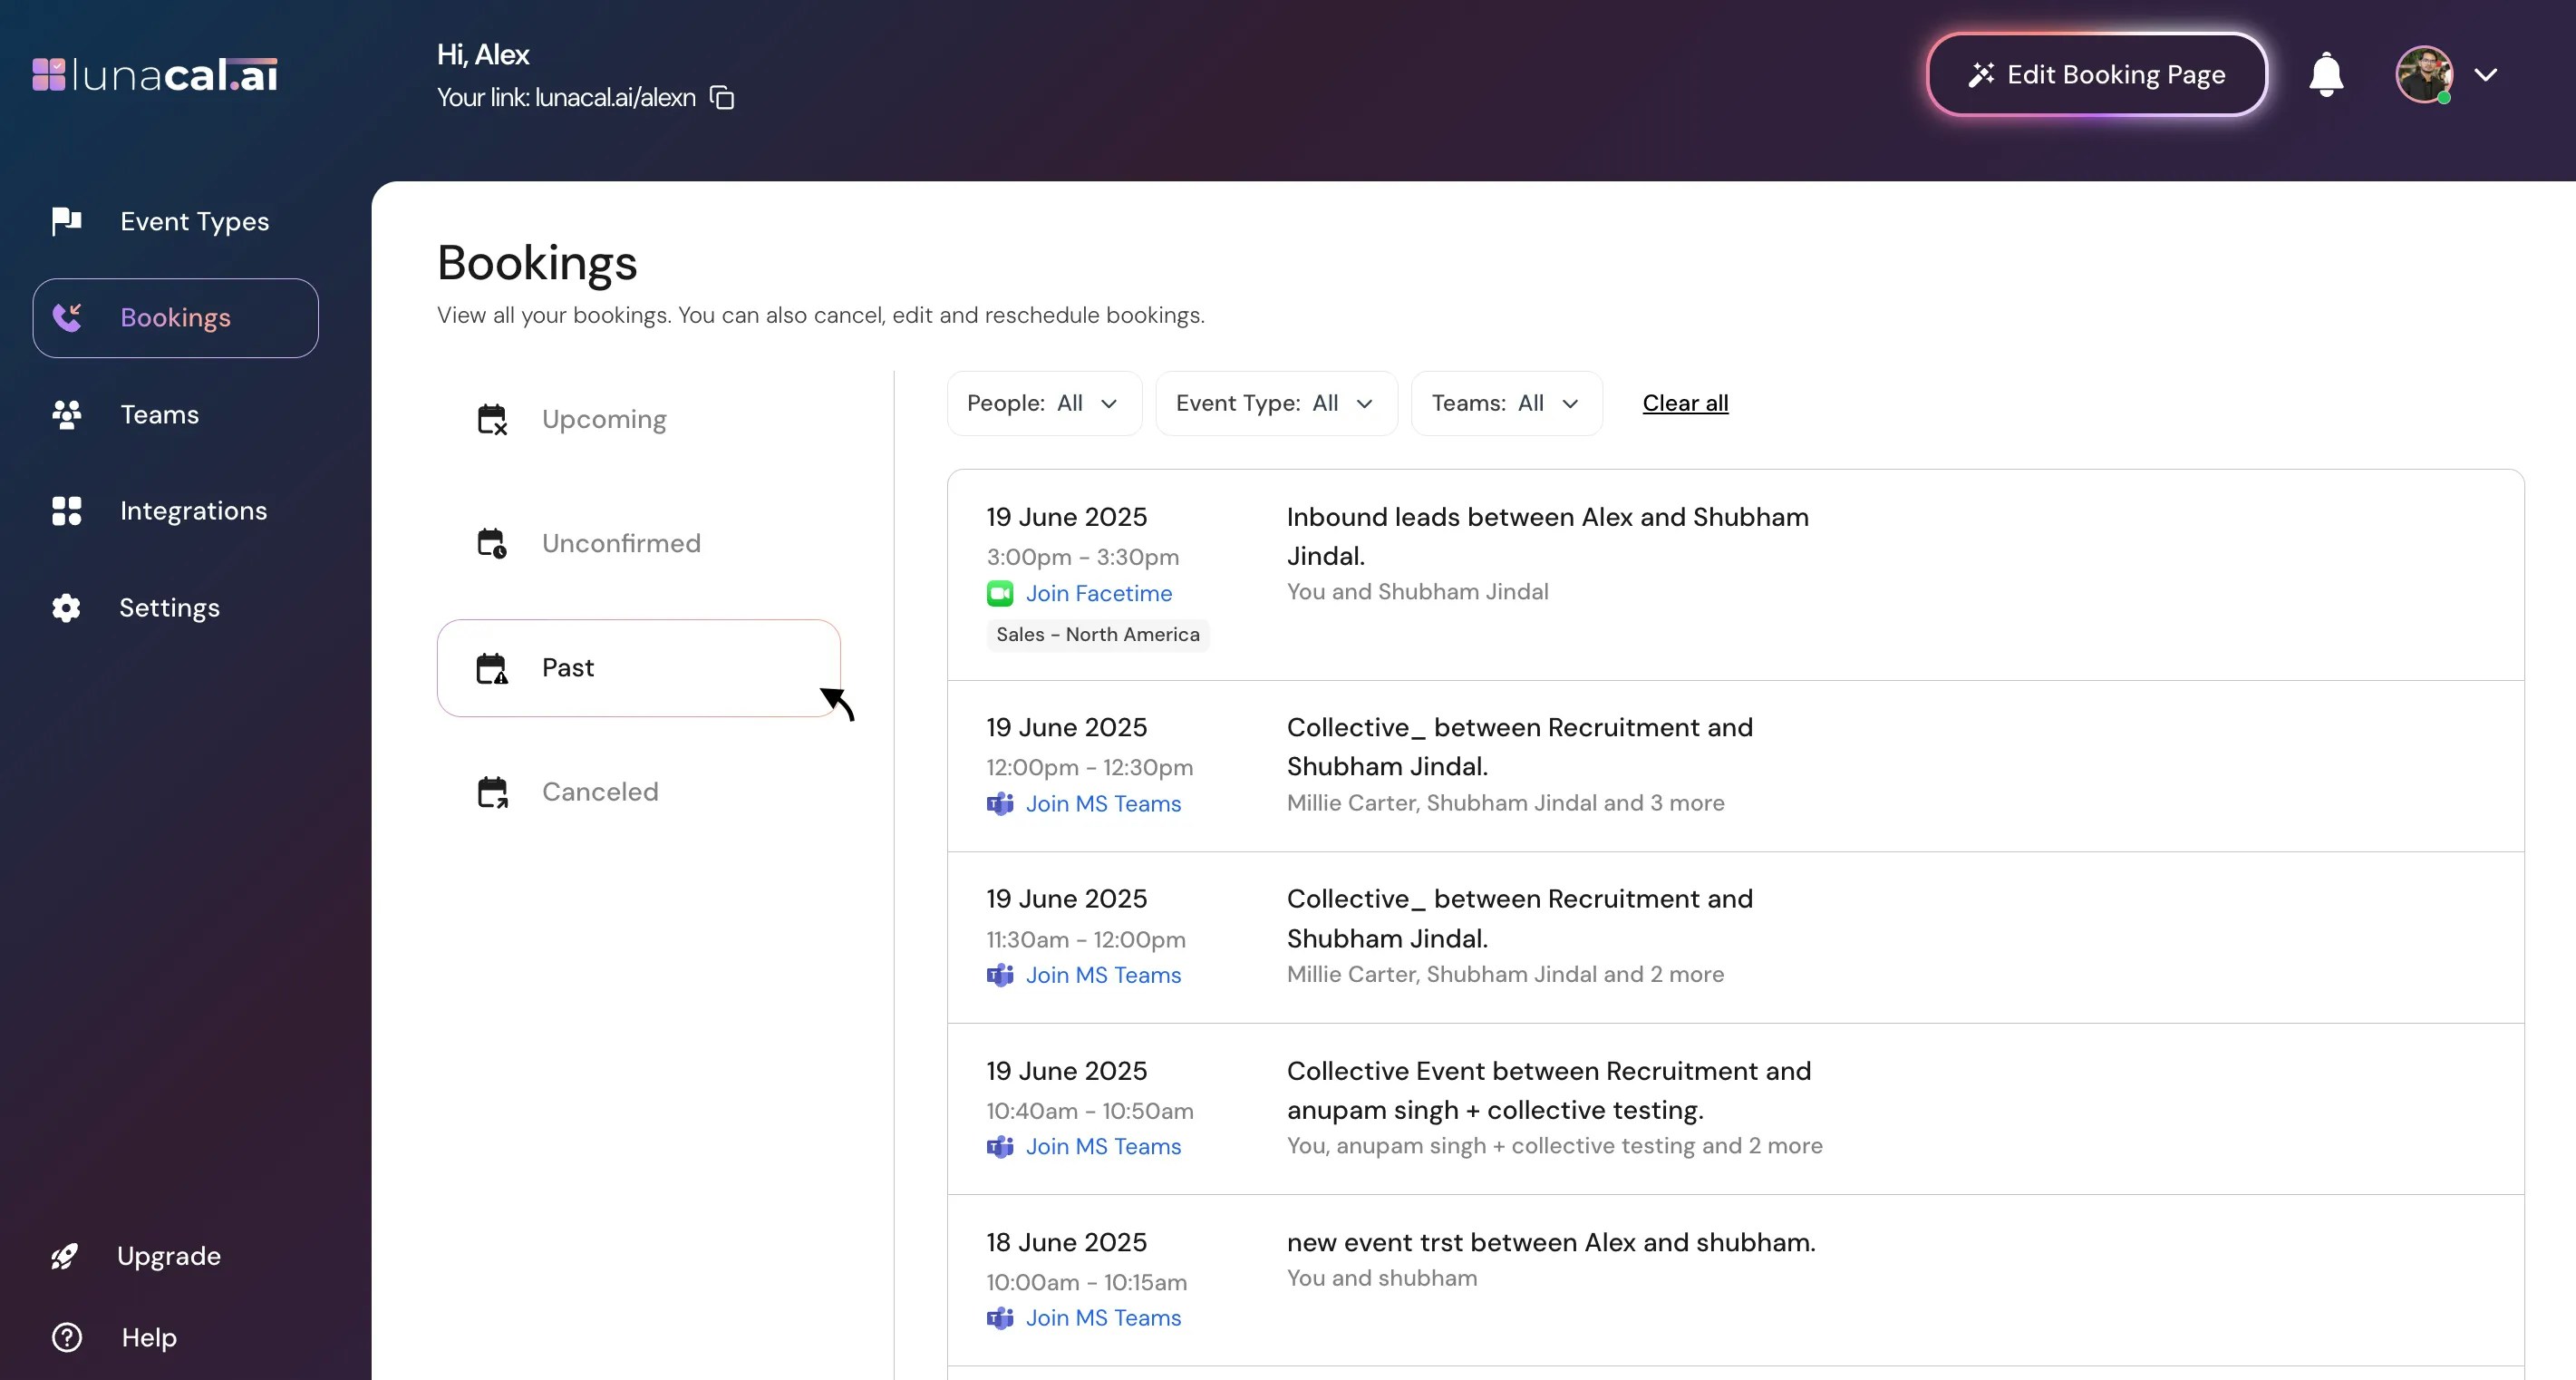
Step 7
“Canceled” lists meetings that were called off; use it to confirm no-show trends or to restore context if a client rebooks later.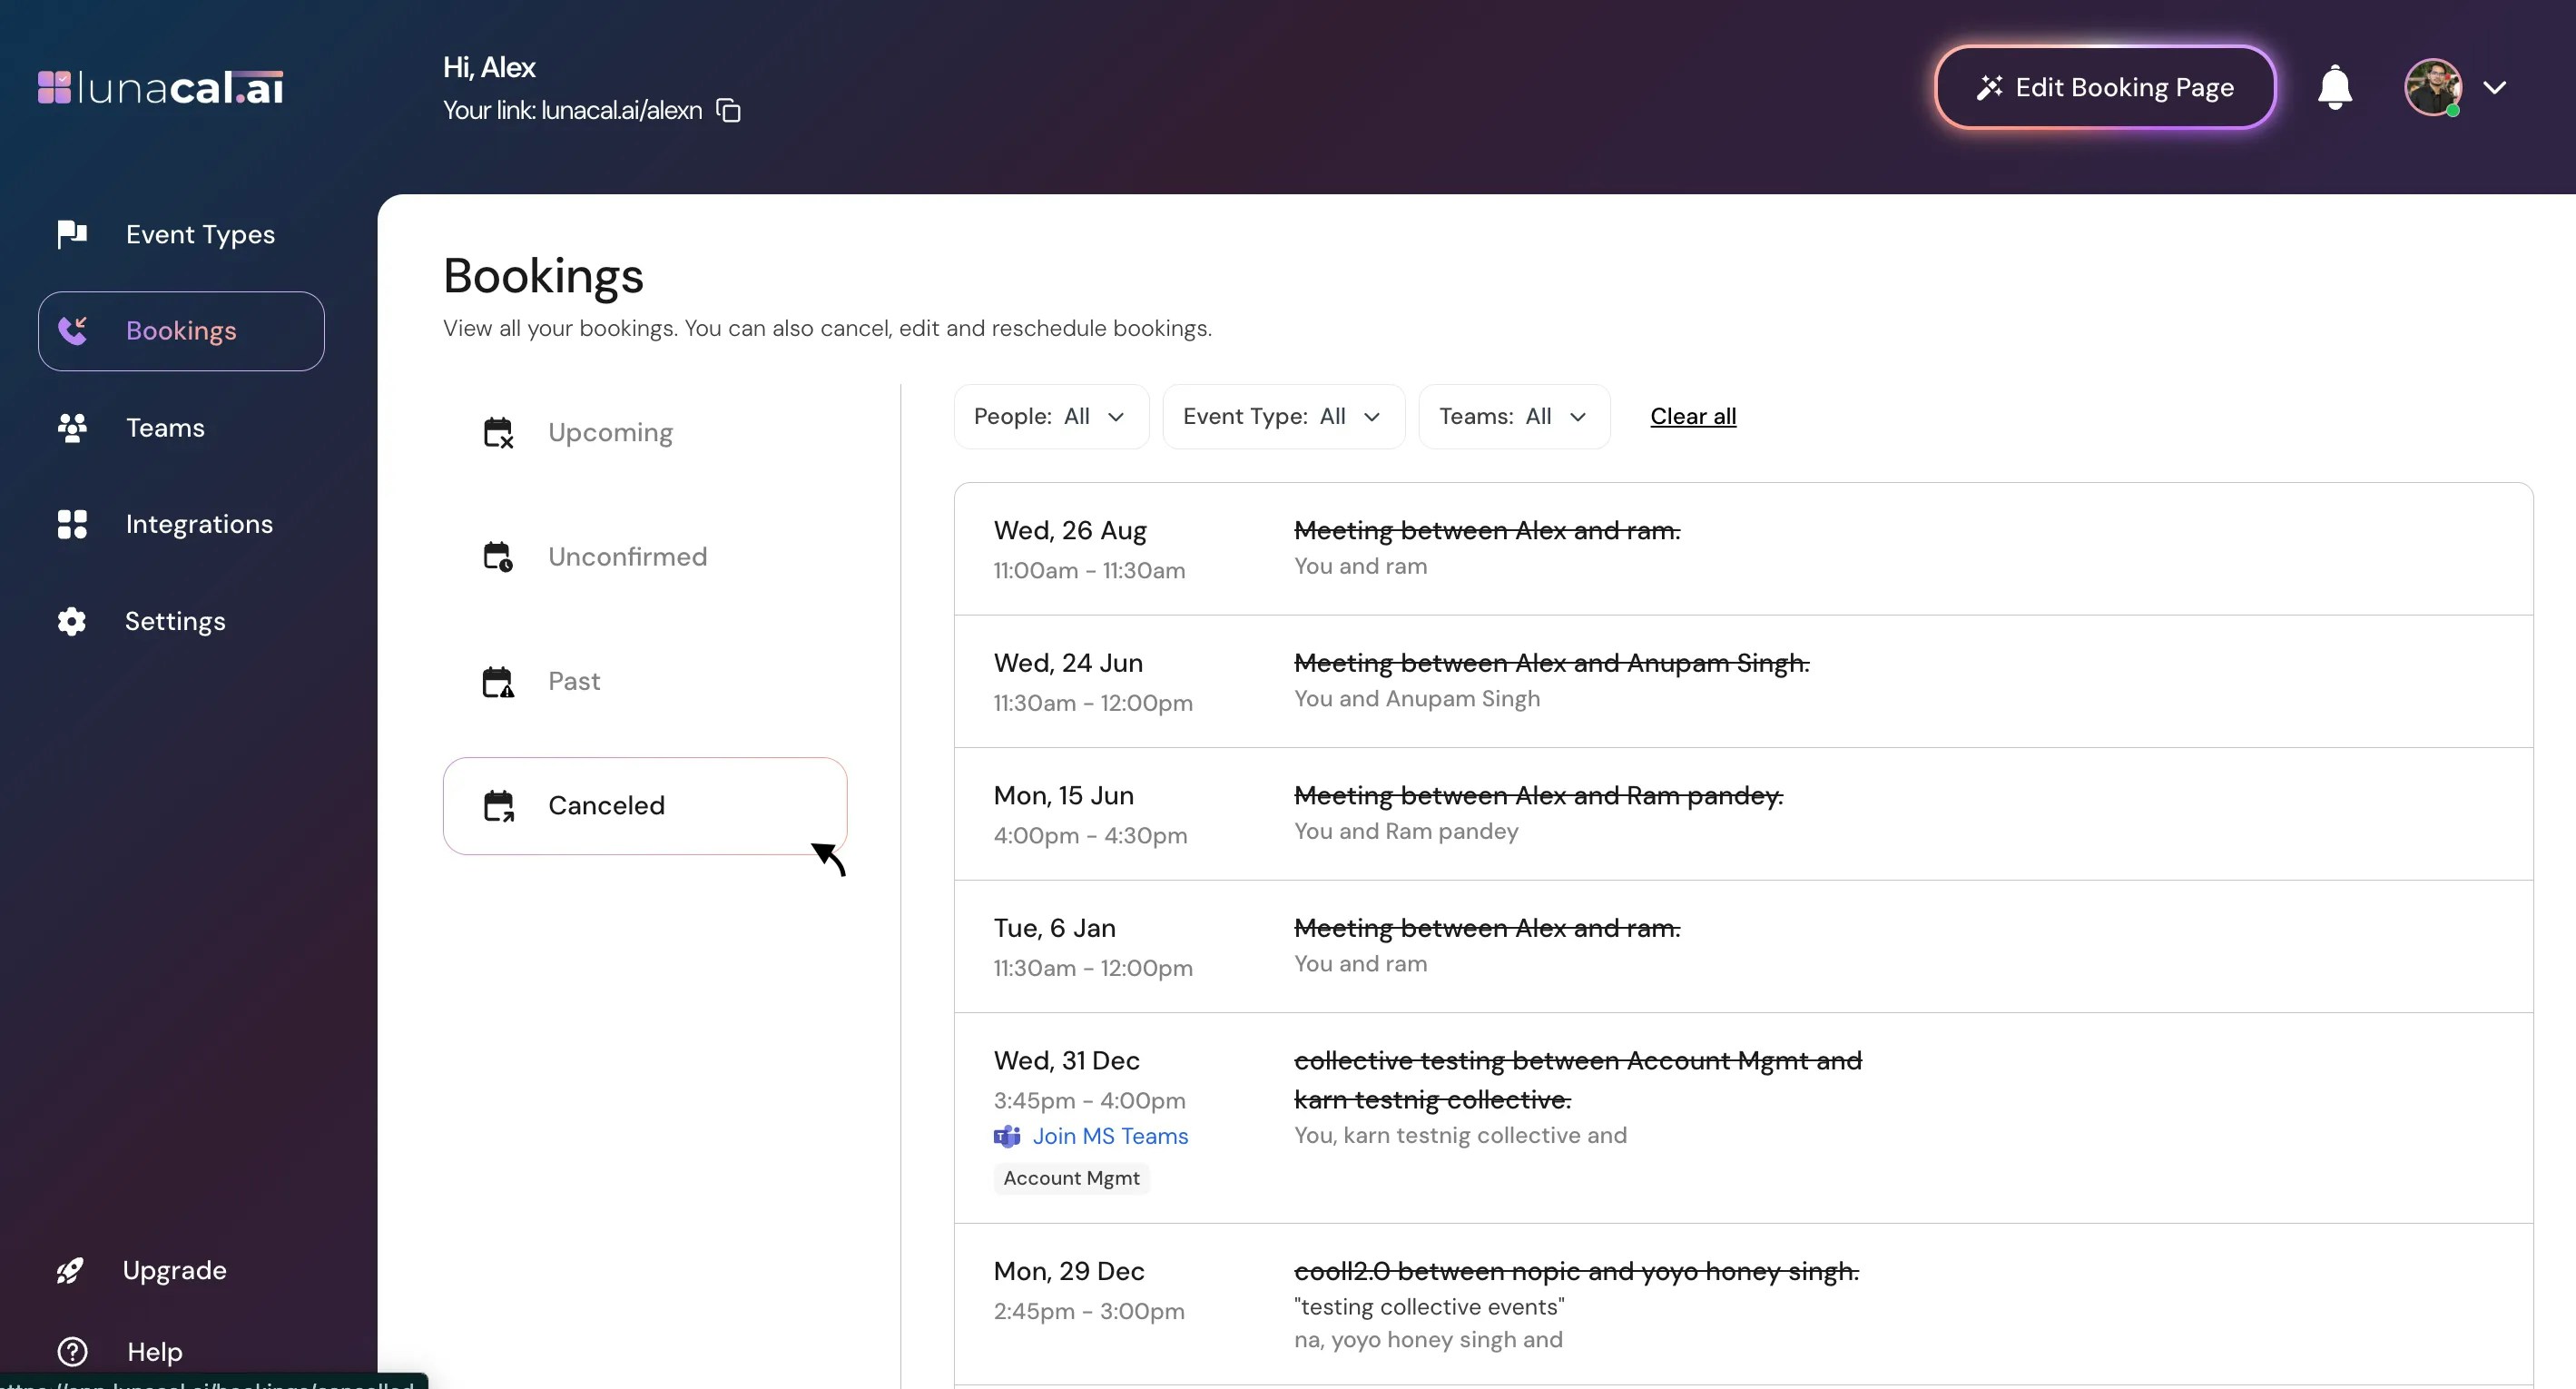
Note: The booking list updates automatically, but you can refresh the page if changes don’t appear immediately.Common mistakes to avoid
- Editing a calendar entry directly instead of using “Edit” on the “Bookings” page, which can cause mismatched invites.
- Forgetting to update “Location” after switching from in-person to online, leading to missing links.
- Ignoring “Unconfirmed”, so pending payments or partial bookings go unnoticed.
- Rescheduling without sending the update, leaving attendees on the old time.
- Review “Unconfirmed” once daily to clear pending items.
- Prefer “Request a reschedule” over canceling when timing slips by less than a day.
- Standardize “Location” (e.g., Zoom for all first calls) to reduce errors.
- Check “Canceled” weekly to spot patterns and improve show rates.