Not all fields under Limits & Buffer are mandatory. you can configure only the options needed for event type. Fields such as Advance Notice, Buffer Time, and Advance Booking Limit are optional, and leaving them at the default value will not prevent the event type from functioning.
Relation to Other Configurations:
Note : Limits & Buffer work alongside other parts of event configuration such as availability schedules, calendar sync, and meeting duration. review these areas after setting limits and buffers.
Step 1
On “Event Types”, select the event type you want to edit. You can click anywhere on the square box or use the gear button.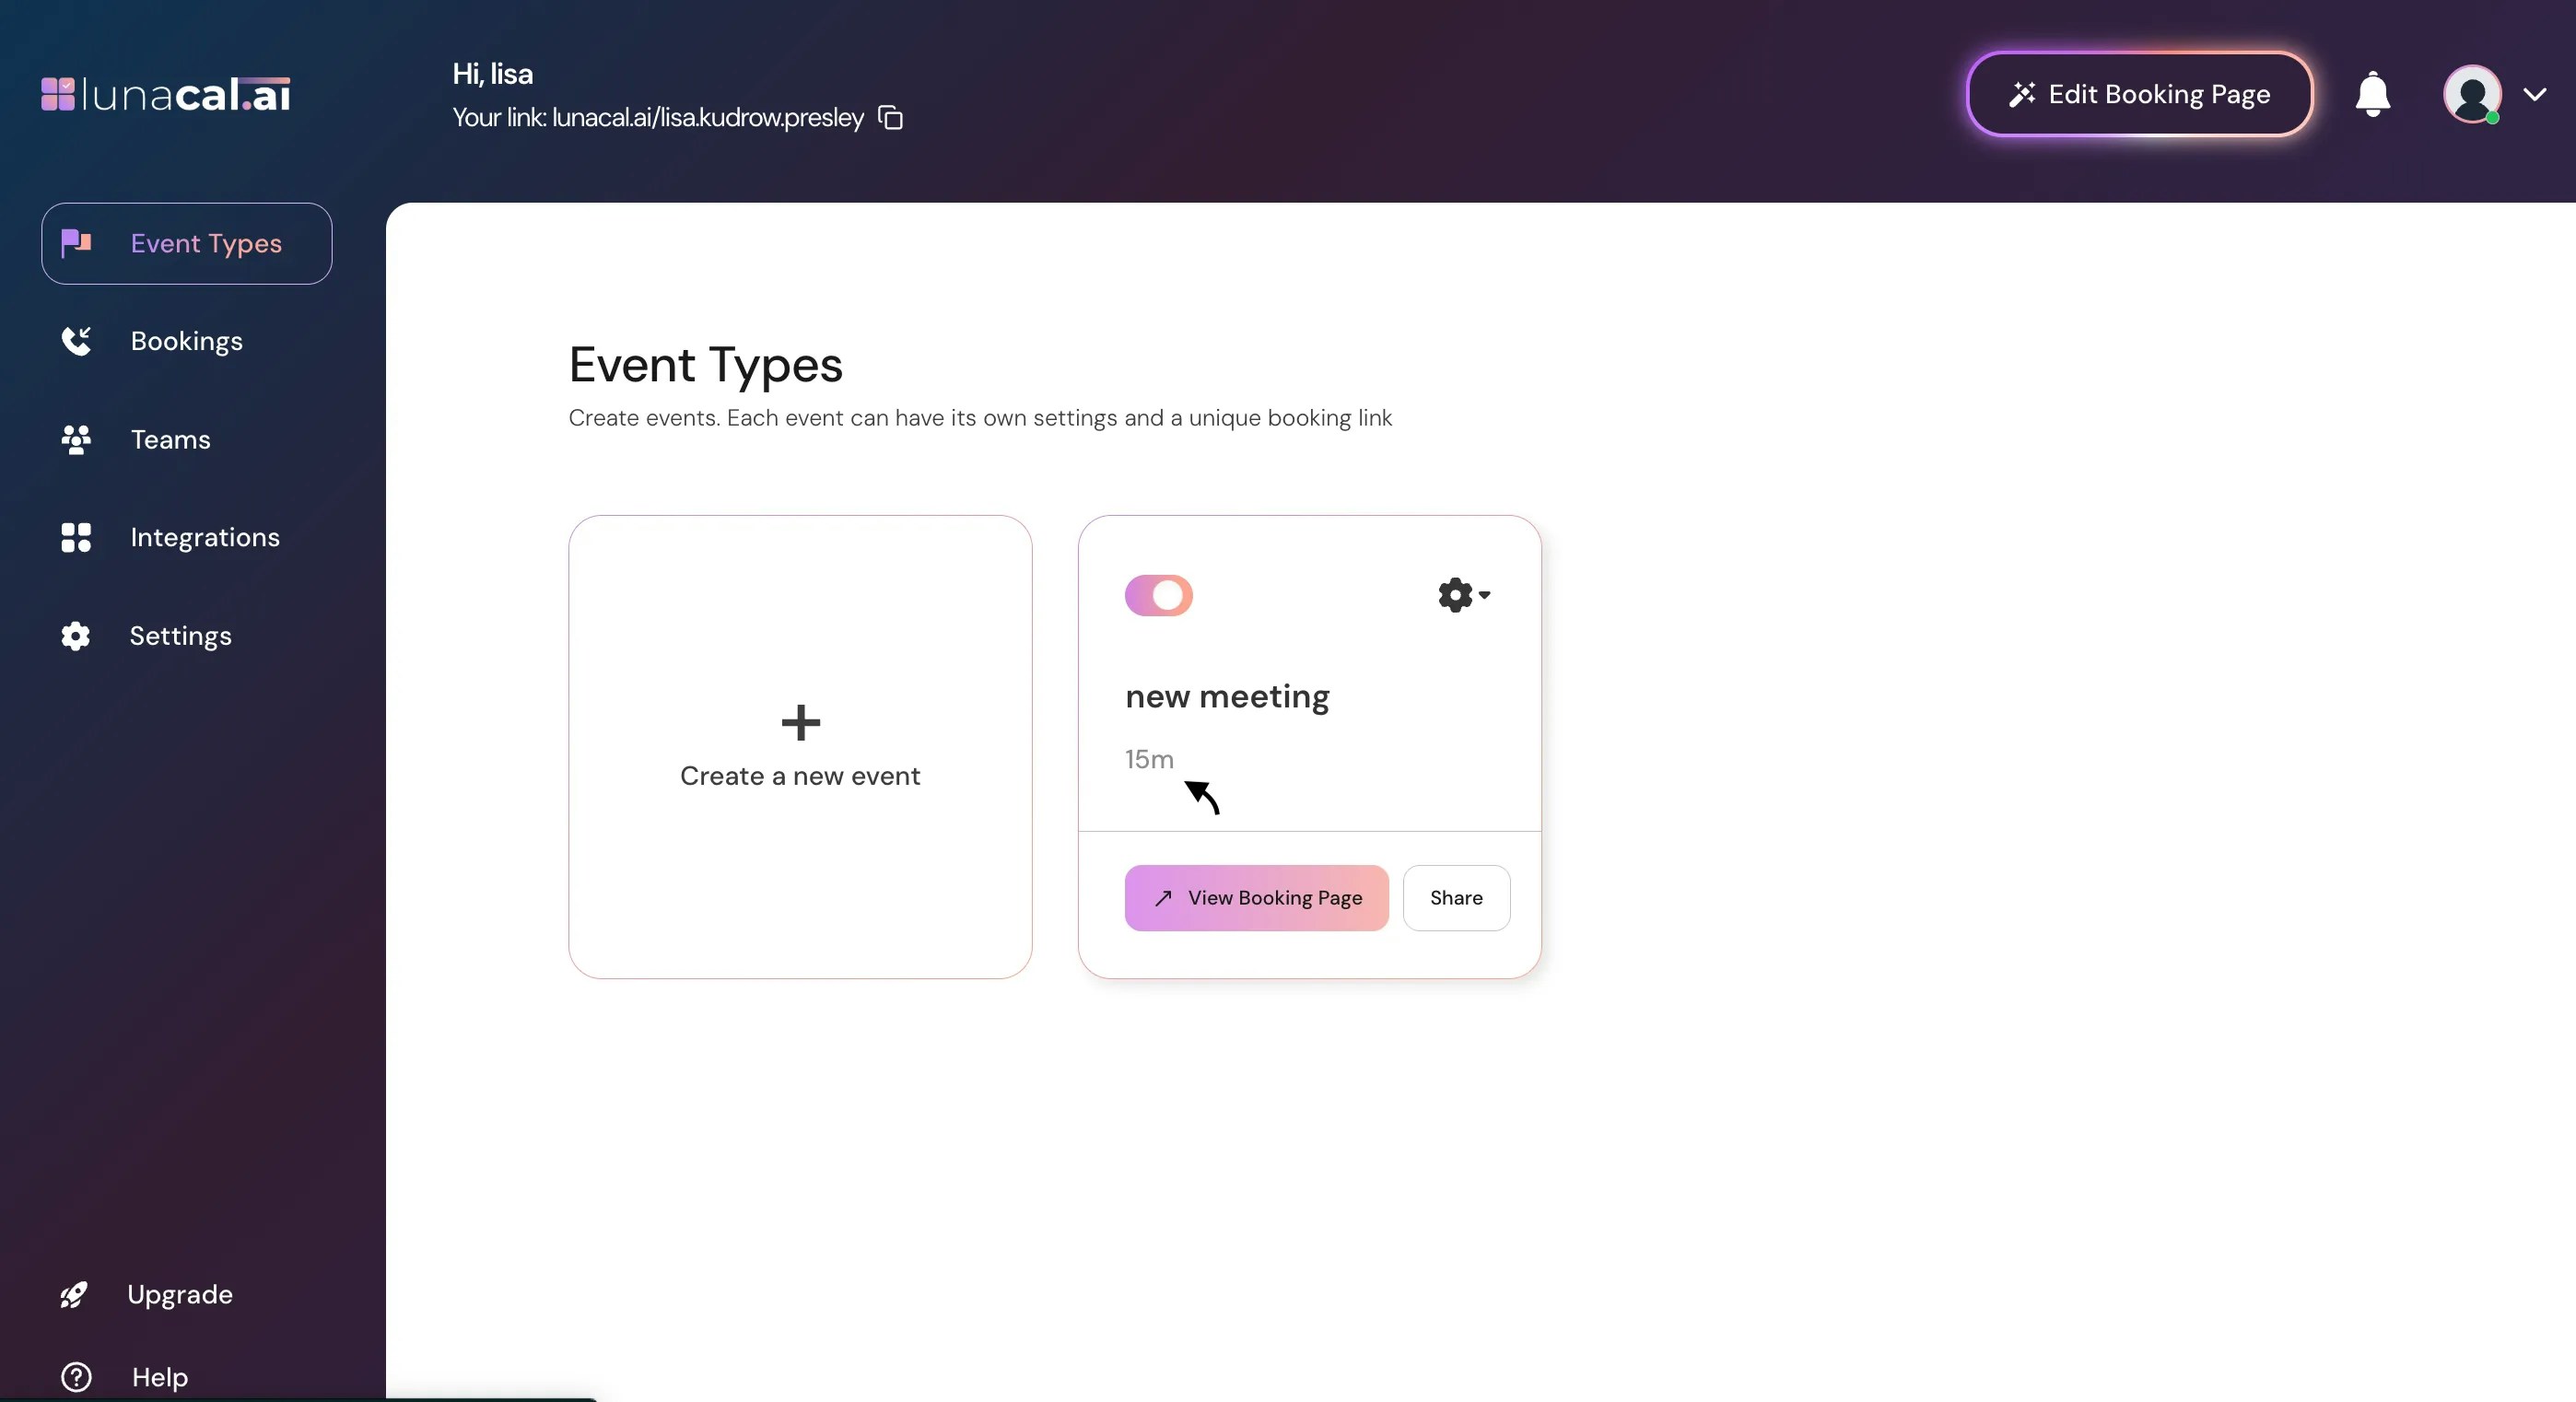
Step 2
Click “Booking Limits”.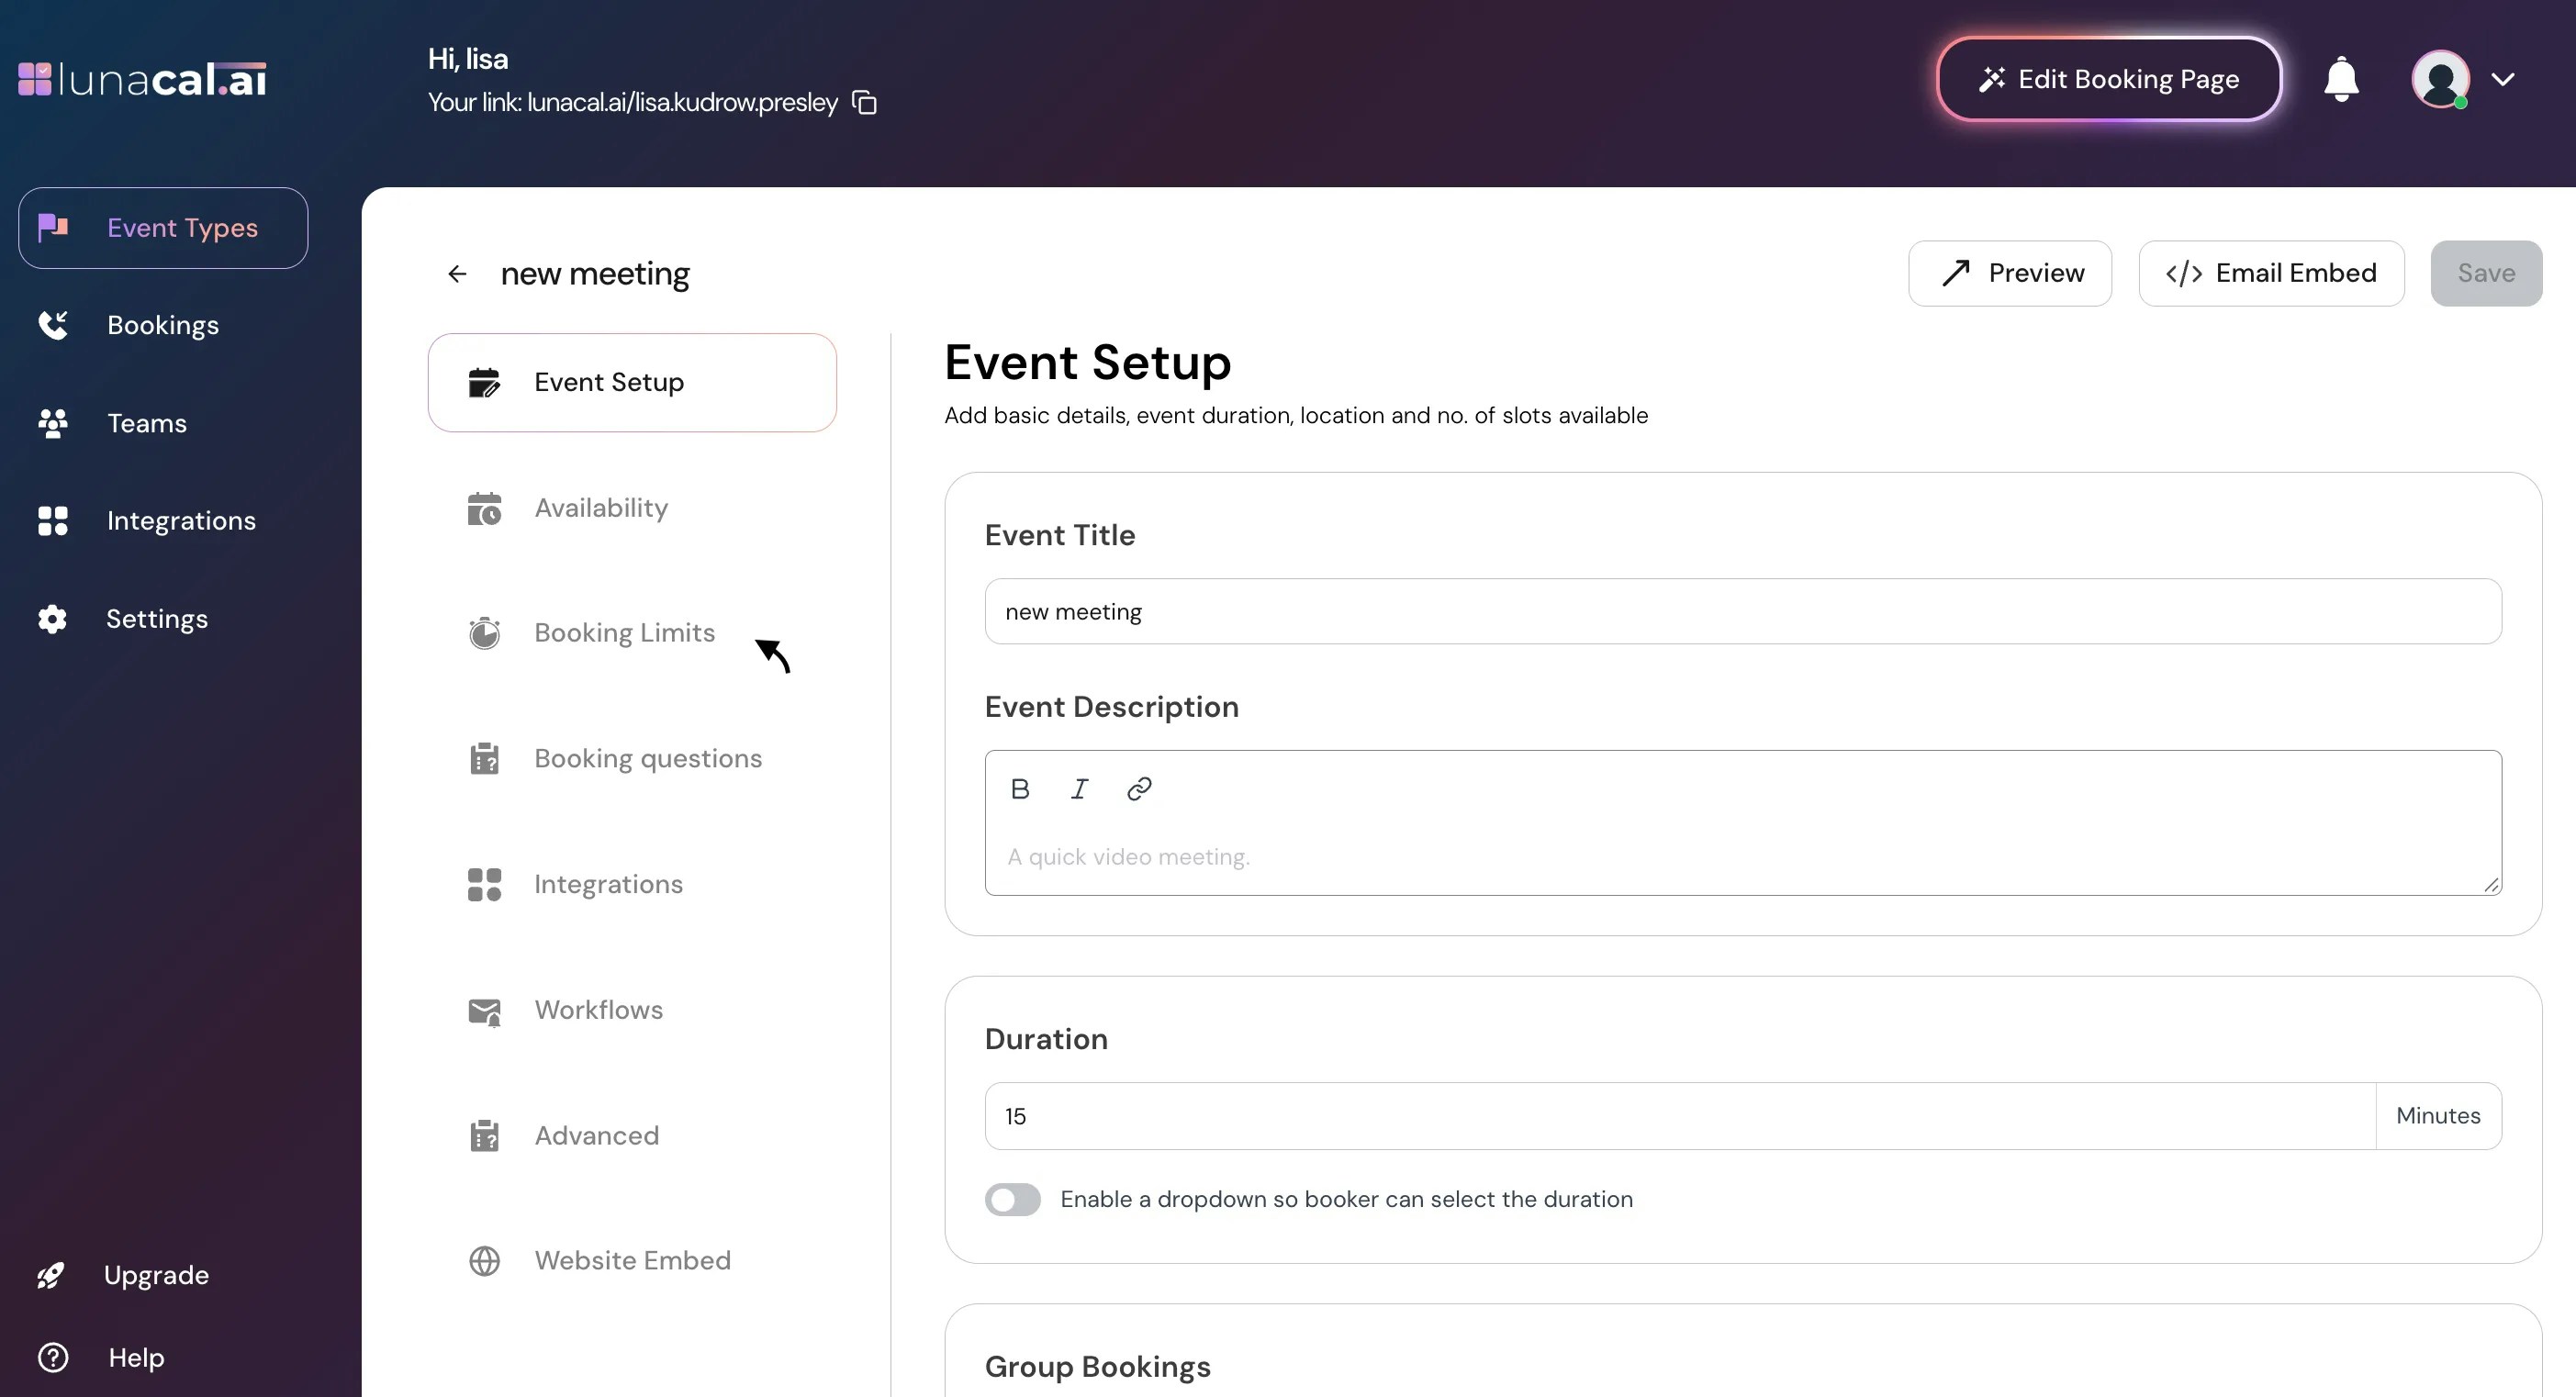
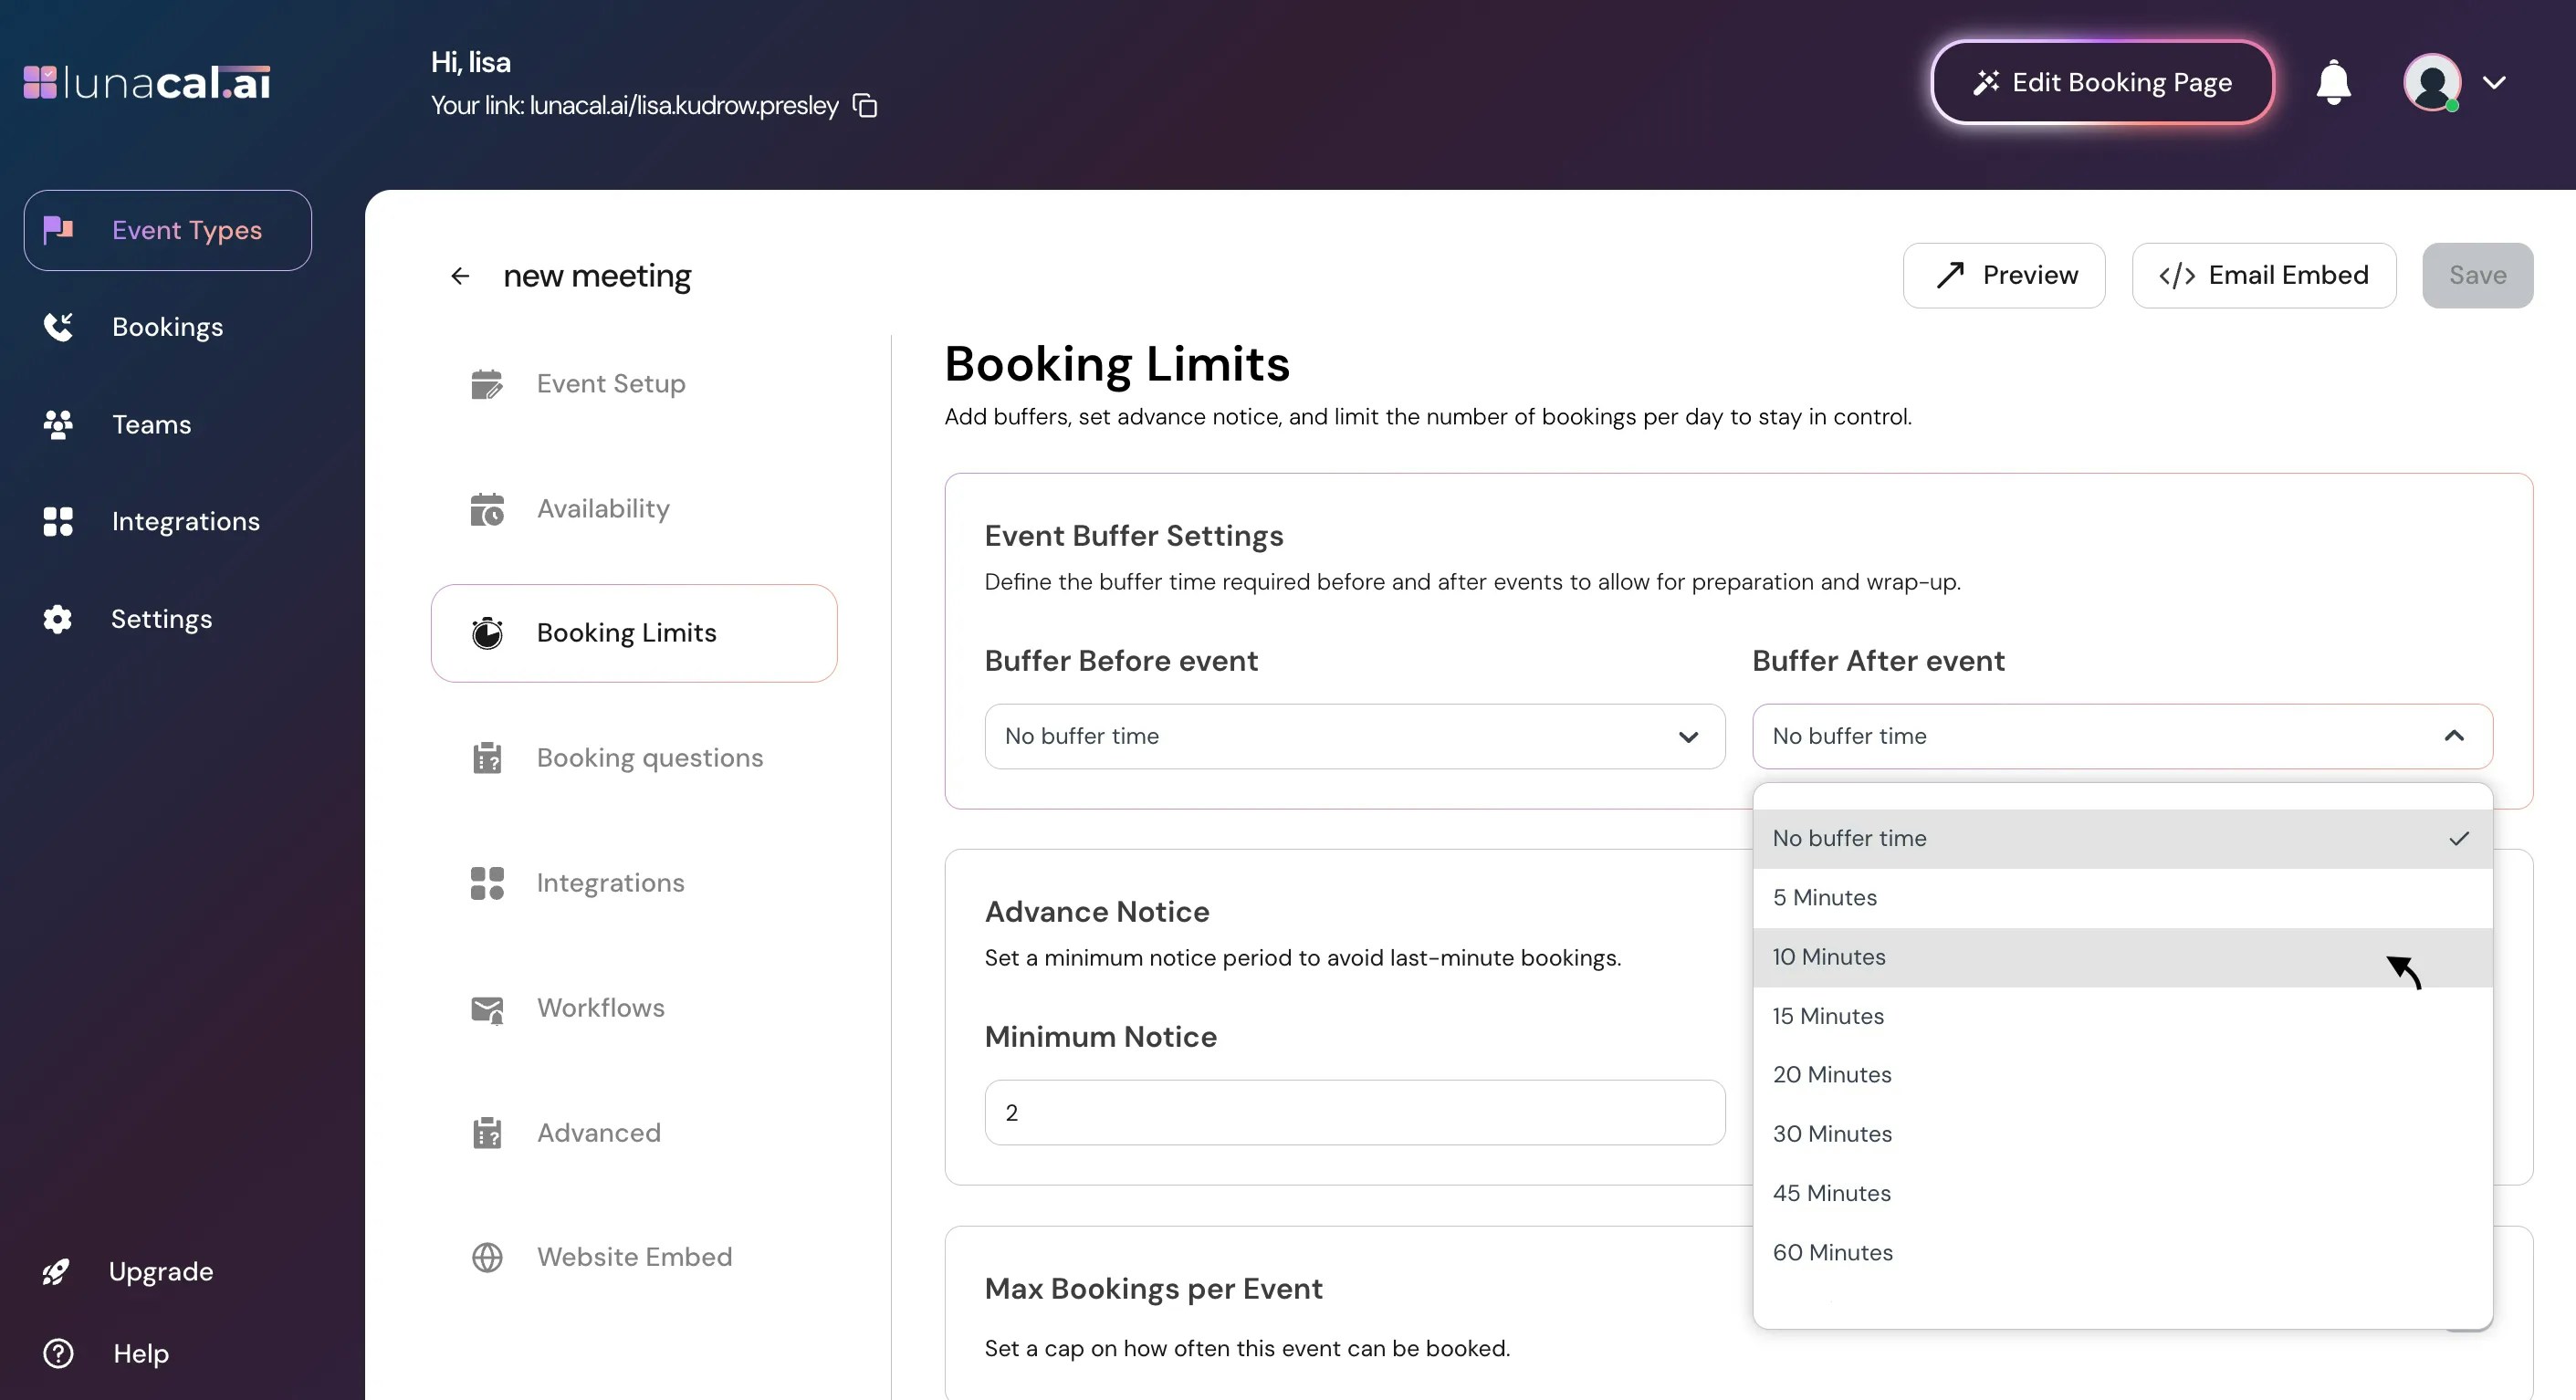
Step 3
In “Booking Limits”, set a buffer before event and buffer after event meetings. You can choose up to 120 minutes for both before and after buffers.Recommended default value : Buffer Before: 10 minutes
Example: Add a 10-minute buffer before a demo to review notes and open your deck. 🕒

Step 4
Set a buffer after event to avoid back-to-back calls.Recommended default value : Buffer After: 15 minutes
Example: Add 15–20 minutes after a sales call to write follow-up points and reset.
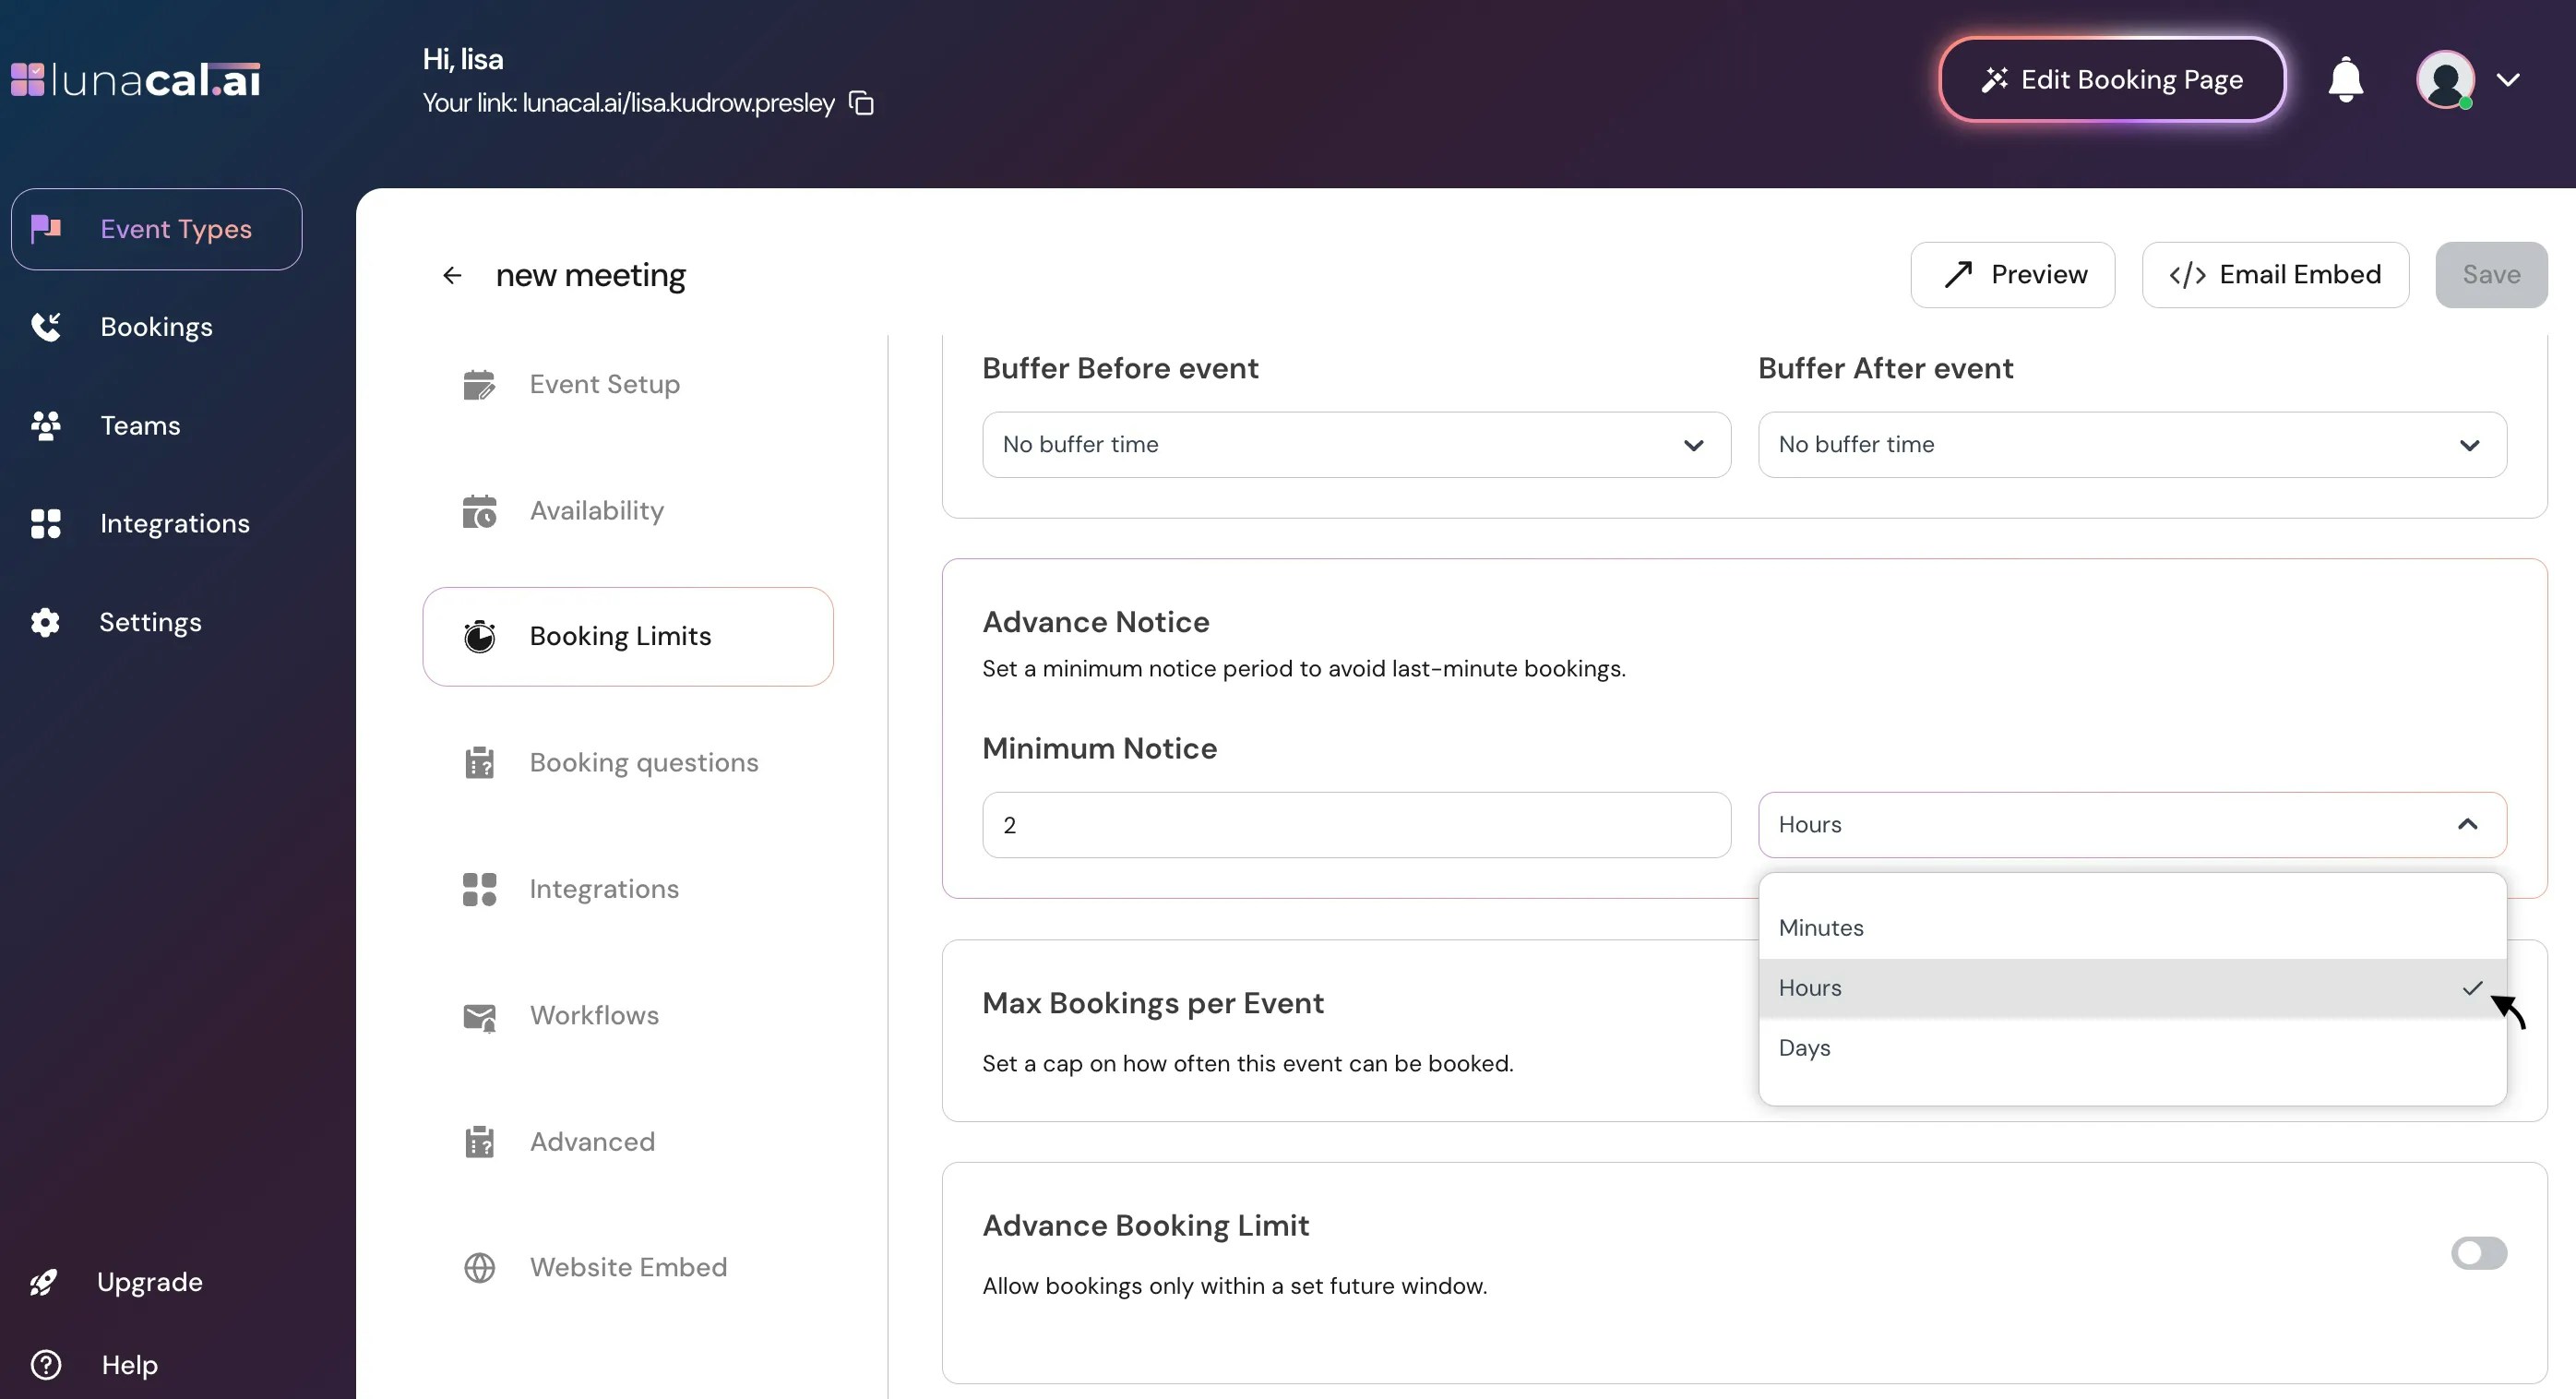
Step 5
In the Advance Notice section, define the minimum notice lead time before someone can book you. This prevents last-minute bookings (for example, within the next hour). You can set the notice in minutes, hours, or days.Recommended default value : Advance Notice: 2 hours
Example: Require at least 2 hours’ notice so you’re not surprised by immediate bookings.
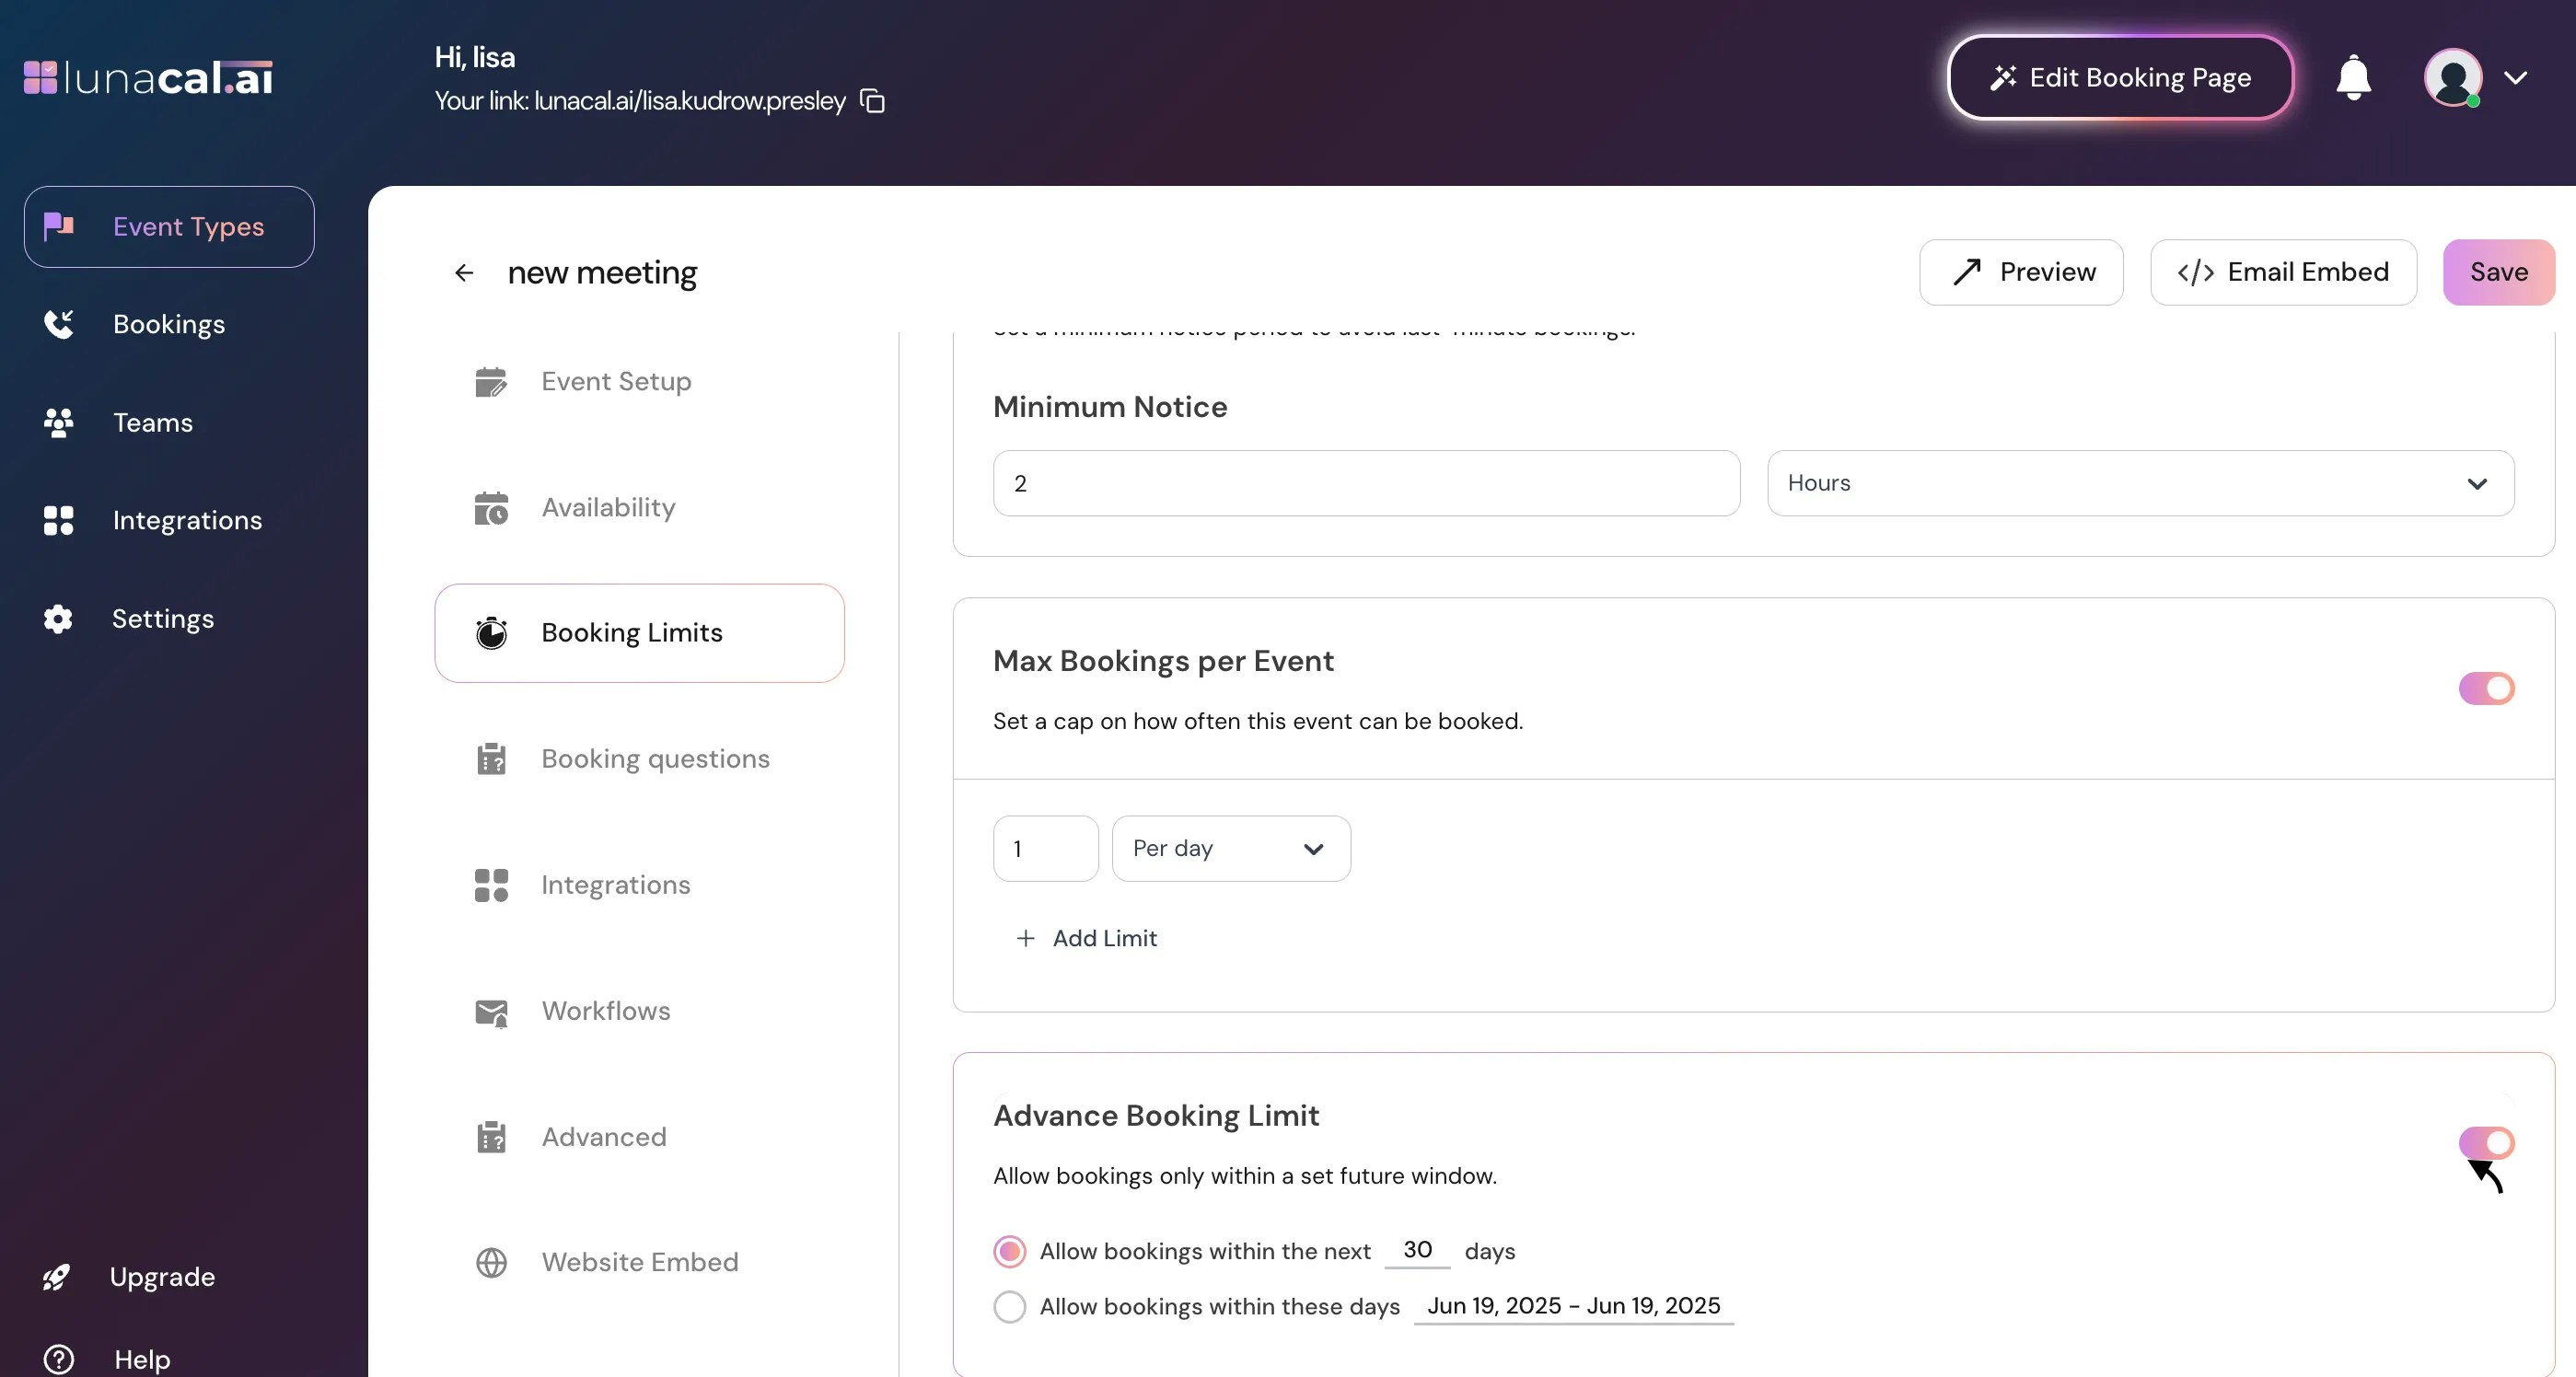
Step 6
Limit booking frequency on “Max Bookings per Event” to control how many times someone can book you within a period. You can restrict to one booking per day, week, month, or year, and you can add multiple limits (up to 4) for an event.Recommended default value : Advance Booking Limit: 30 days
Example: Cap coaching to 2 sessions per week per person to manage workload.

Step 7
Set the “Advance Booking Limit” to control how far into the future people can see and book. You can allow booking within 30 days or specify the exact days you want open.Note : When limits such as Advance Booking Limit or Advance Notice are updated, the changes apply only to new bookings. Existing bookings remain unaffected.
Example: Show only the next 30 days so your calendar doesn’t get locked months ahead.
Step 8
Once all settings are in place, click the “Save” button to apply your limits and buffer settings.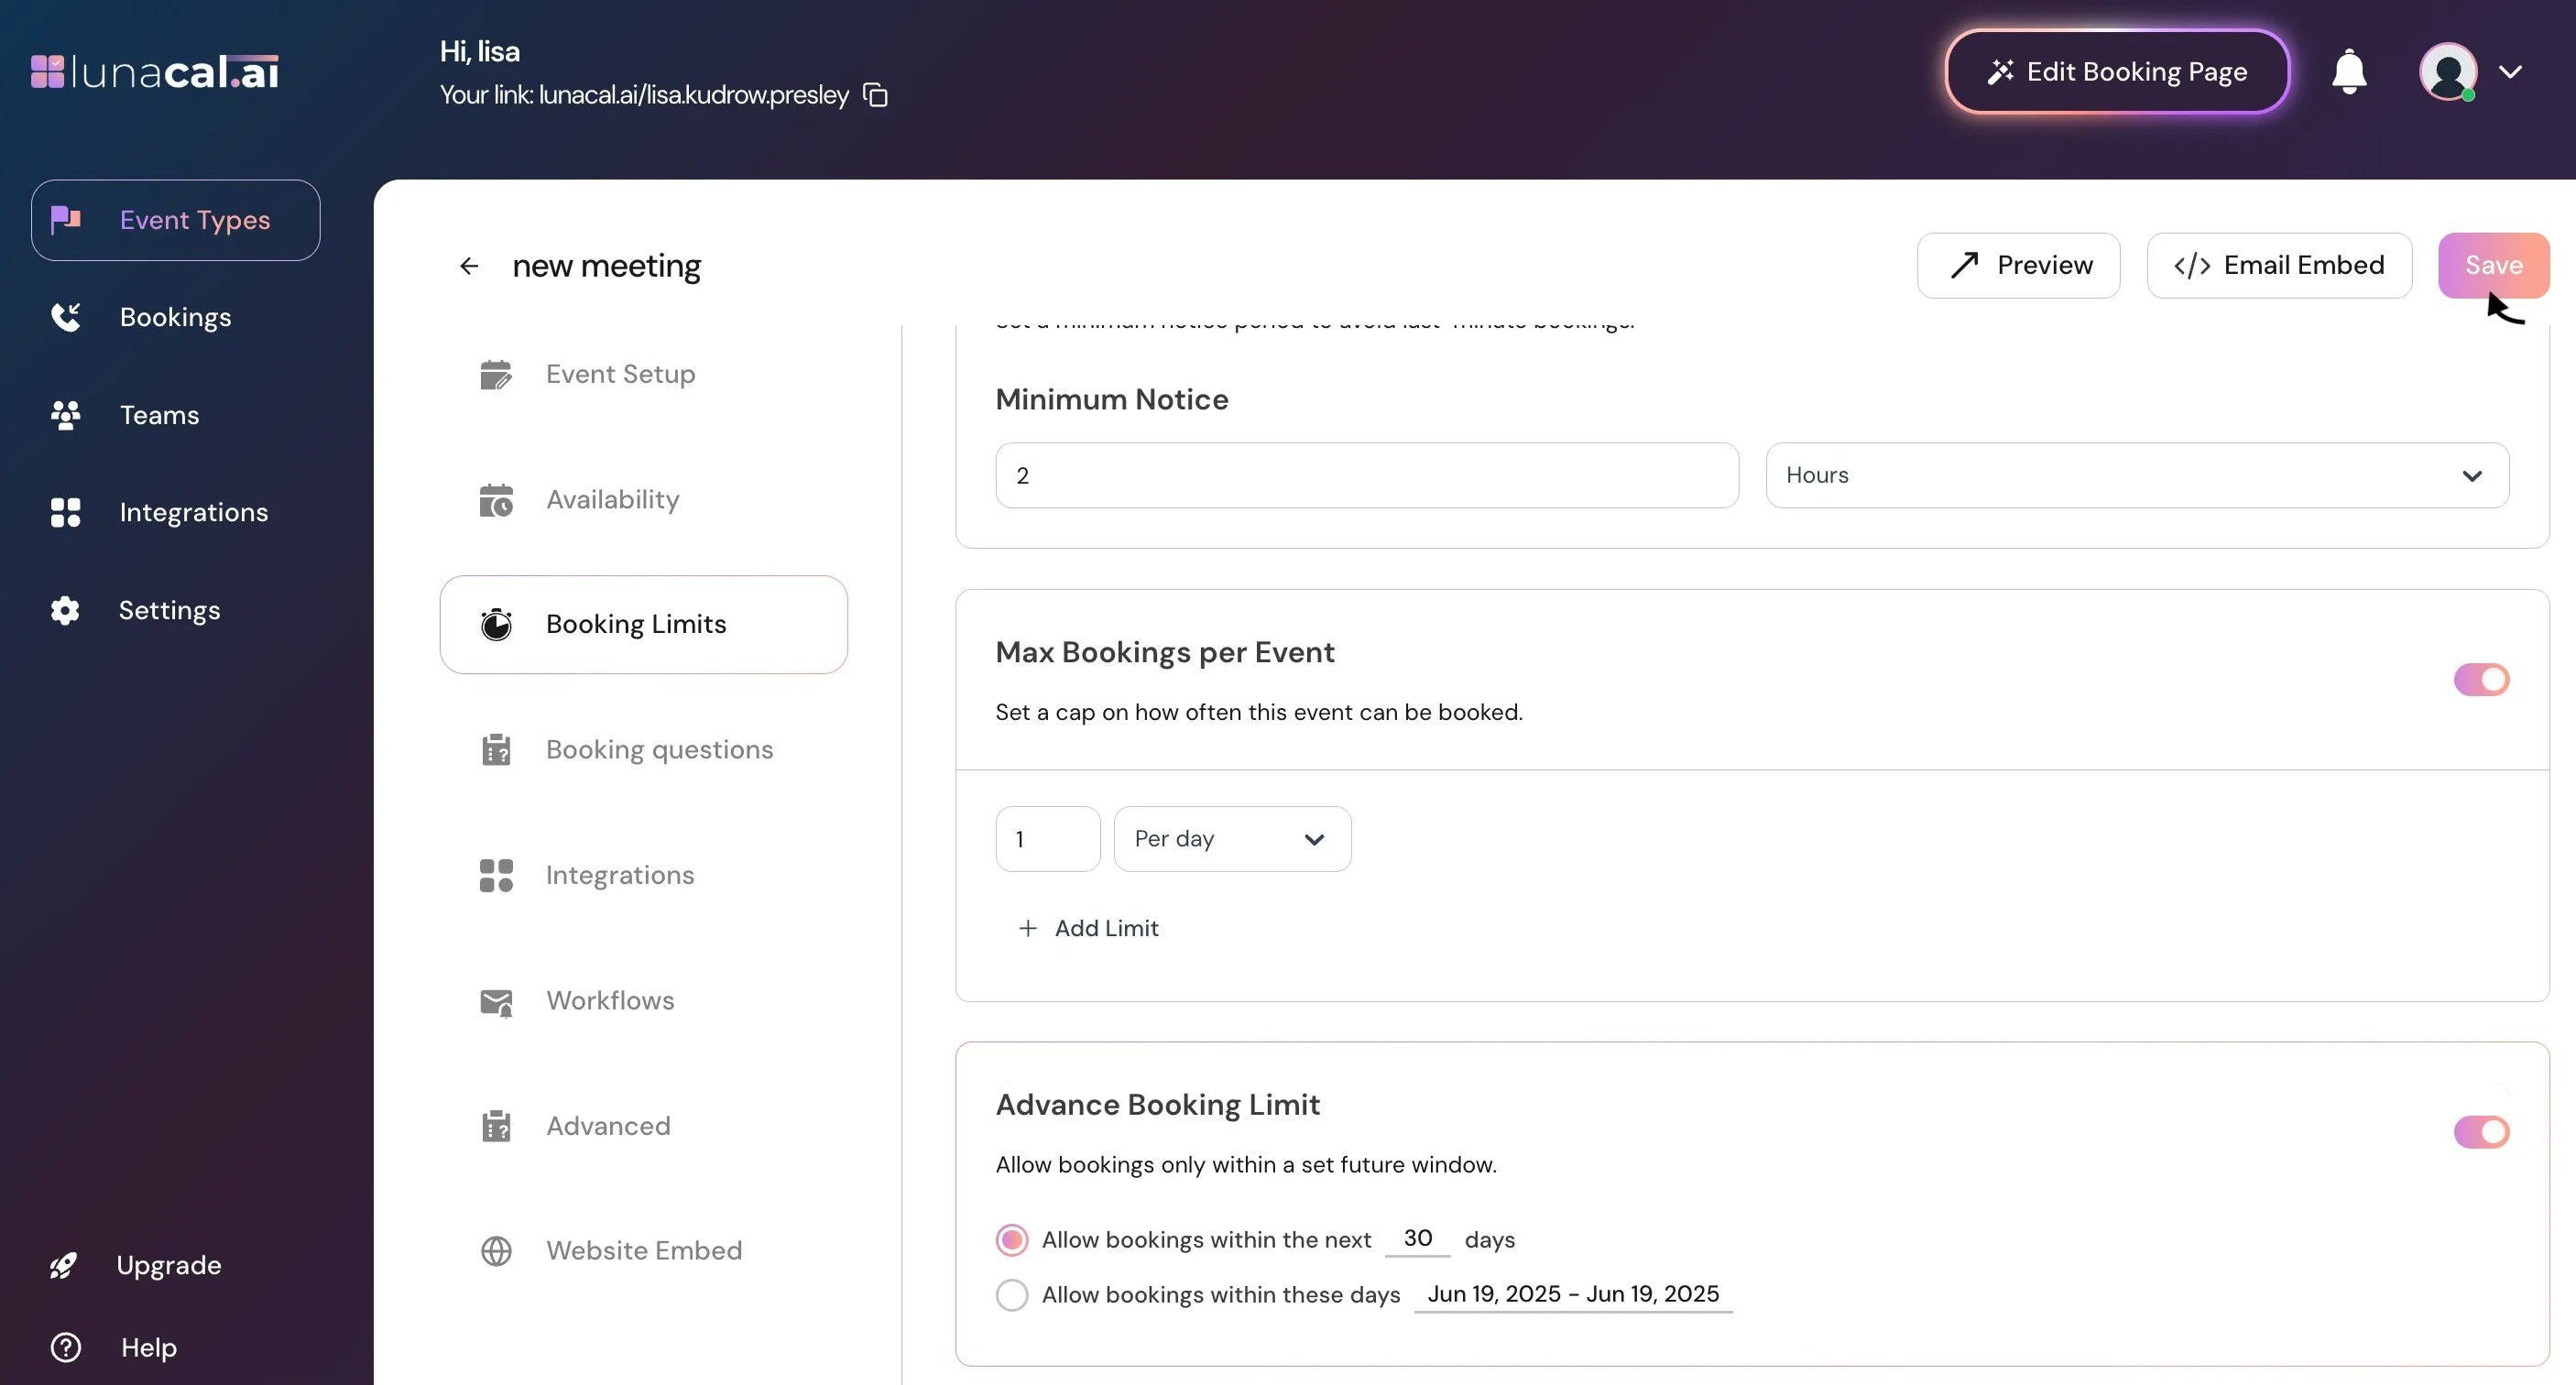
• Forgetting to click “Save”, which leaves old settings active.
• Setting buffers but leaving the advance notice at “0”, allowing last-minute bookings anyway.
• Adding overlapping frequency limits (e.g., 1 per day and 1 per 24 hours) that confuse availability.
• Setting a very short “Advance Booking Limit” (e.g., 3 days) and then wondering why next week looks unavailable. Good defaults to start with :
• Buffers: 10 minutes before, 15 minutes after.
• Advance notice: 2 hours (same-day safety net).
• Booking frequency: 1 per day per person for longer sessions; none for quick 15-minute chats.
• “Advance Booking Limit”: 30 days (opens rolling availability without overcommitting).