Documentation Index
Fetch the complete documentation index at: https://help.lunacal.ai/llms.txt
Use this file to discover all available pages before exploring further.
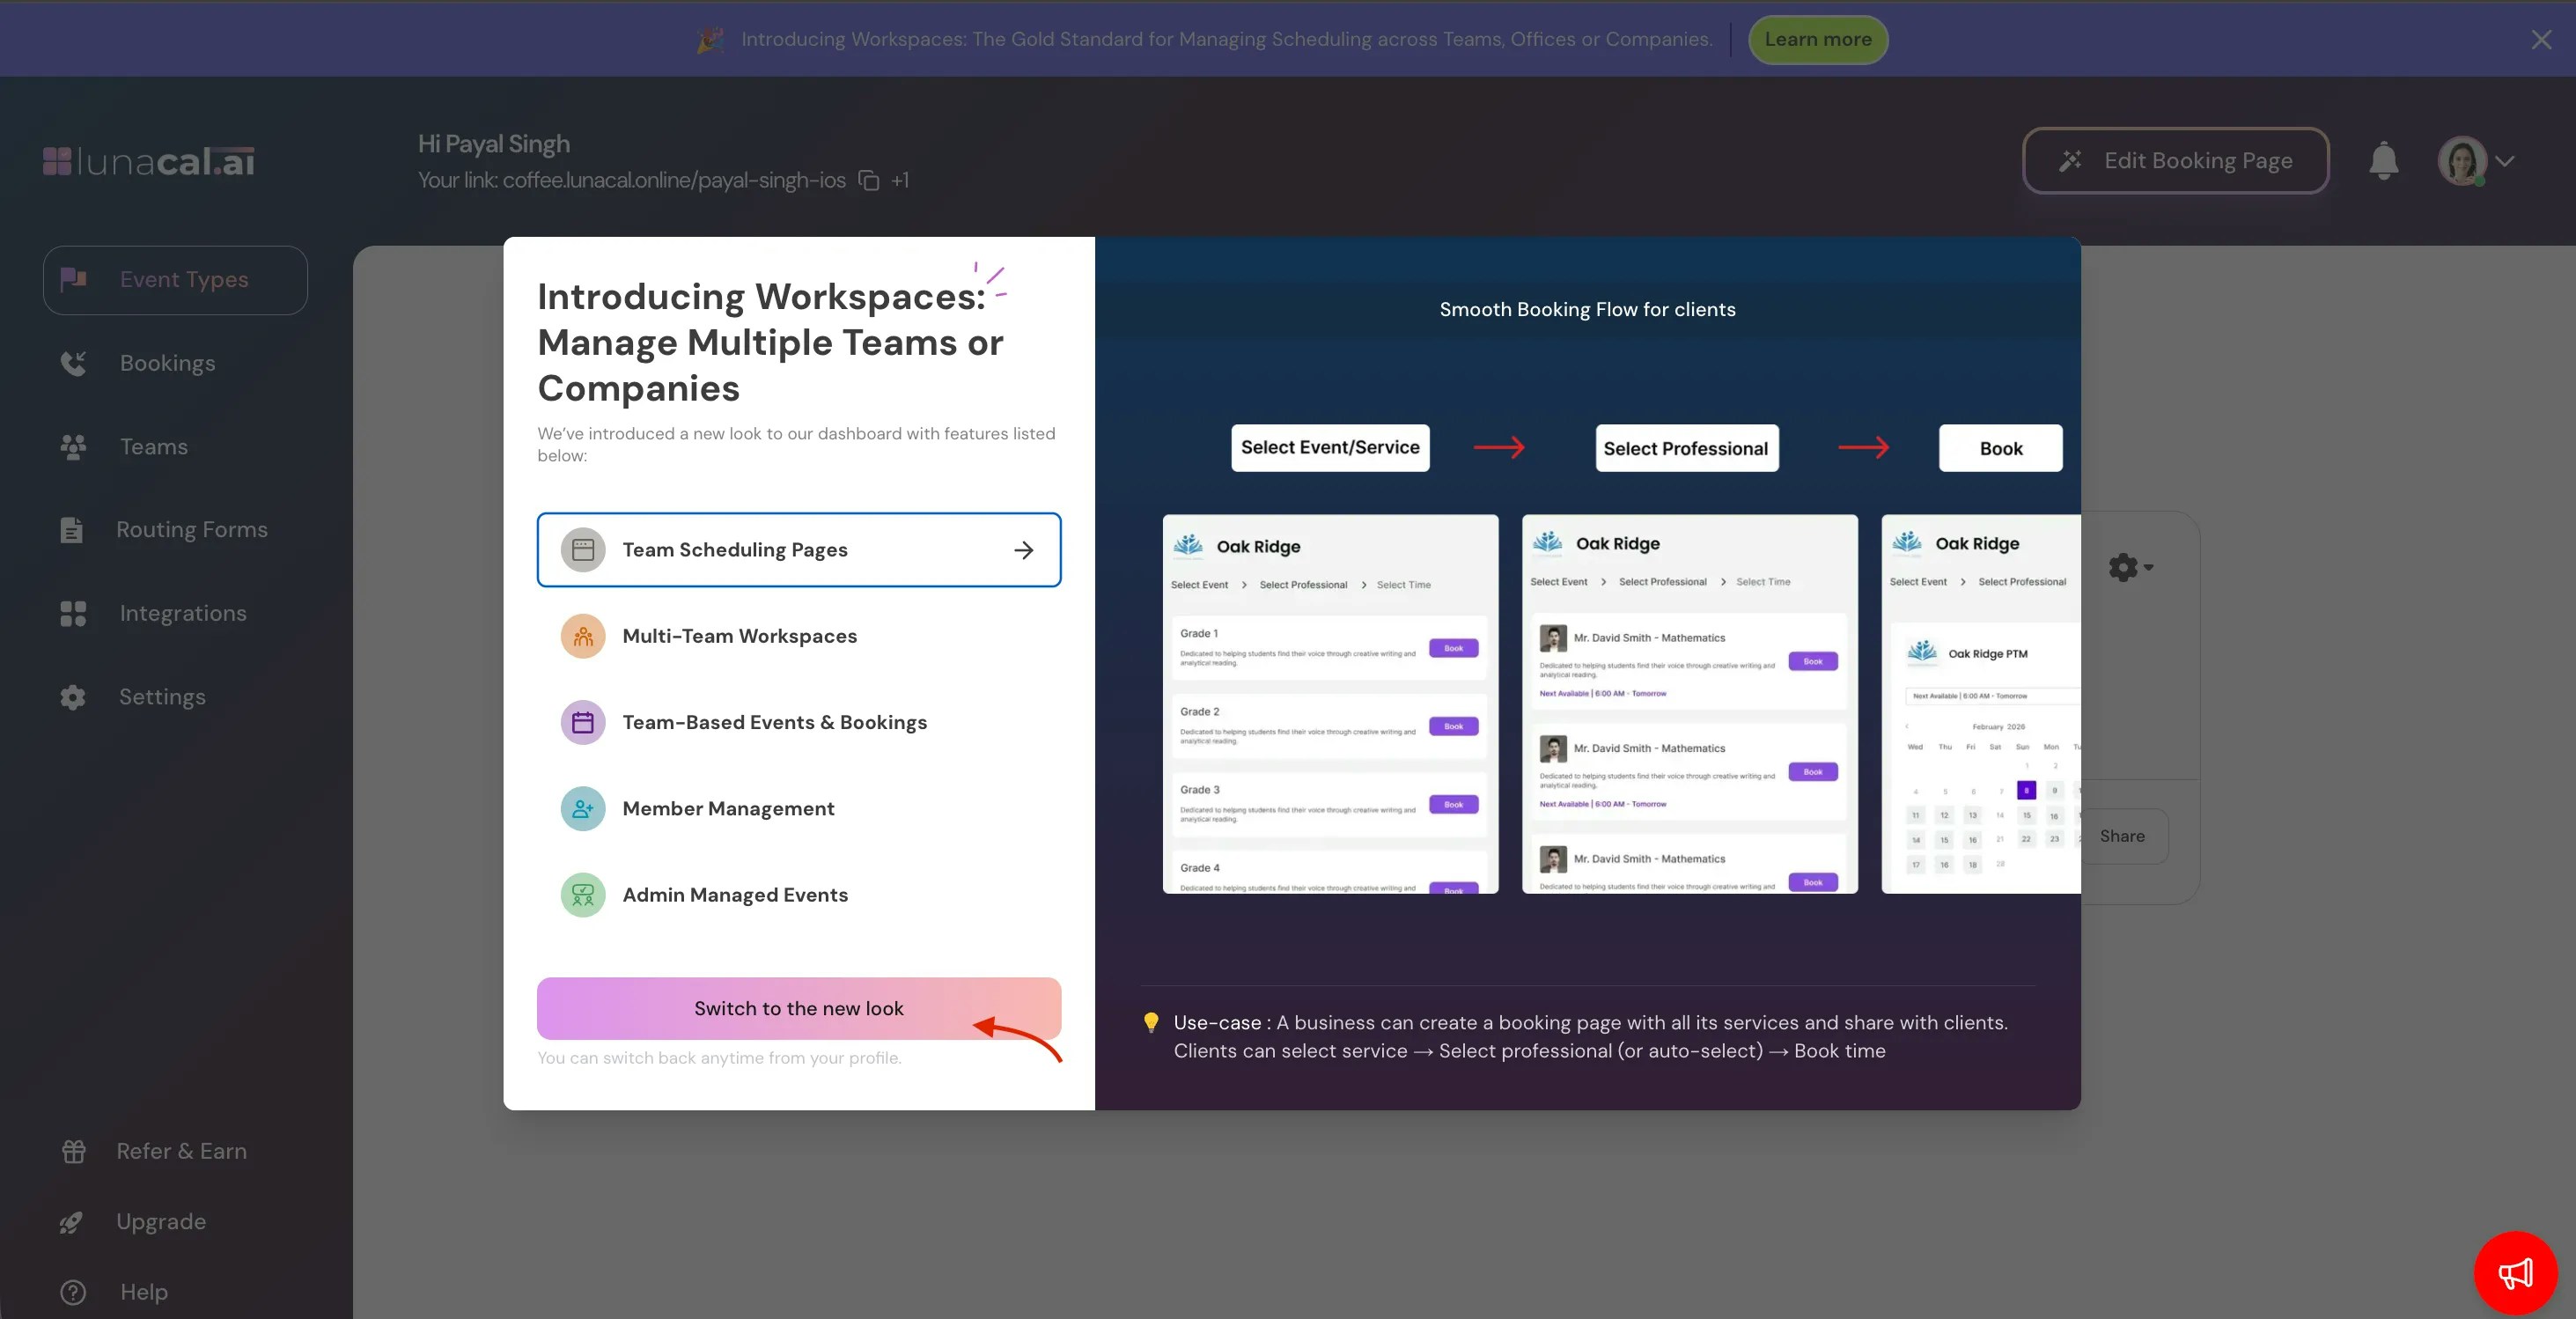
We’ve Moved to Workspace
We’ve upgraded Teams to our new Workspace interface. Go to your Dashboard → click Learn More on the banner → select Switch to New UI. Your existing data remains unchanged.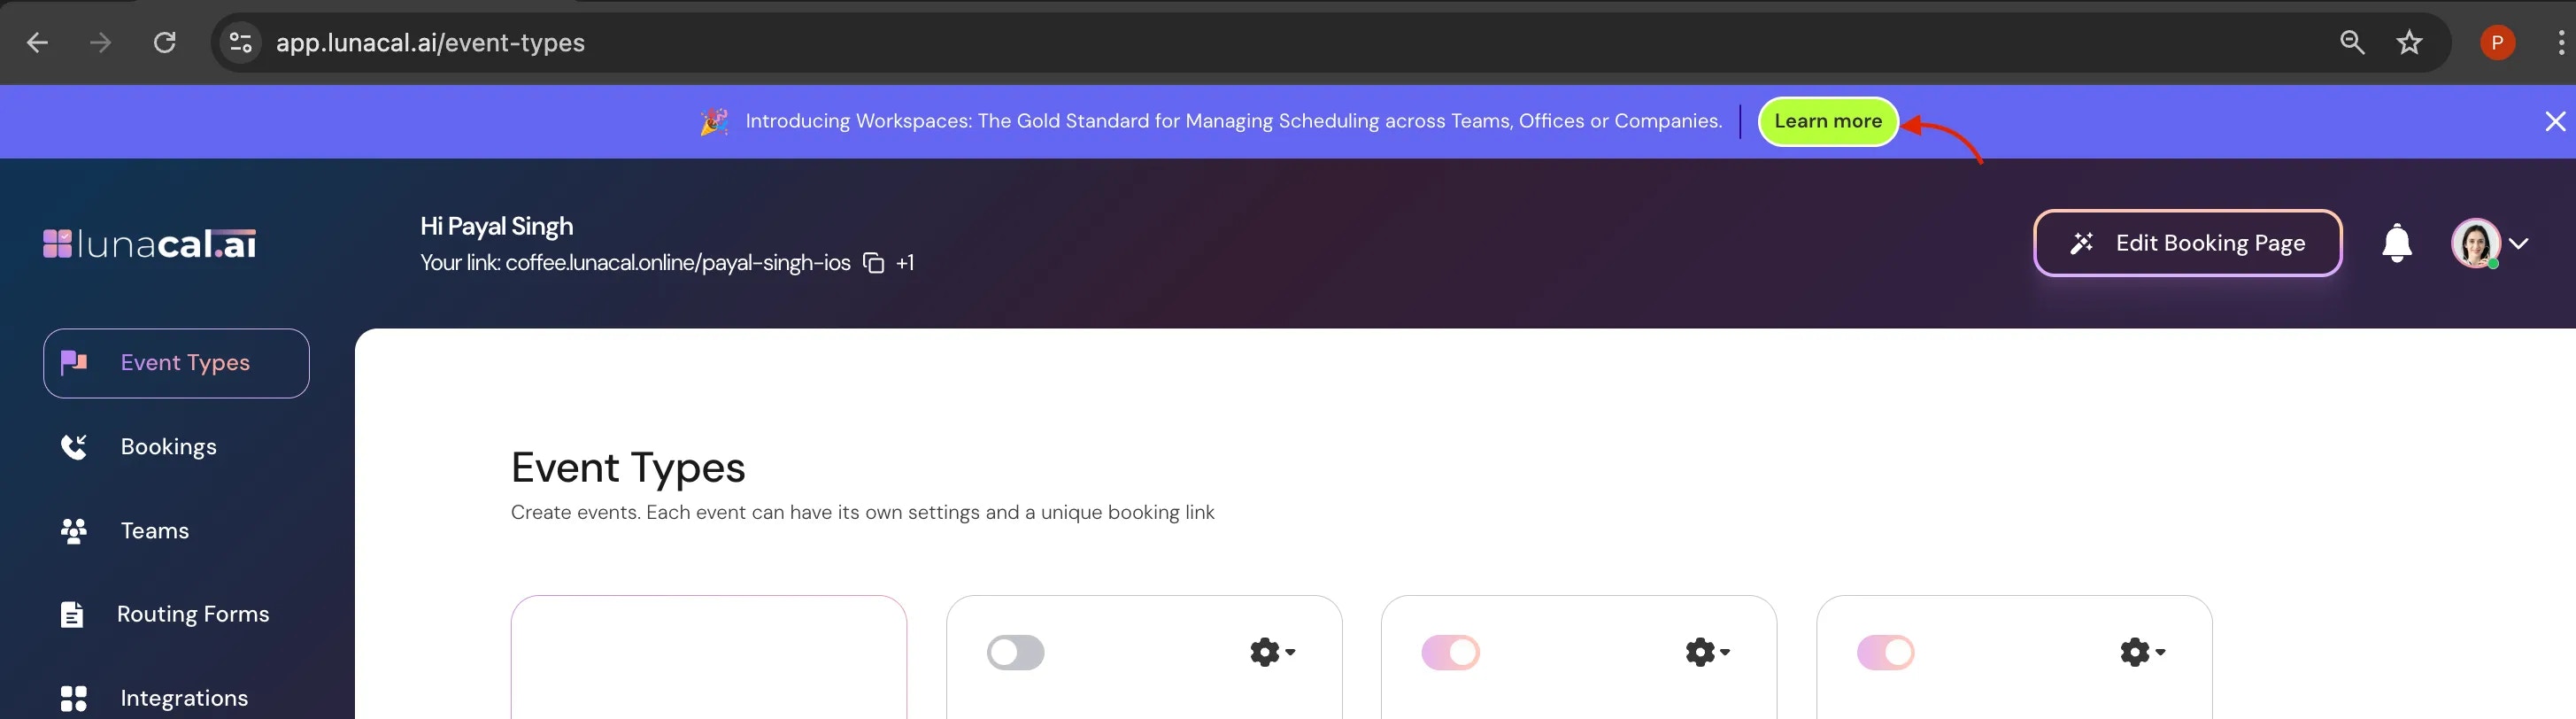
Use “Teams” to group people by department, project, or location and control access in one place. It keeps invites, roles, and membership clear.
Step 1
Navigate to the “Teams” section and click “Create a new team”.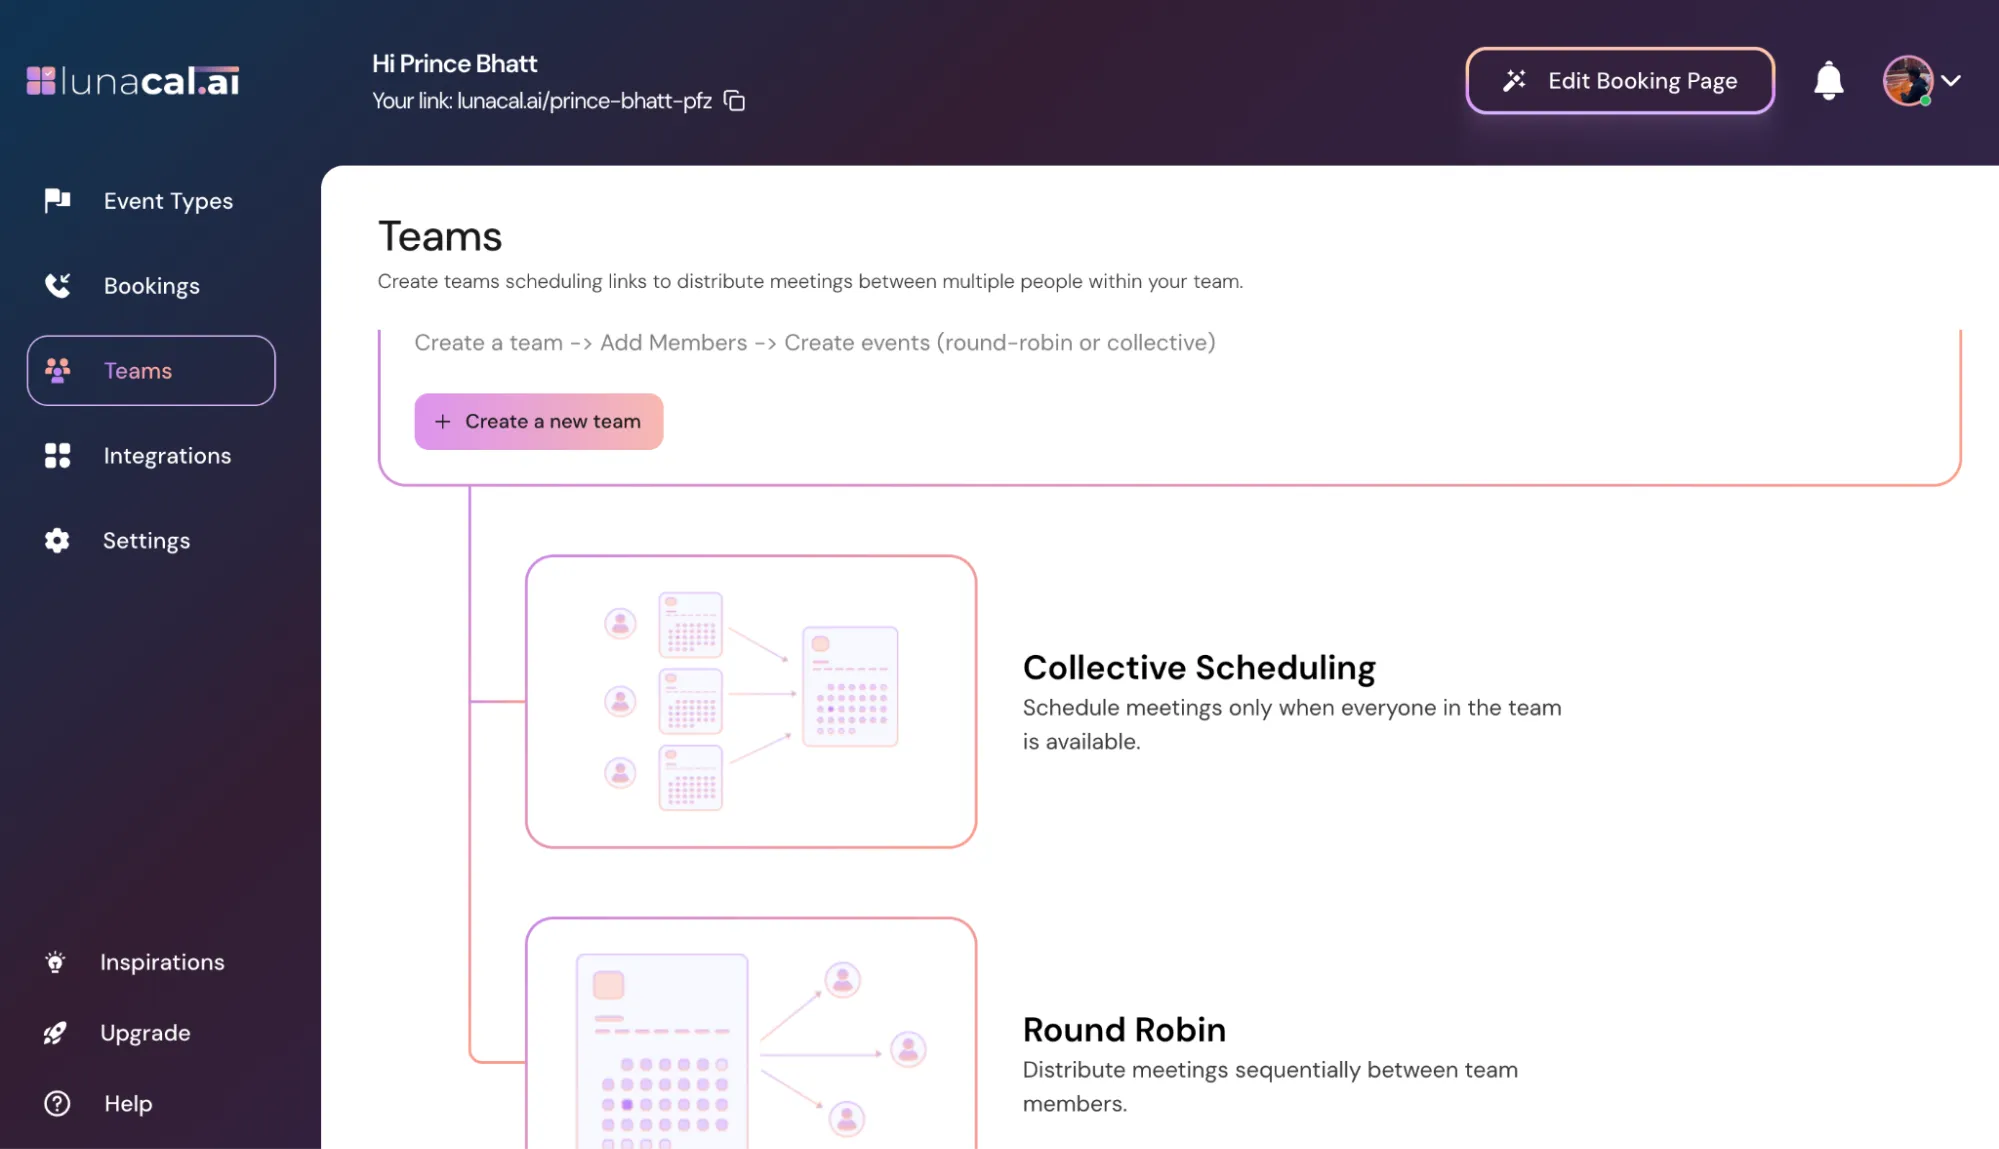
Step 2
Enter the name of your team (for example, “Sales North America”), then click “Continue”.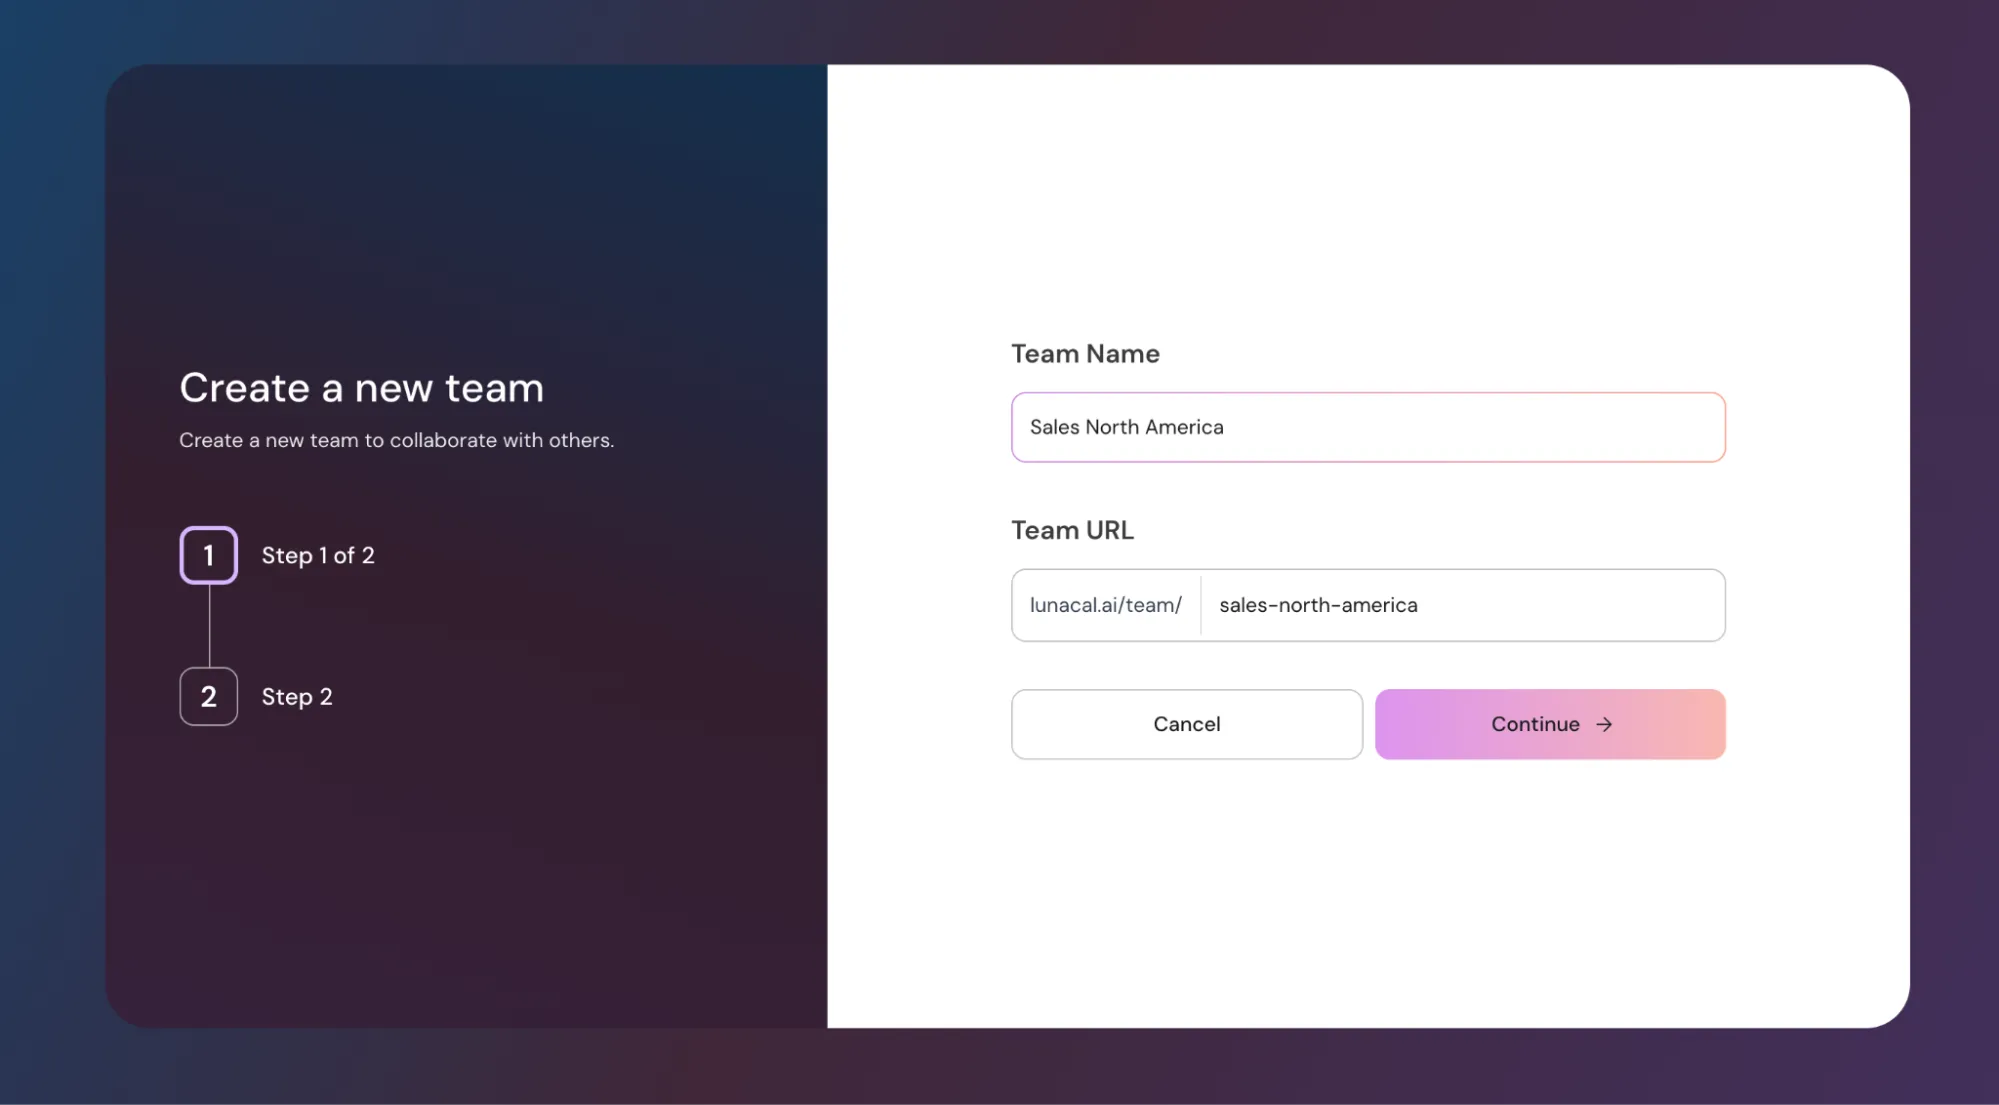
Step 3
Click “Add Team Member”. This opens the invite page.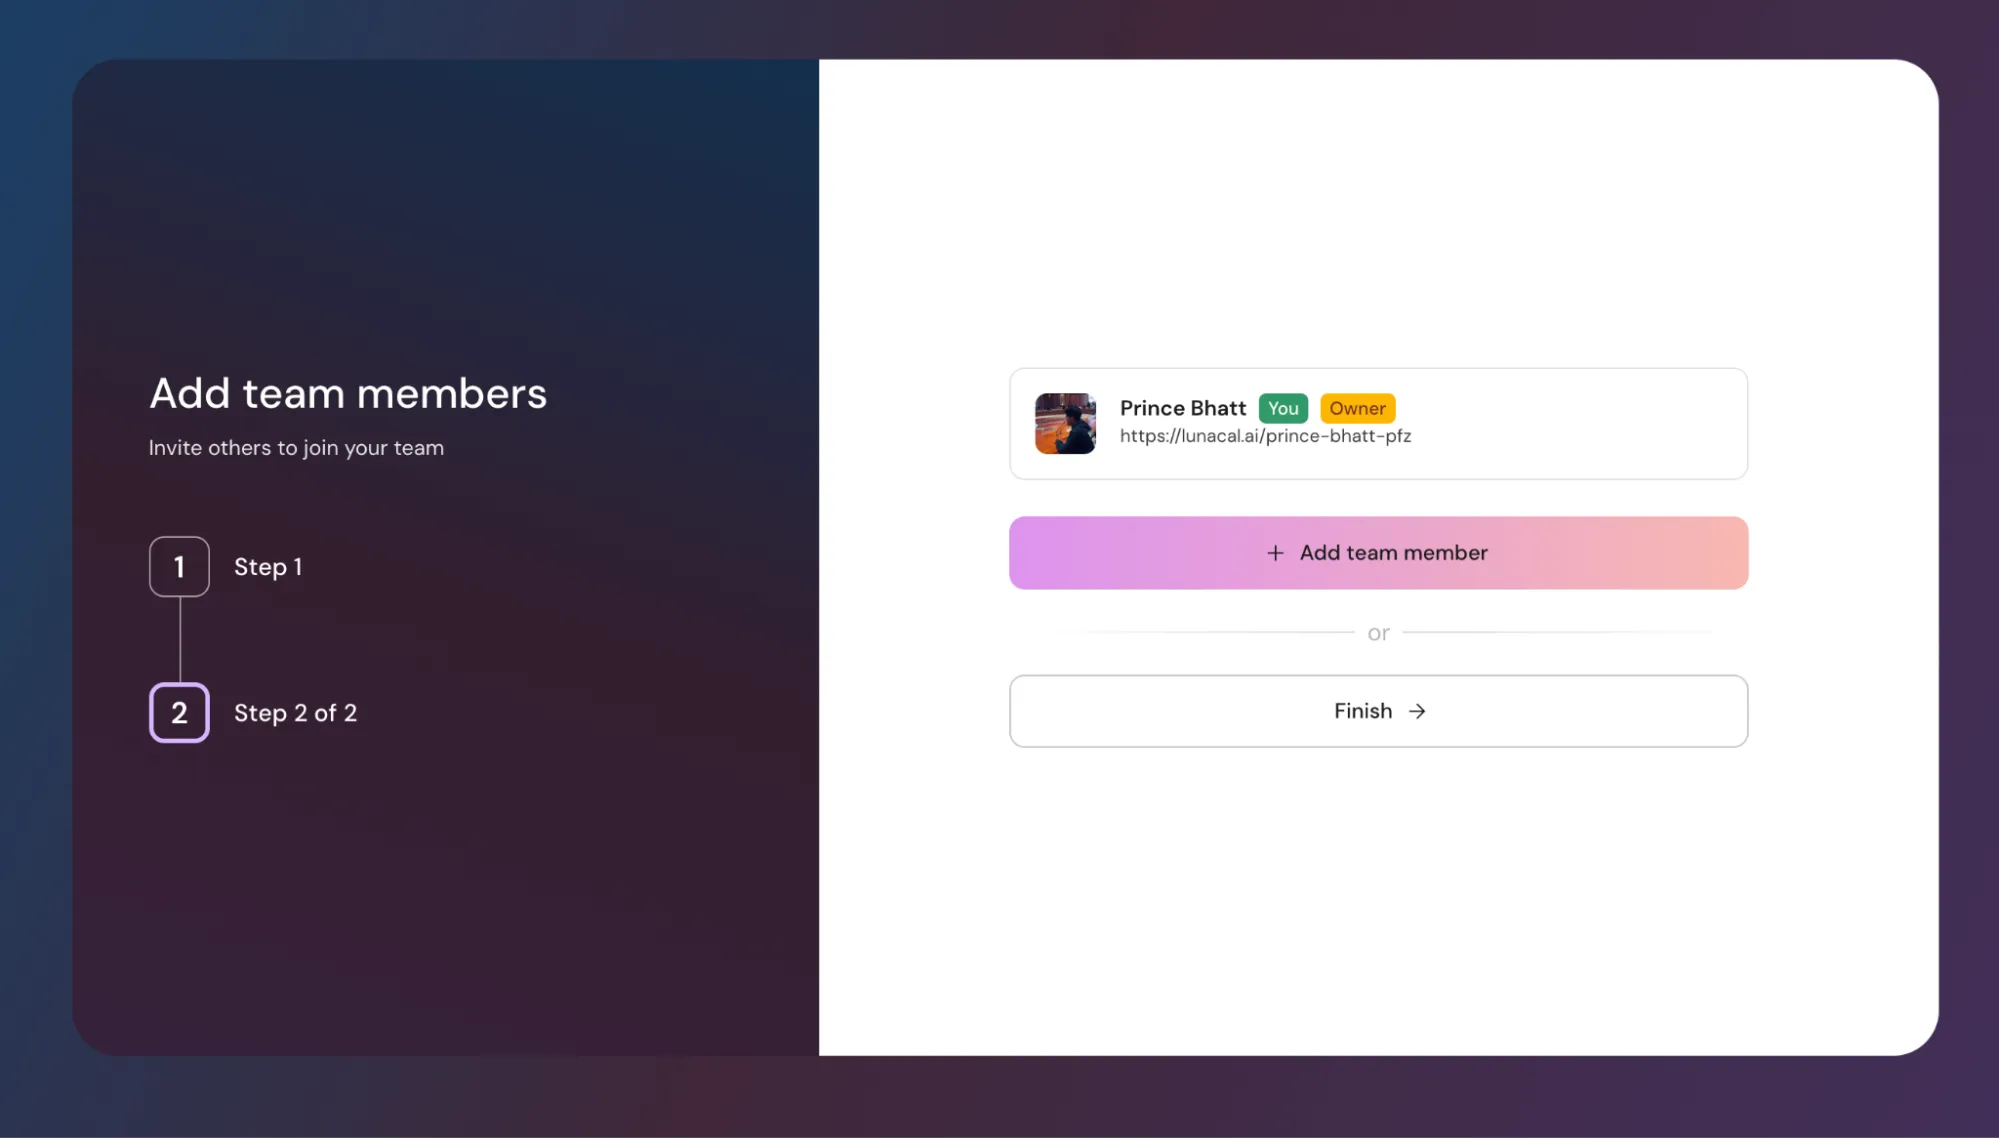
Step 4
Enter the email address (or multiple addresses) you want to add.
Step 5
To give the same role (for example, all “Members”), enter multiple emails together and choose the role once. To assign different roles: Enter an email → Select a role → Click “Send invite” Repeat for the next email with another role.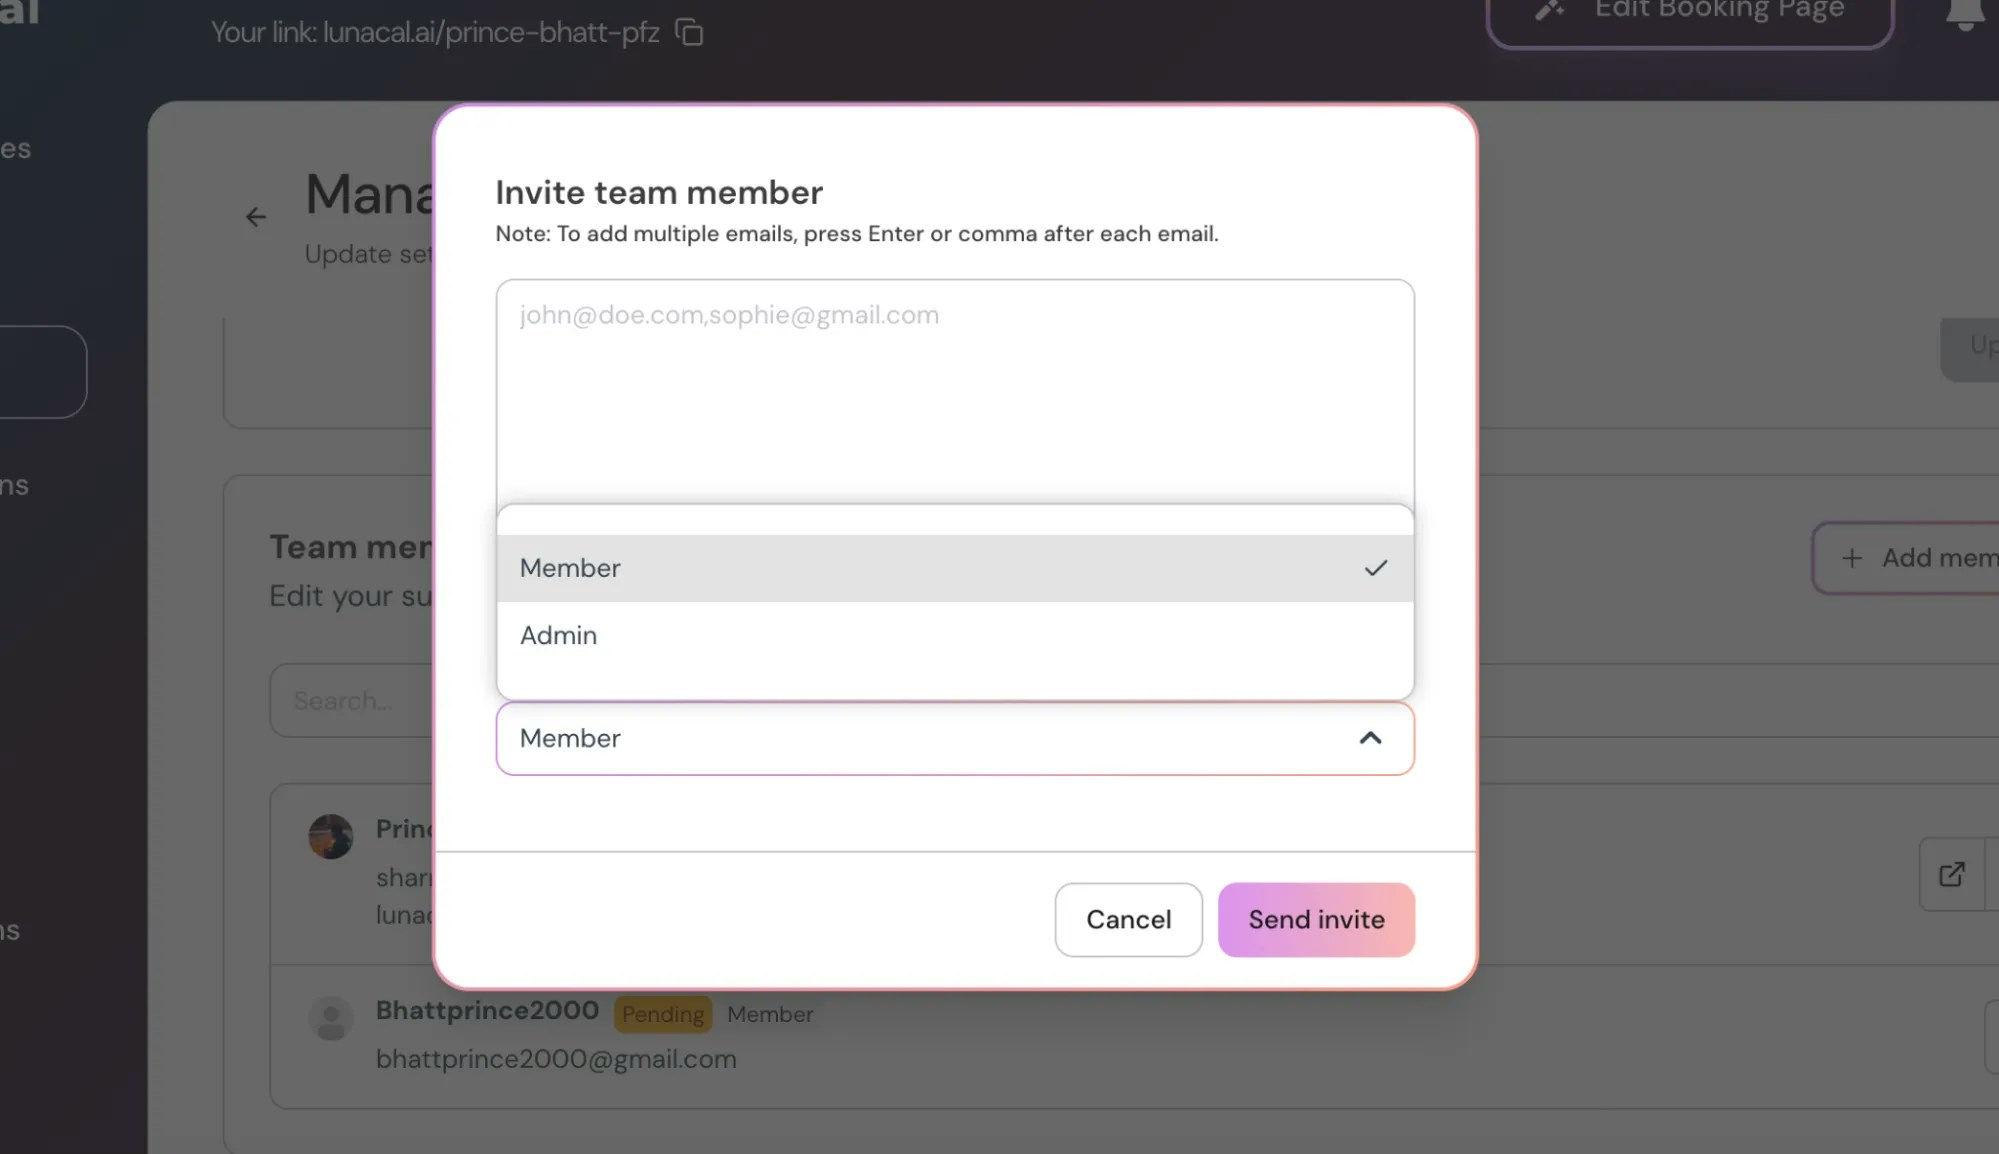
| Action | Admin | Member |
|---|---|---|
| Invite/remove users | ✔ | ✖ |
| Manage team settings | ✔ | ✖ |
| Create team events | ✔ | ✖ |
| View team bookings | ✔ | ✖ |
| Delete team | ✔ | ✖ |
| Embed | ✔ | ✔ |
| Share Booking Pages | ✔ | ✔ |
Permissions Summary
Example Keep managers as “Admins” so they can edit team settings; set agents as “Members” to book and manage their events.Step 6
User receives an invitation email.
Step 7
Your team member will receive an invitation email. If they are not already on Lunacal, they need to click “Create your account” to join your team.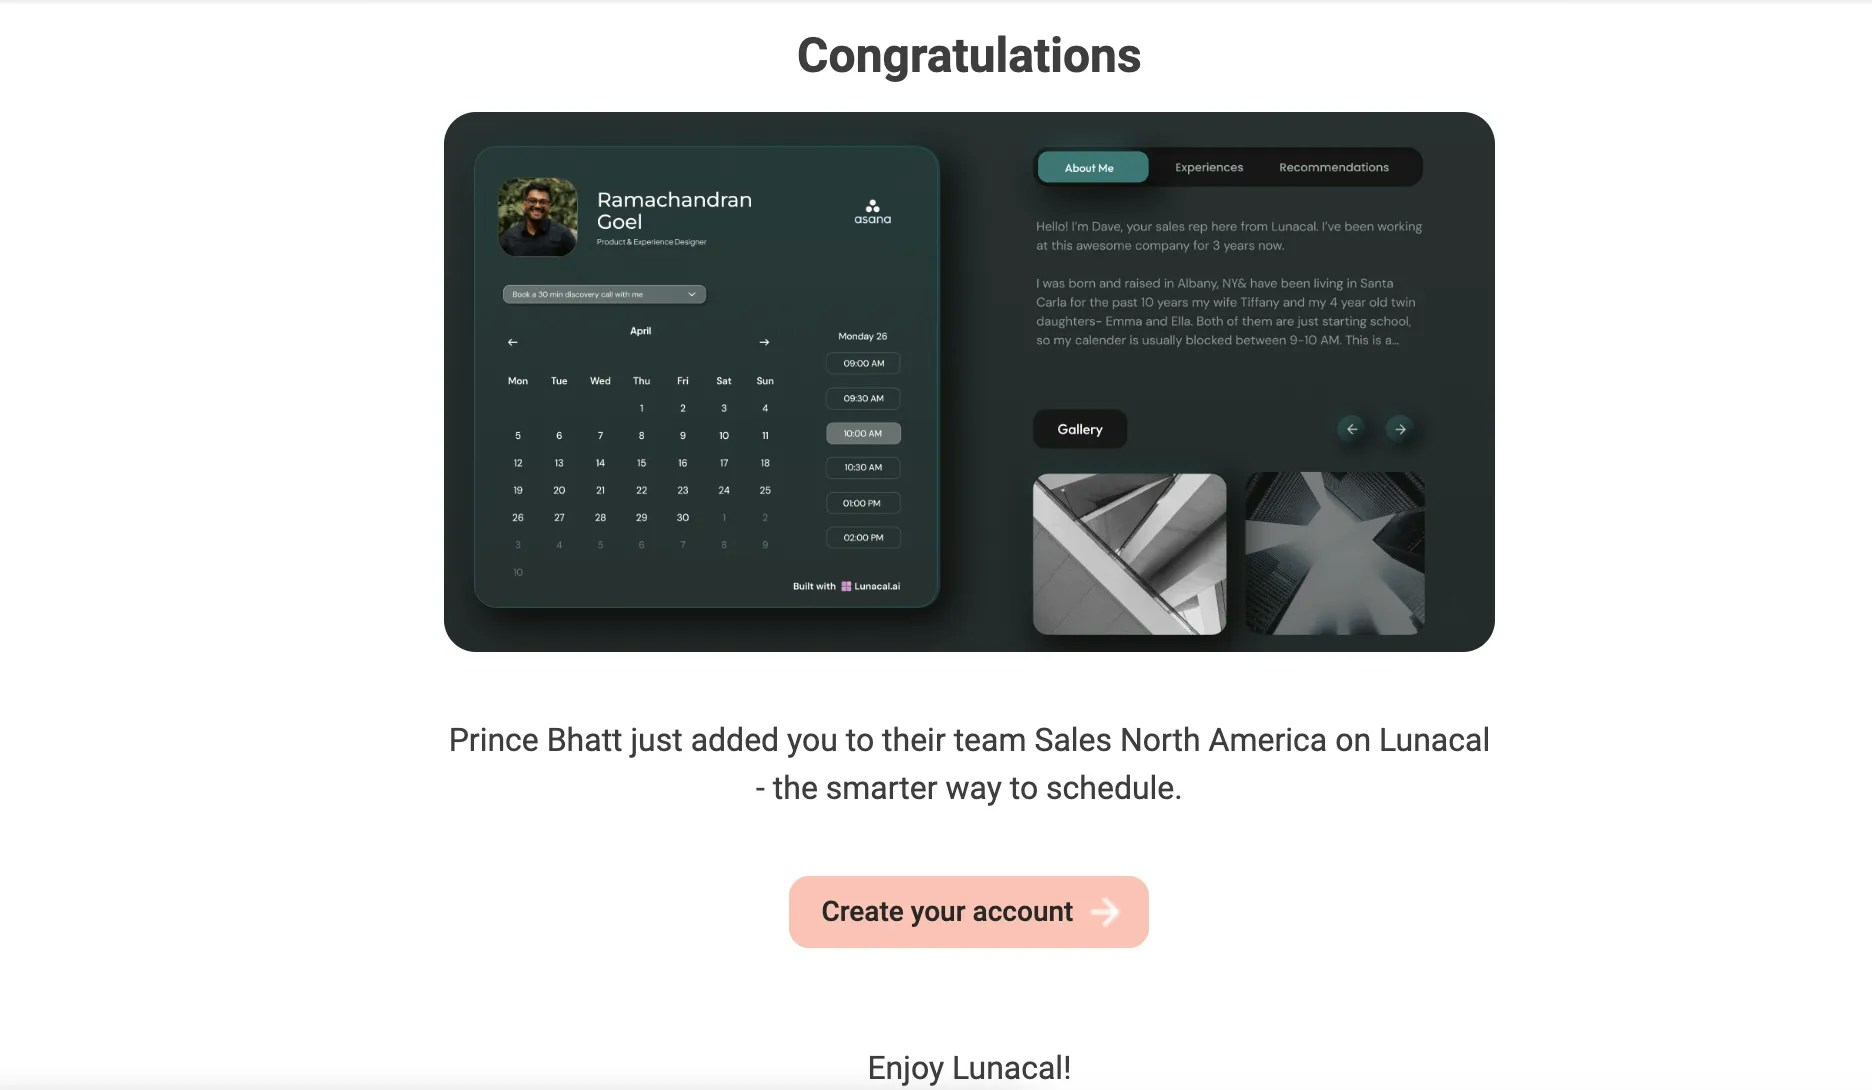
Step 8
After clicking “Create your account”, they complete the sign-up form to join Lunacal.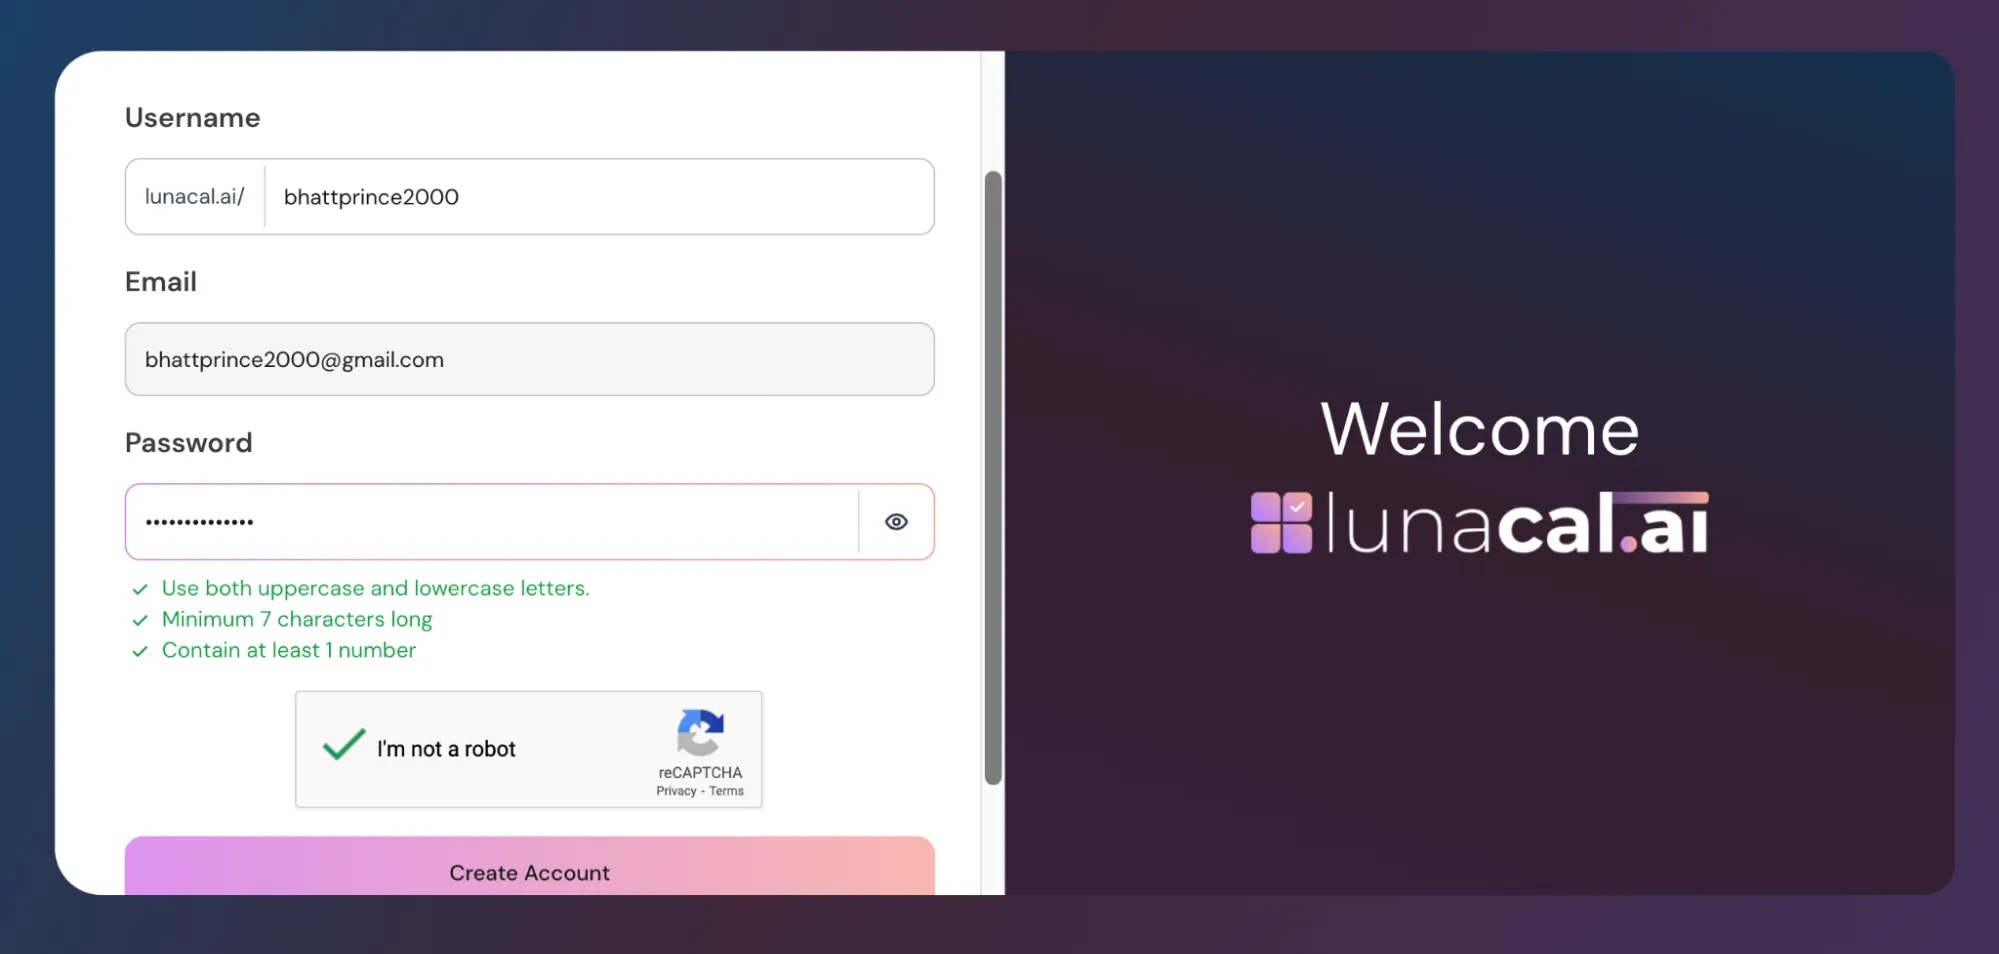
Step 9
Important: After creating their account, the user must go to the “Teams” section and click “Accept” to join the team.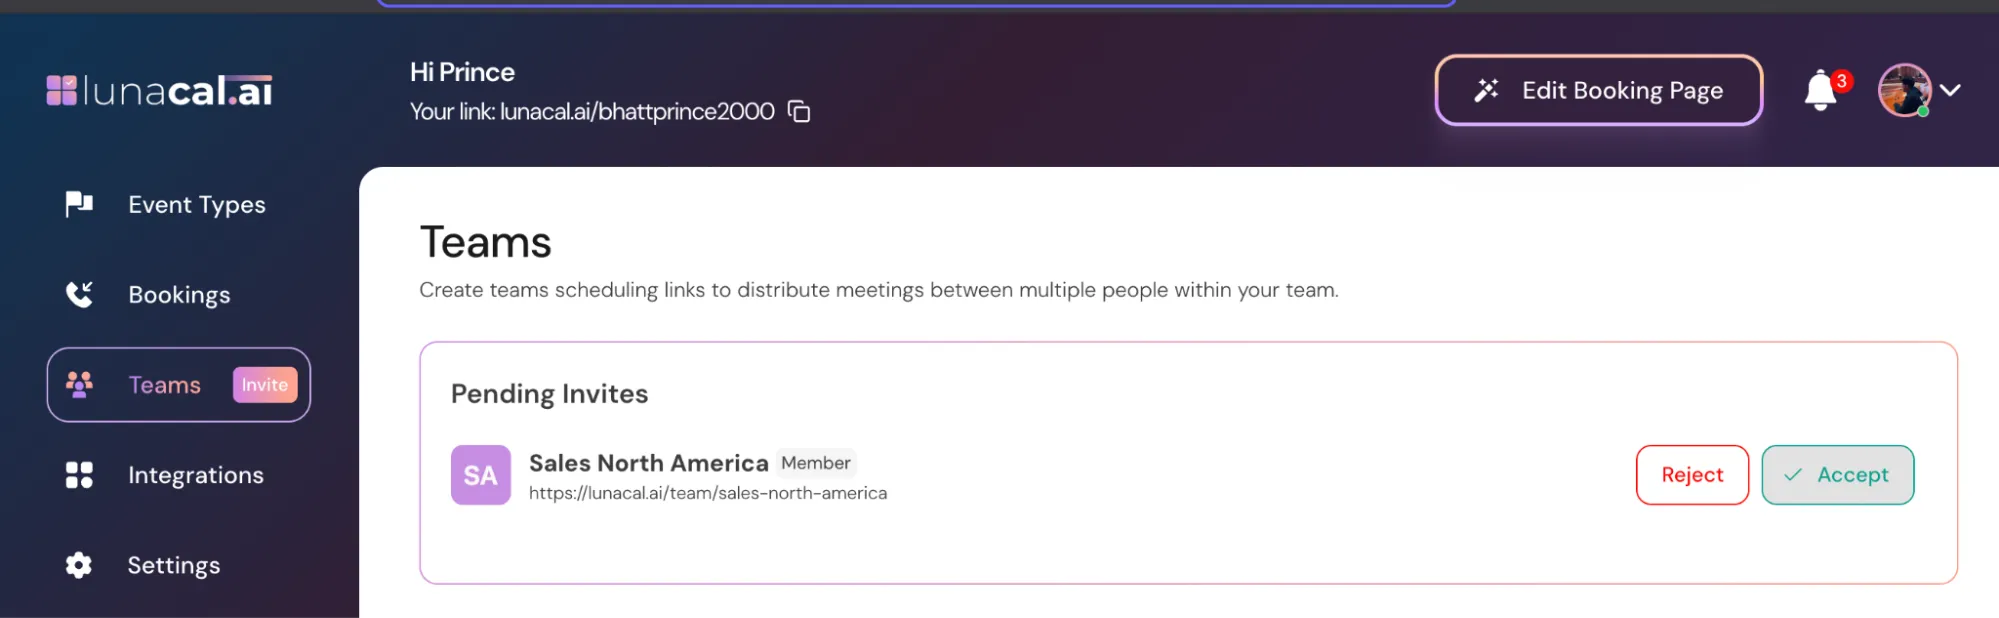
Step 10
Your team is ready!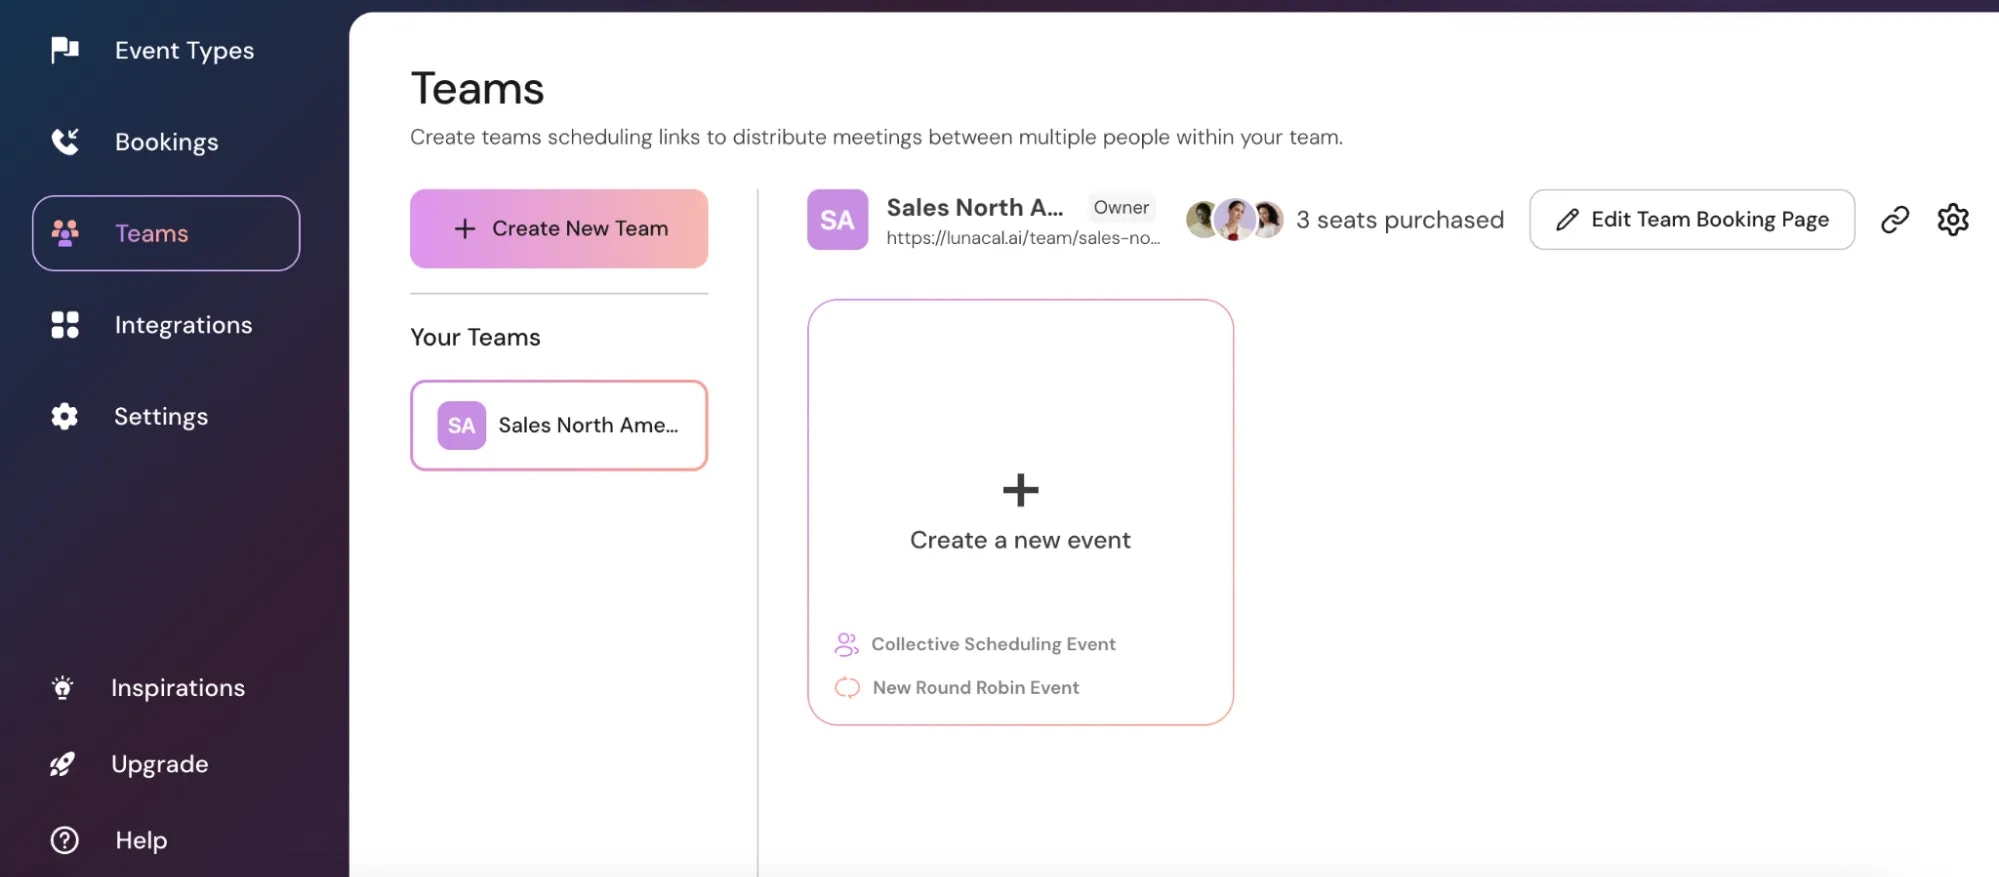
Common mistakes to avoid
- Sending invites but forgetting role selection, which limits what members can do later.
- Members creating accounts but not clicking “Accept” in “Teams”, so they remain outside the team.
- Mixing departments in one team (sales + support), making permissions and routing harder to manage.