Step 1
Start by opening the event type you want to configure.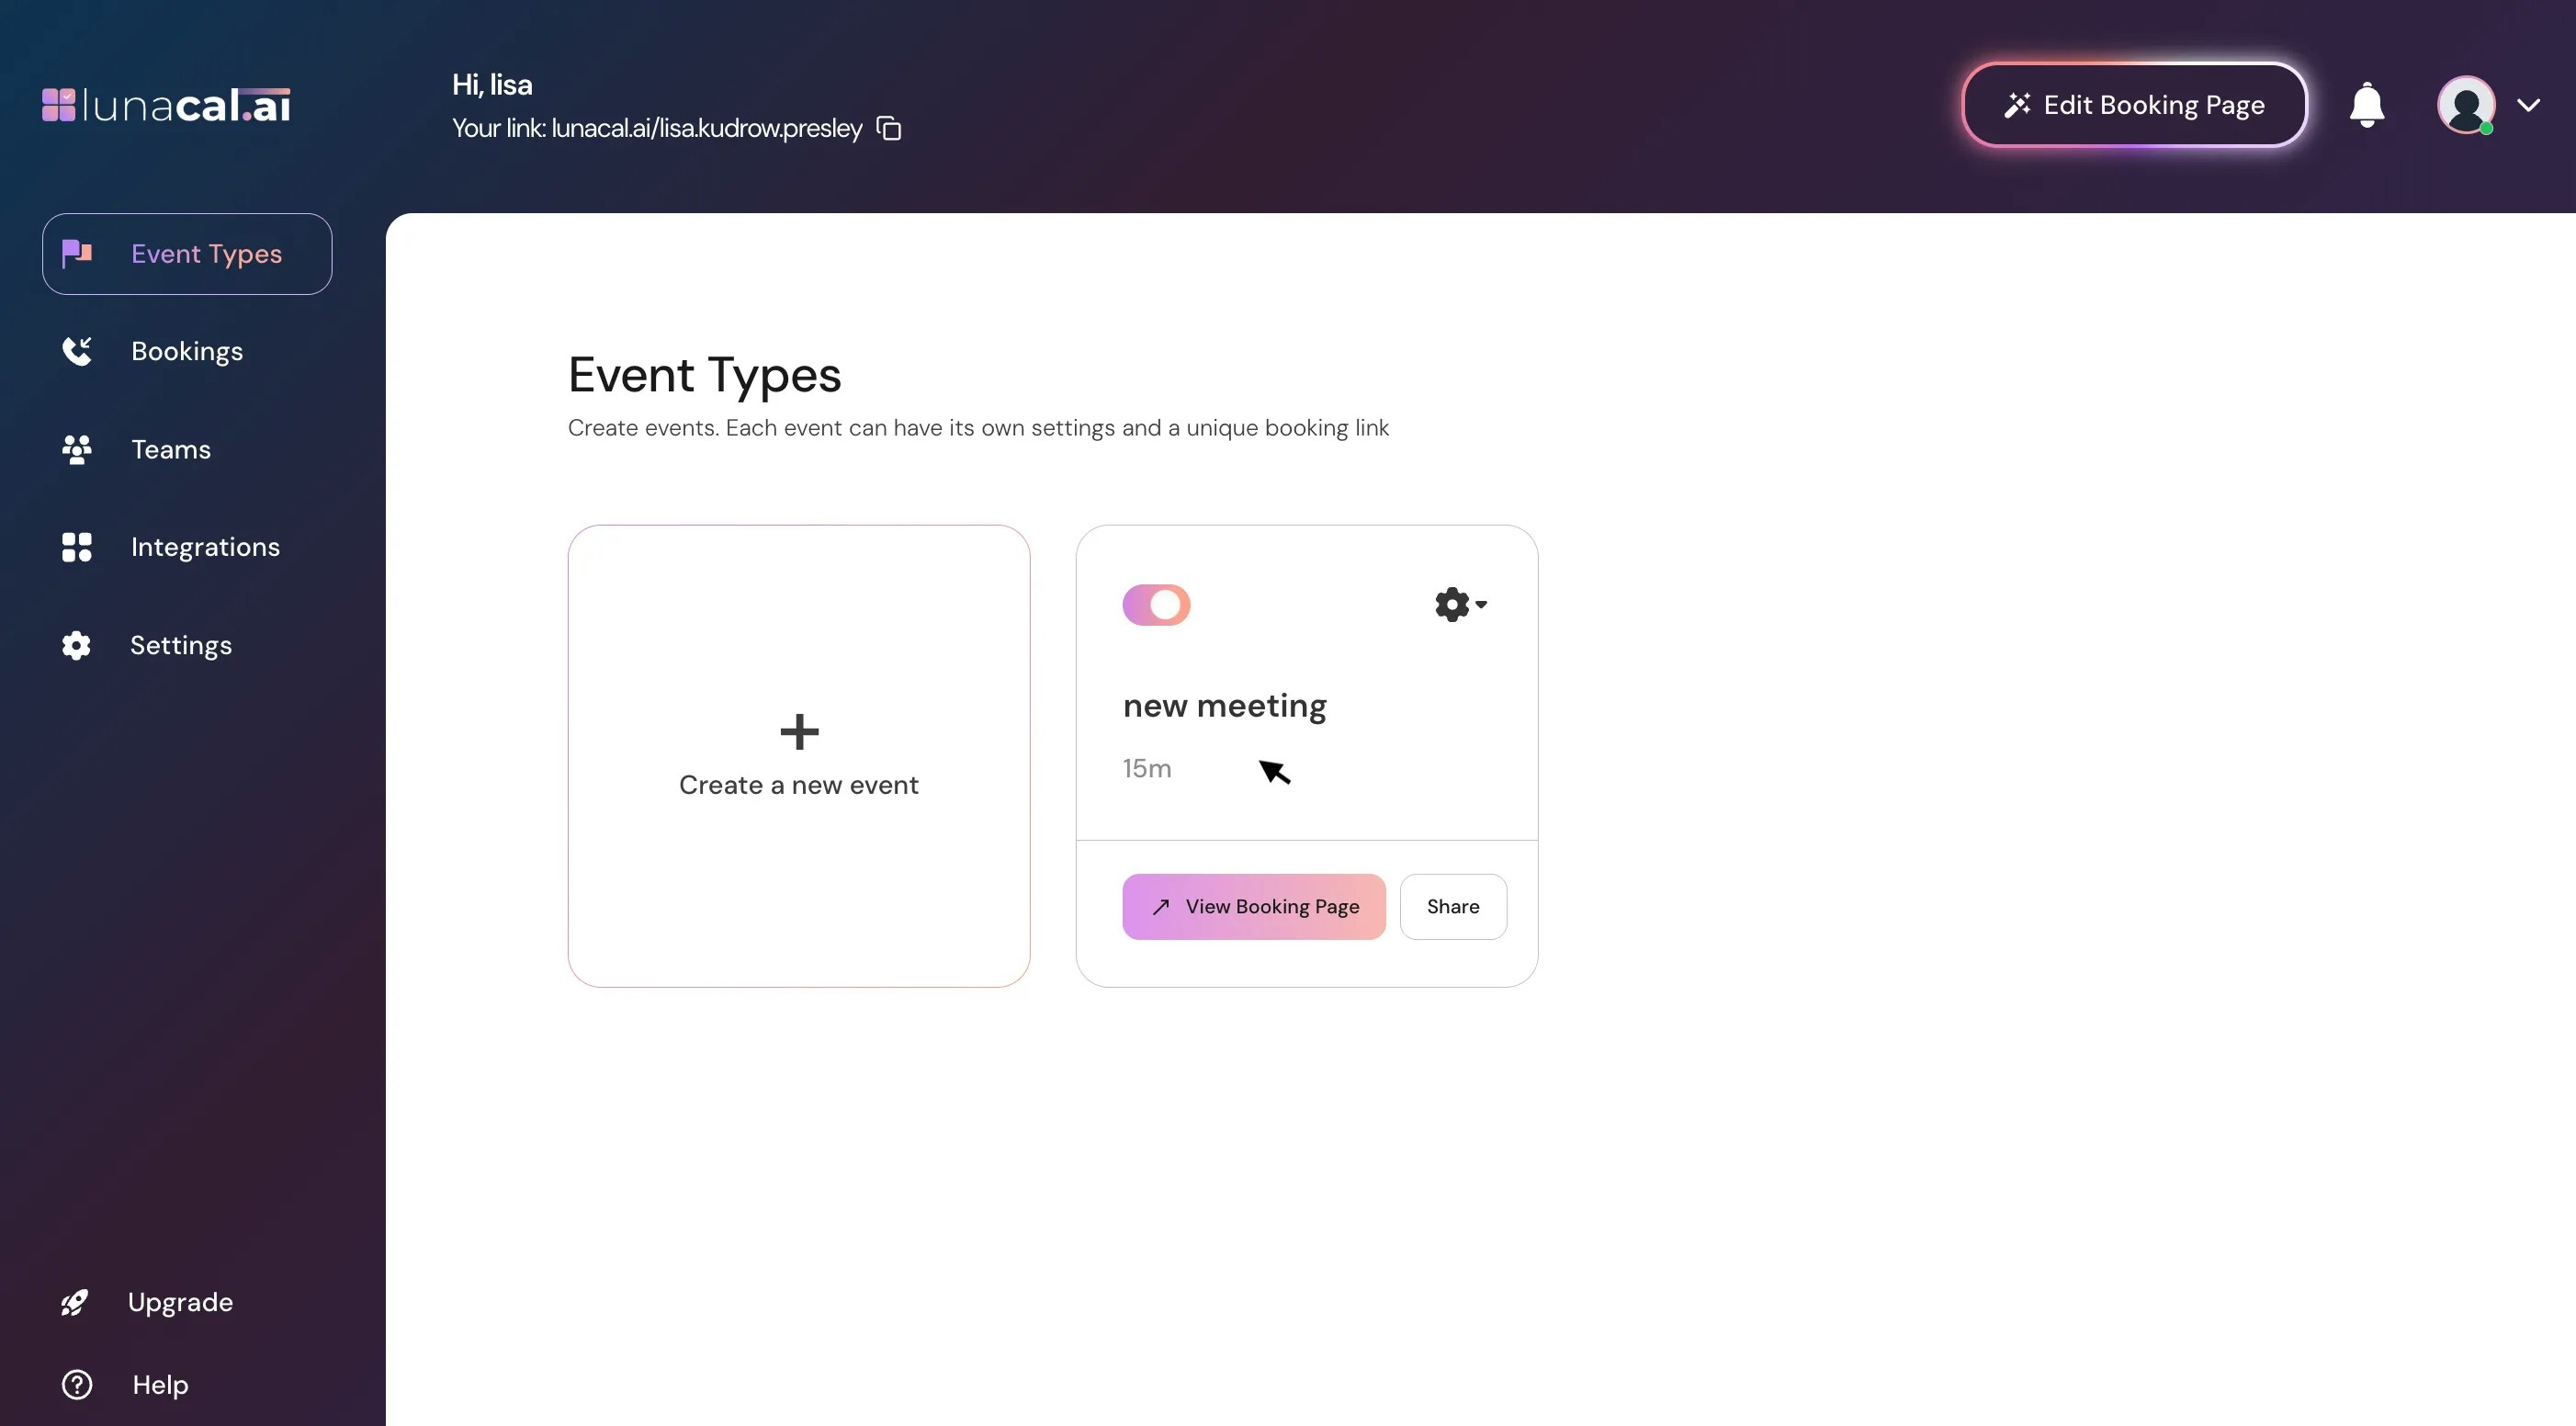
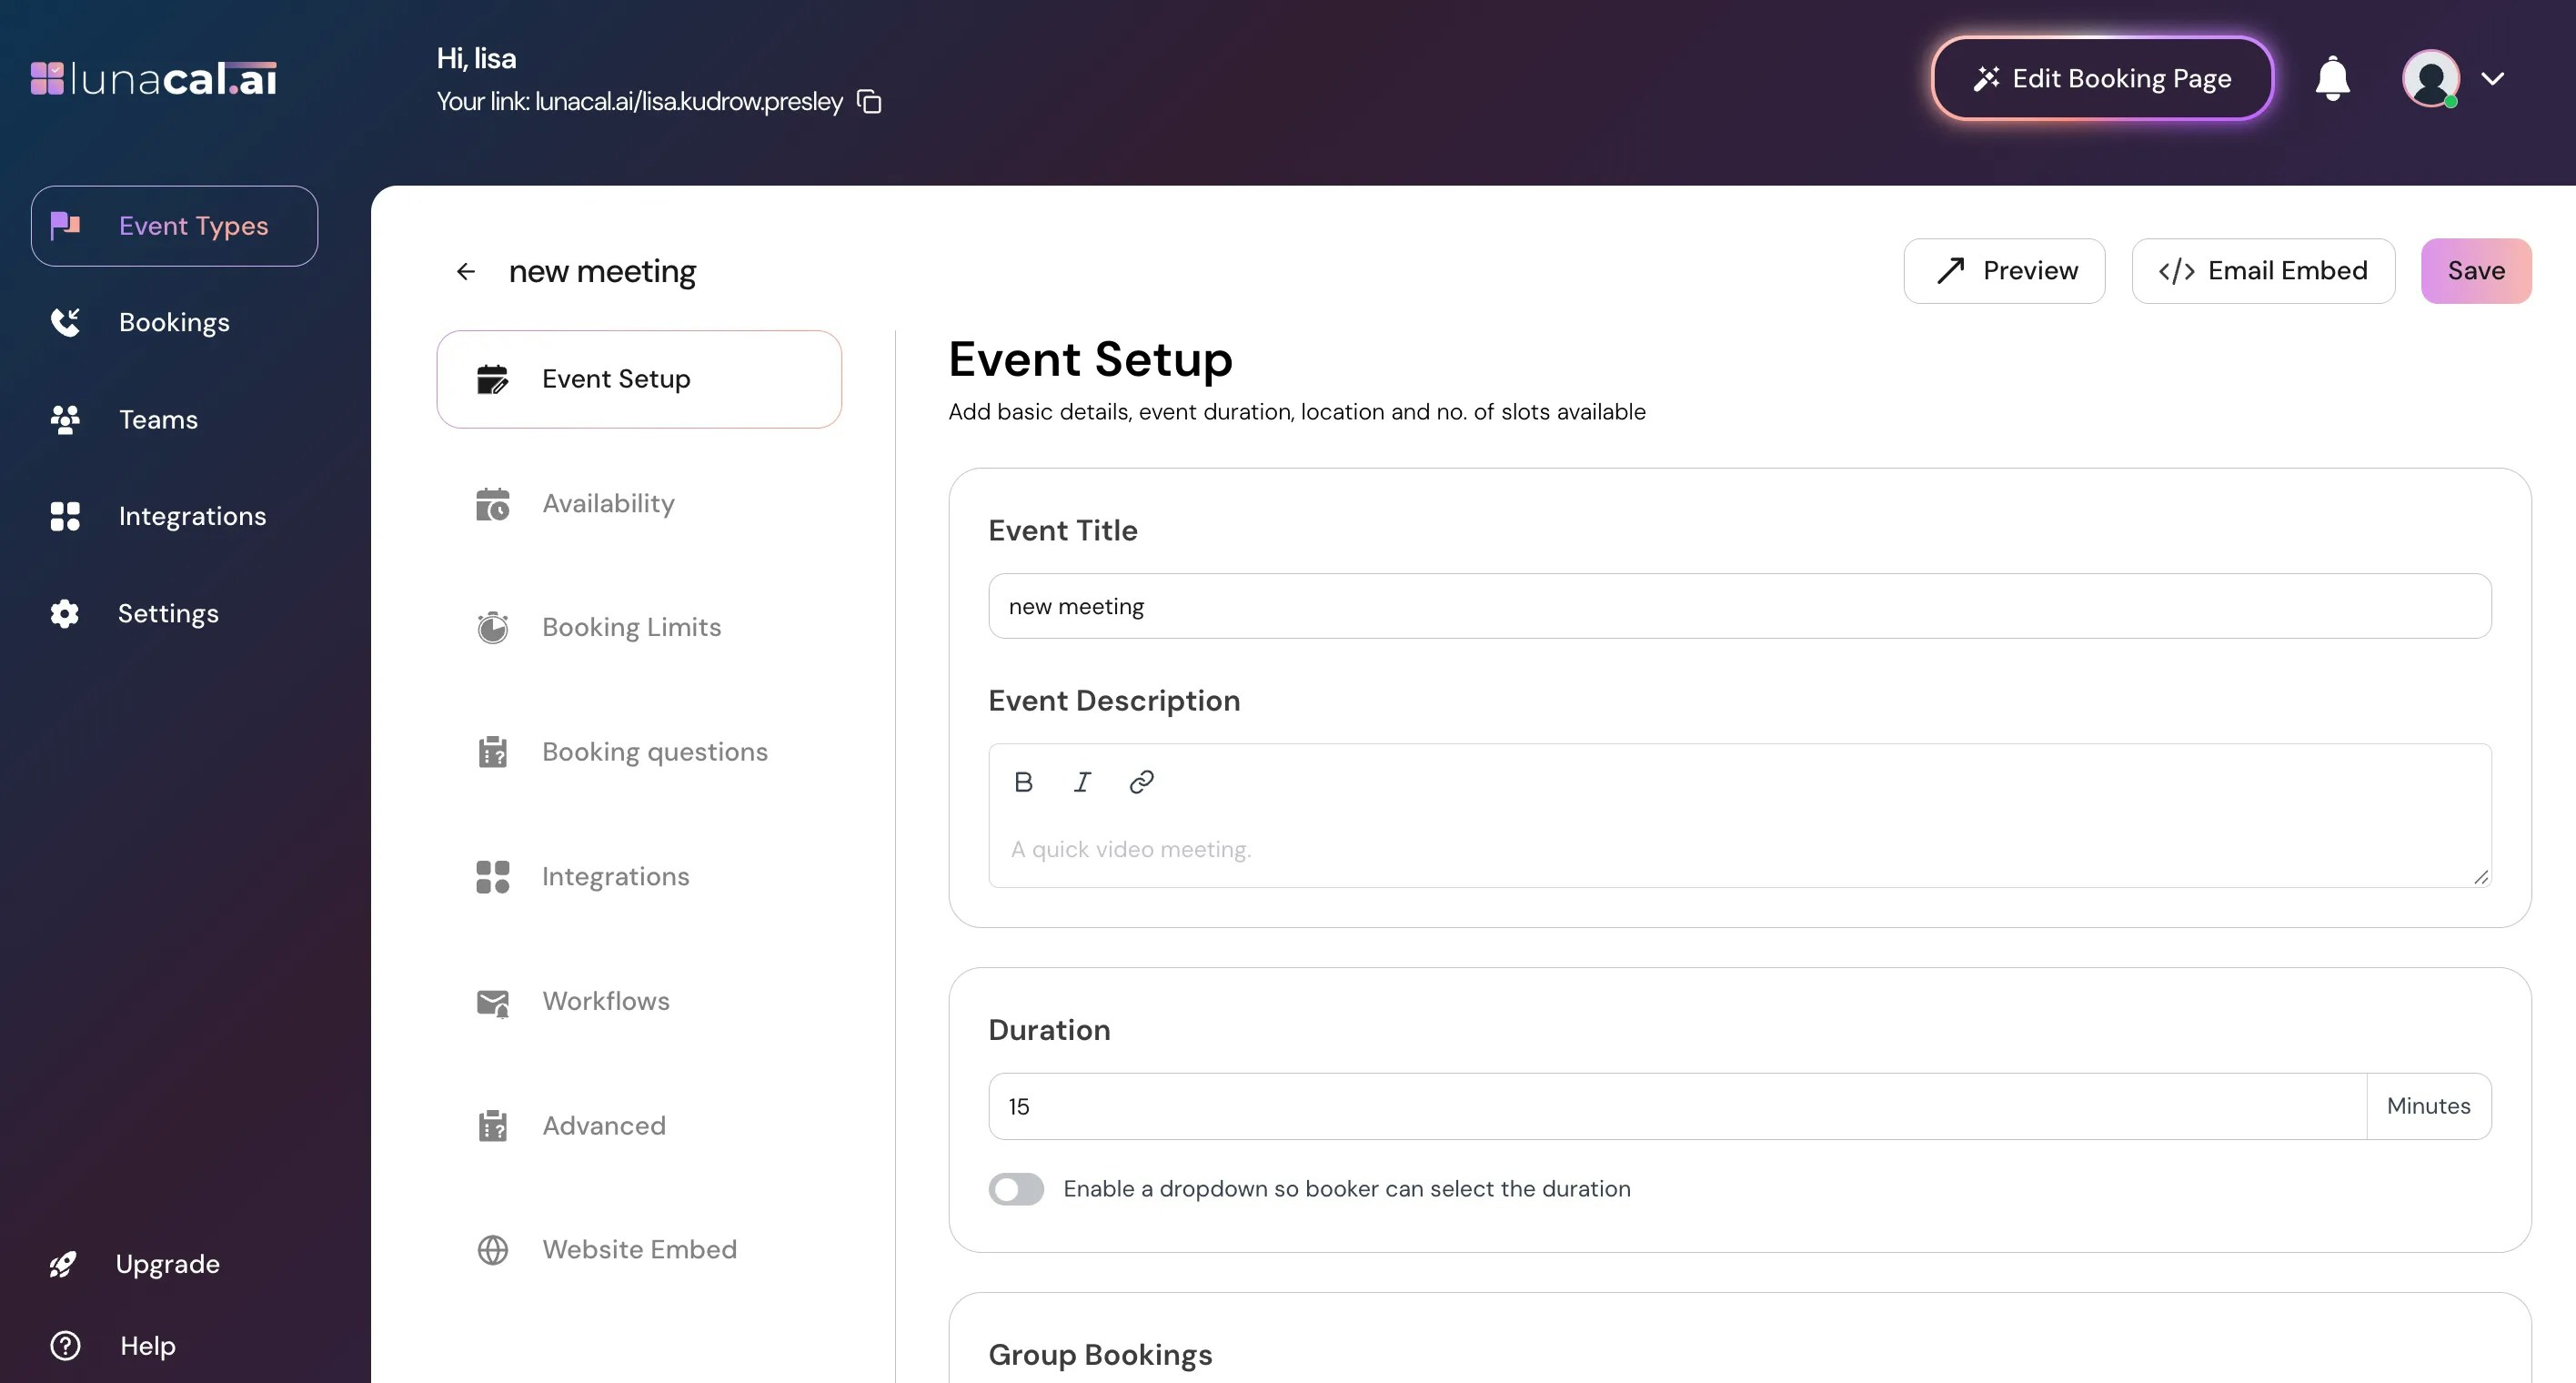
Step 2
In this view, you’ll see options to further customize your event details and settings, fill the basic details such as the title, description, duration. To help attendees clearly understand your event, use concise and descriptive titles.The event description should briefly communicate the purpose of the meeting, any expectations, and important details attendees need to know. (Description is Optional)
All information entered here is visible to attendees on the booking page, so ensure the content is clear and professional.
Step 3
Click on drop-down to add “Meeting location”.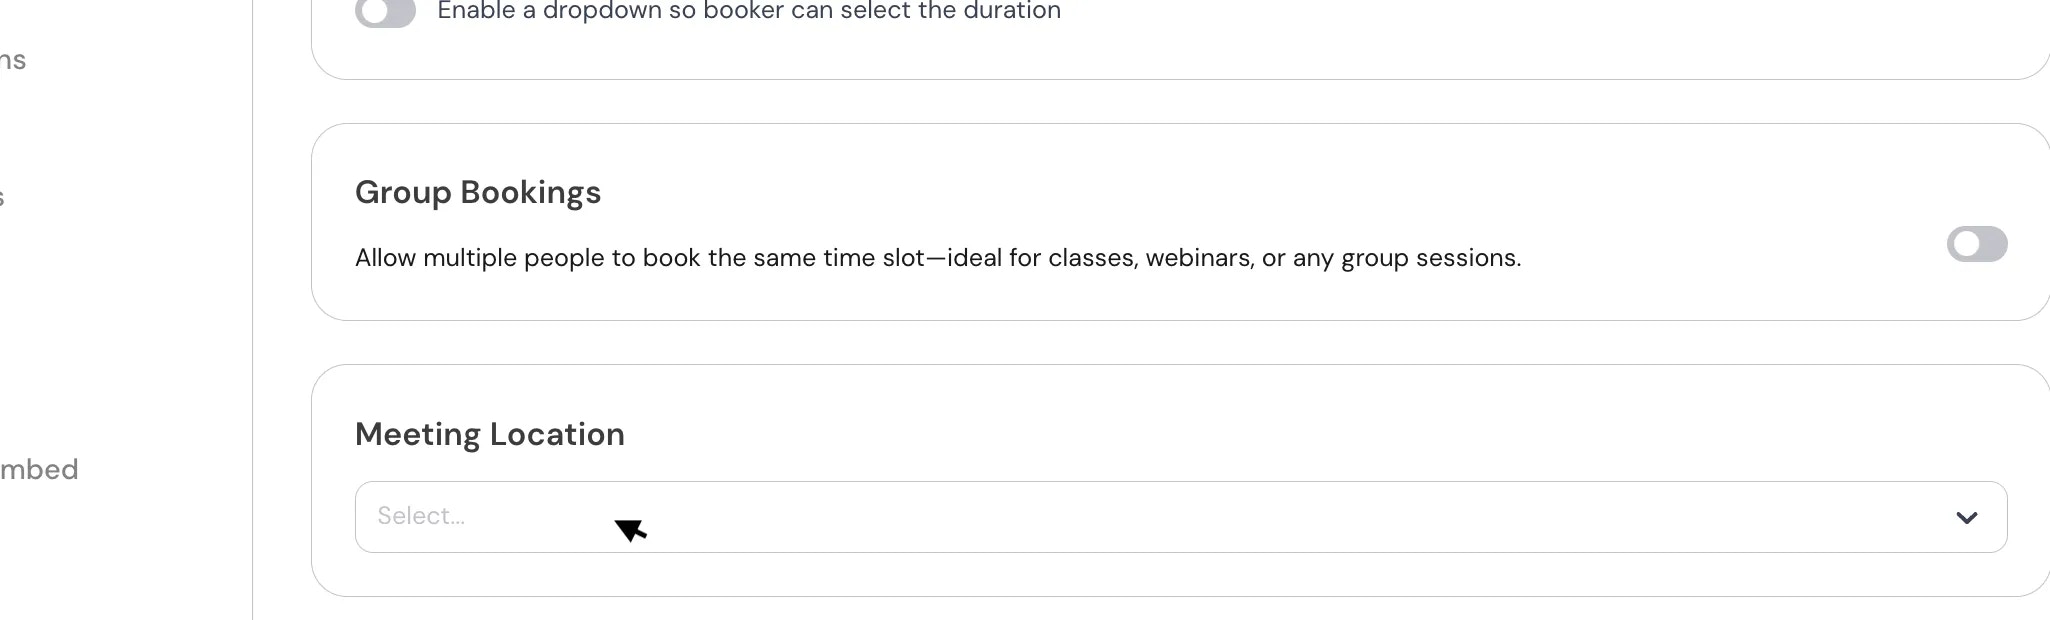
Step 4
You can choose location from the dropdown, such as, In-Person (Location of your choice), In-Person (Organizer Adress), Link Meeting, Attendee phone number, organizer phone number, and your confrencing apps such as ( Google Meet, MS-Teams, Facetime & Zoom).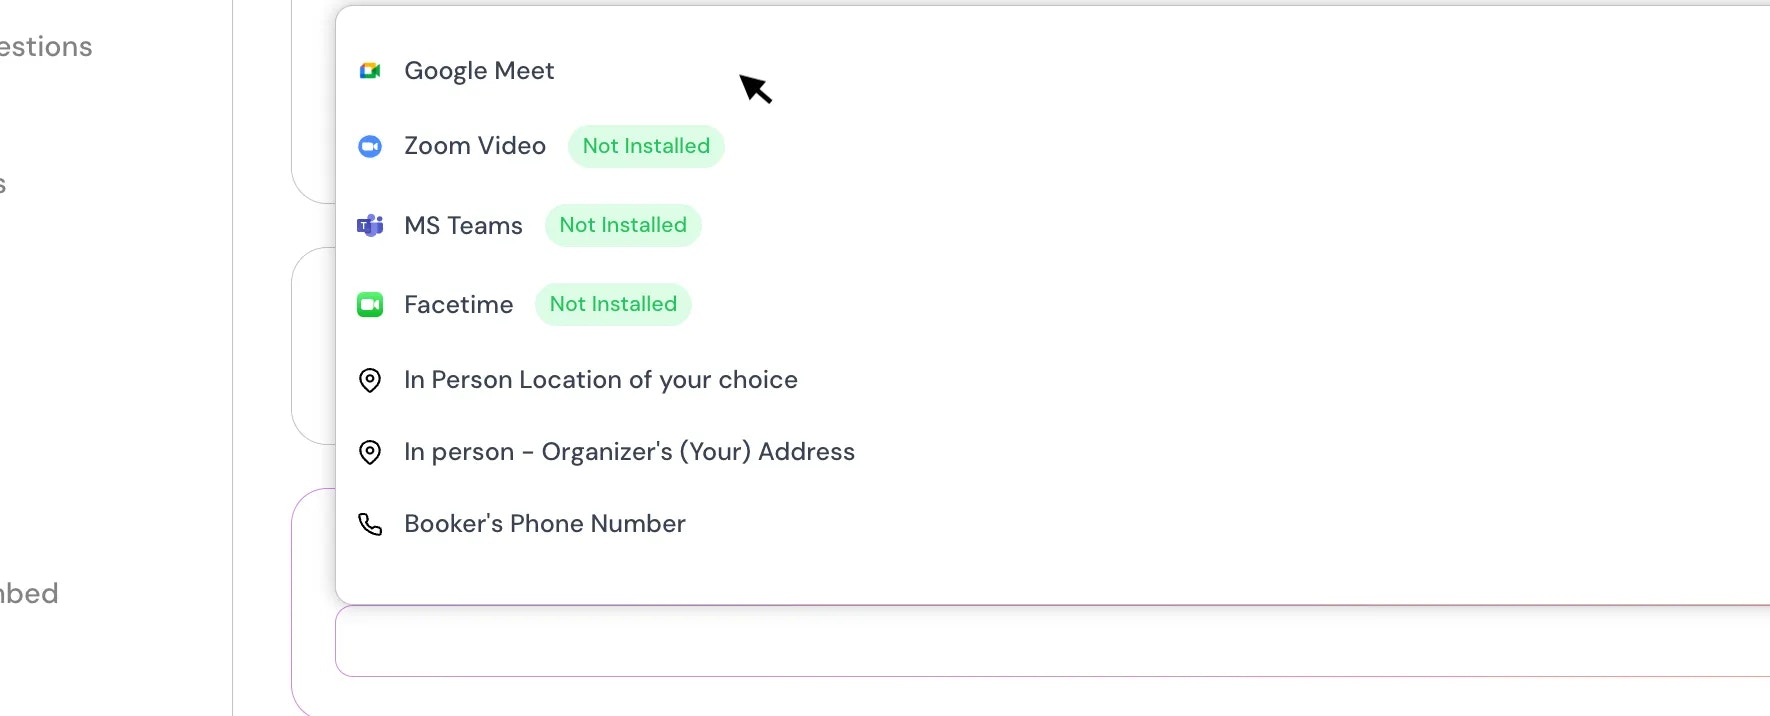
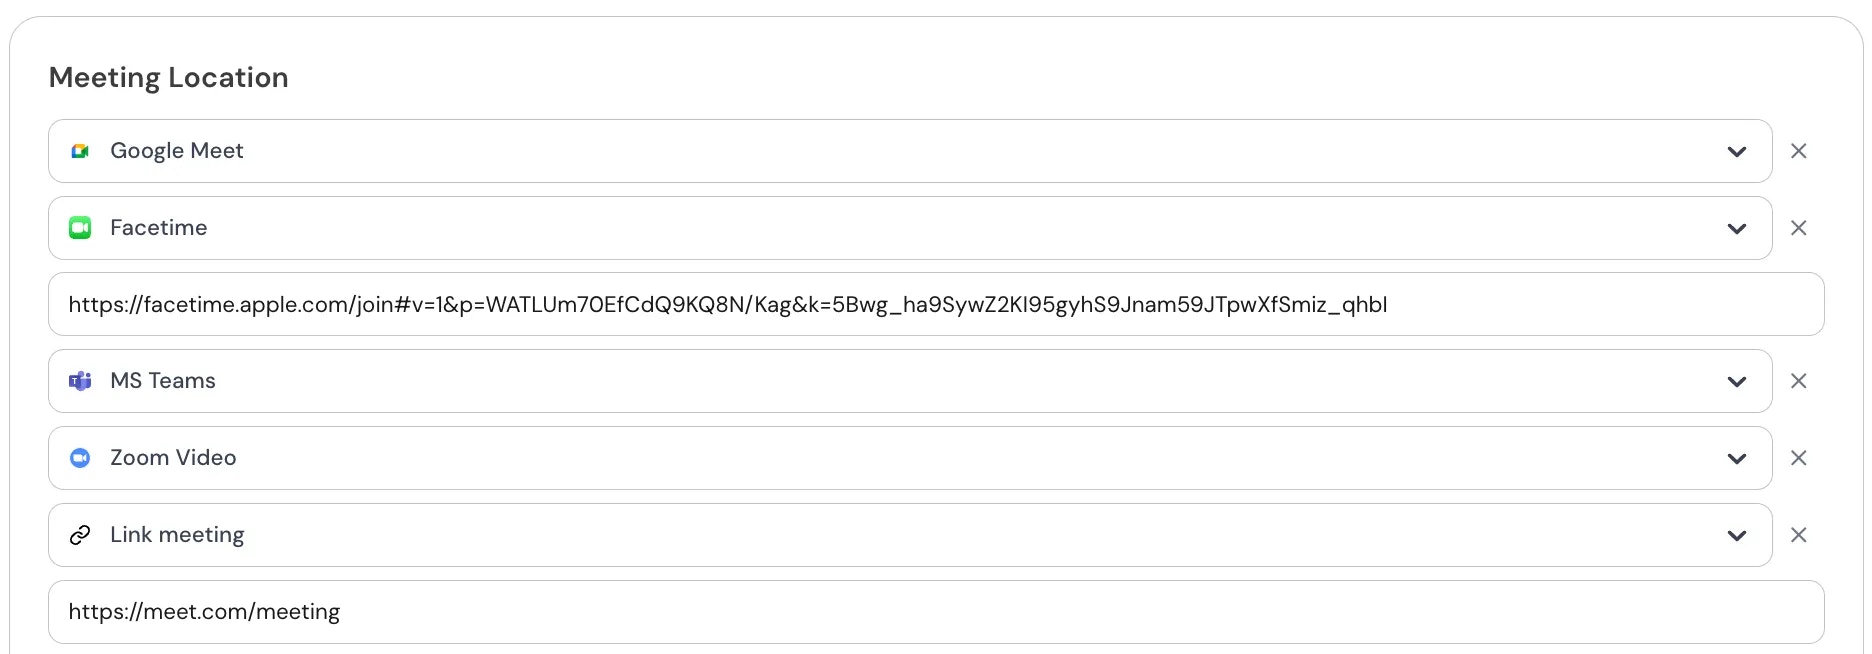
Step 5
If you want to add another location, Click on “Add another location” again and specify the location. When you add more than one meeting location to an event type, attendees will be able to choose their preferred location during the booking process.To avoid confusion, it’s recommended to clearly define each location (e.g., “Zoom Video Call”, “In-Person – Office”).
At this time, all added locations display equally on the booking page, and no default is automatically selected by the system.

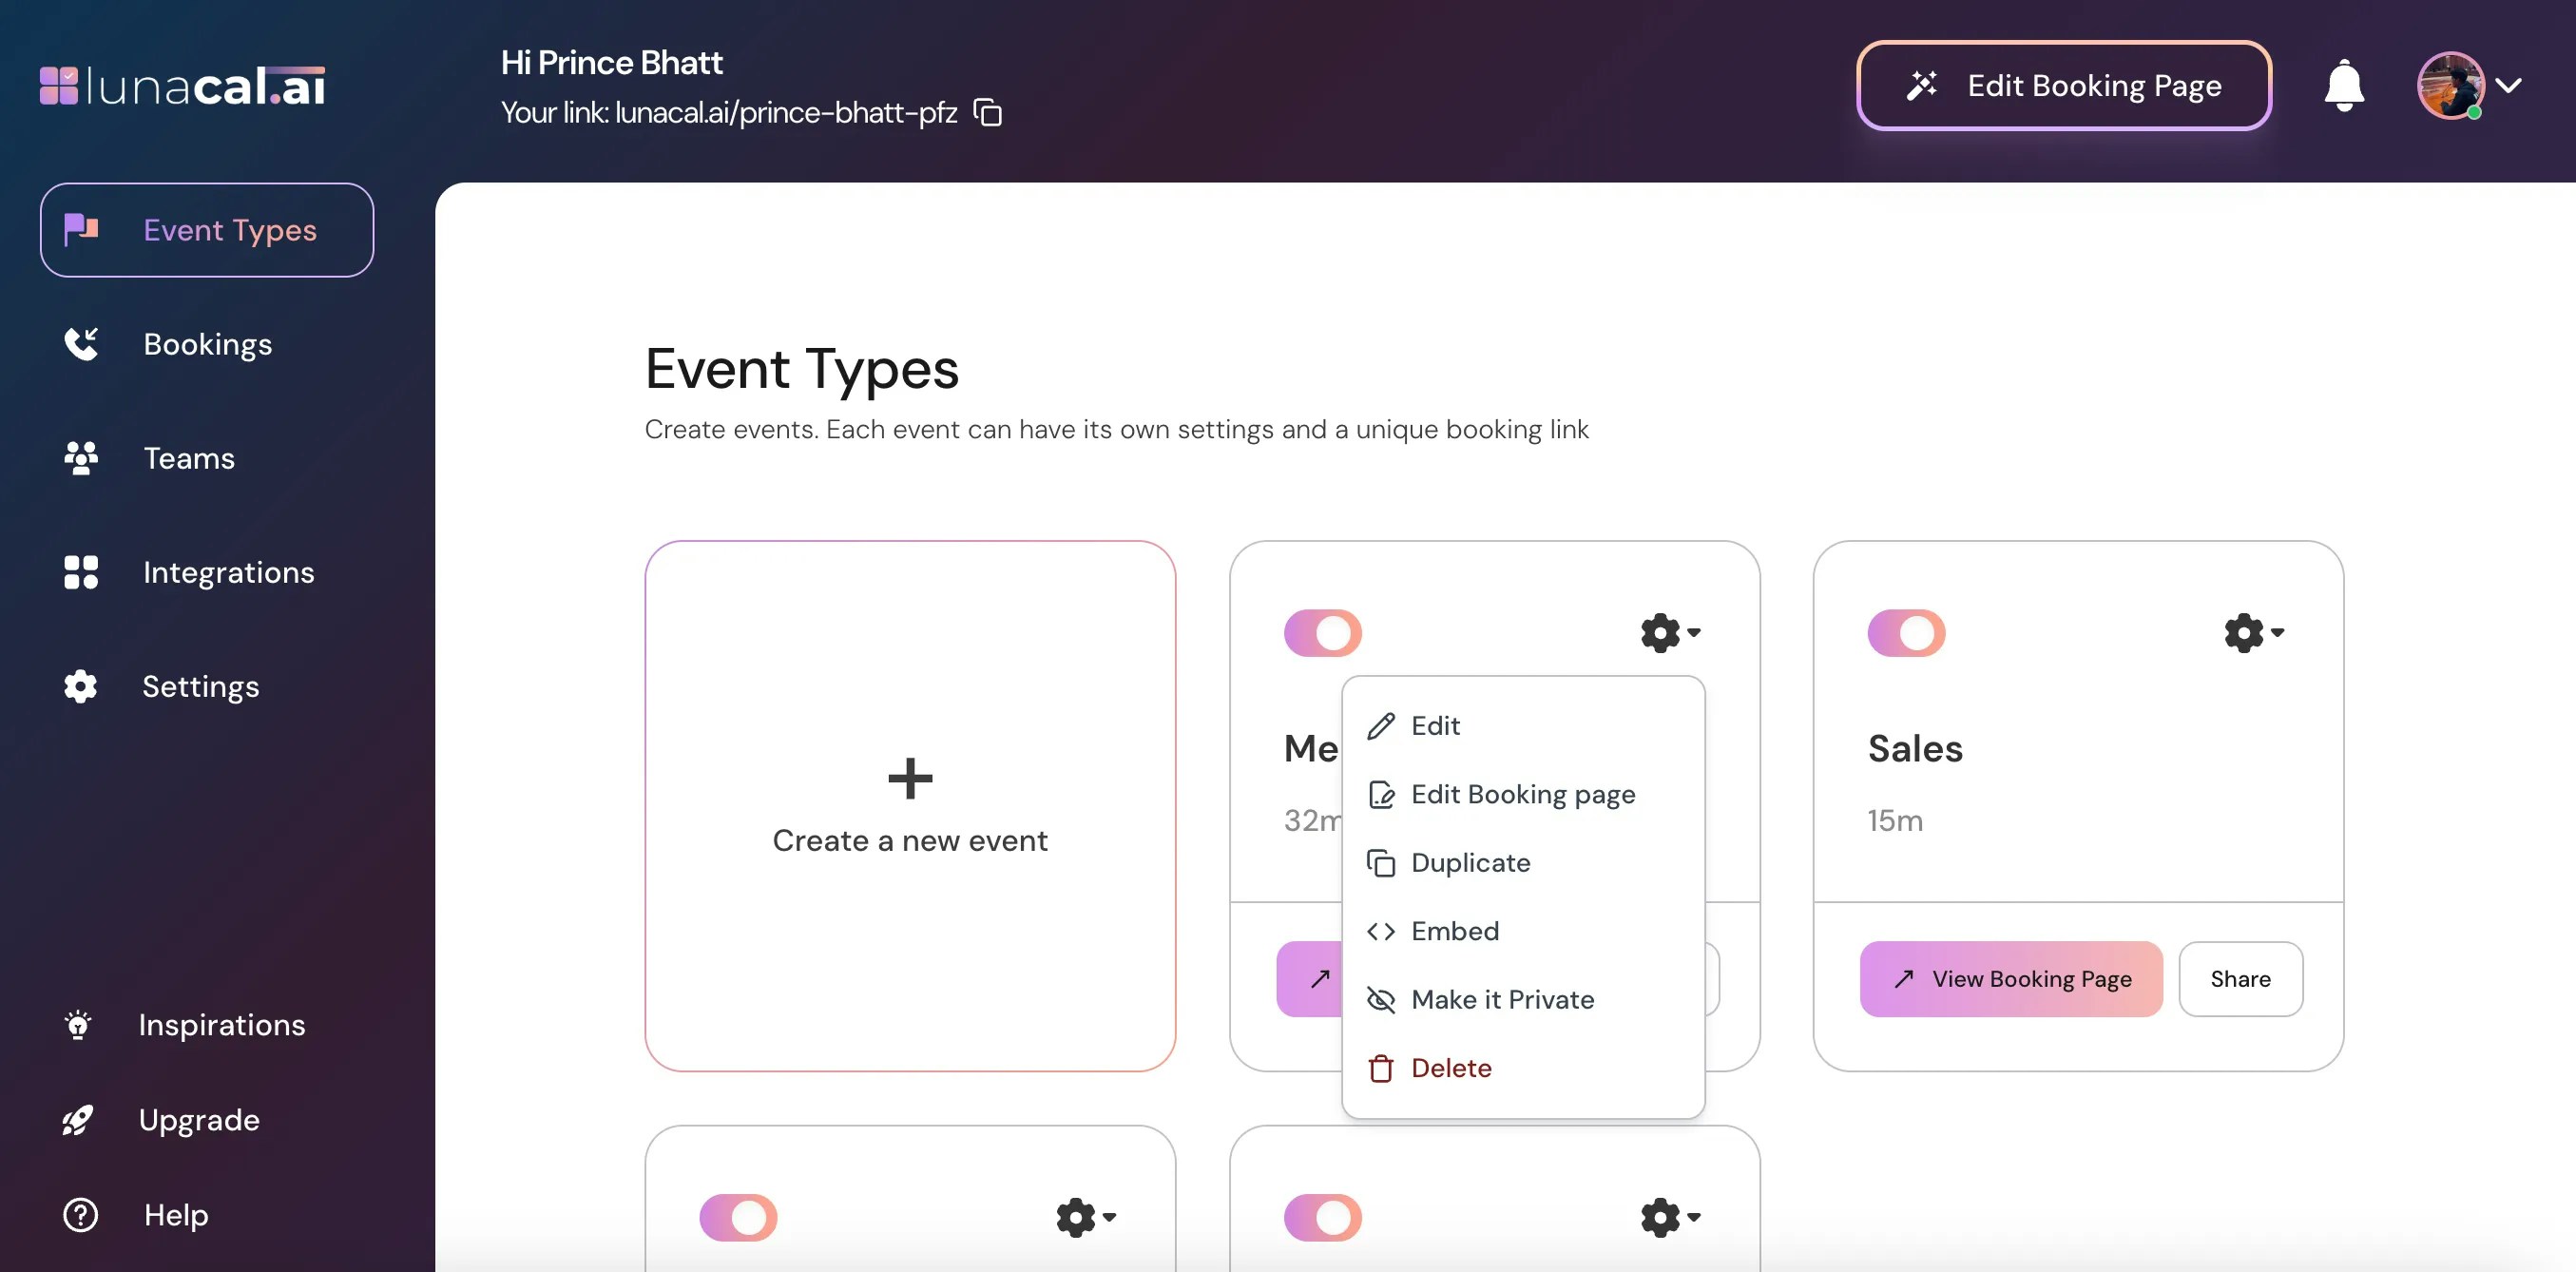
Step 6
After creating an event type, you can make changes at any time using the Edit option available on when you click on gear icon on dashboard. If an event type is no longer needed, you can remove it using the Delete option. Deleting an event type immediately removes it and its booking page link, so ensure it is no longer in use before deleting.