These settings help you stand out in search results, increase click-through rates, and control how your link looks when shared anywhere online.
Step 1
Go to Event Types in your dashboard.
Step 2
Select the event for which you want to update the SEO details and click on the Settings (⚙️) icon on that event card.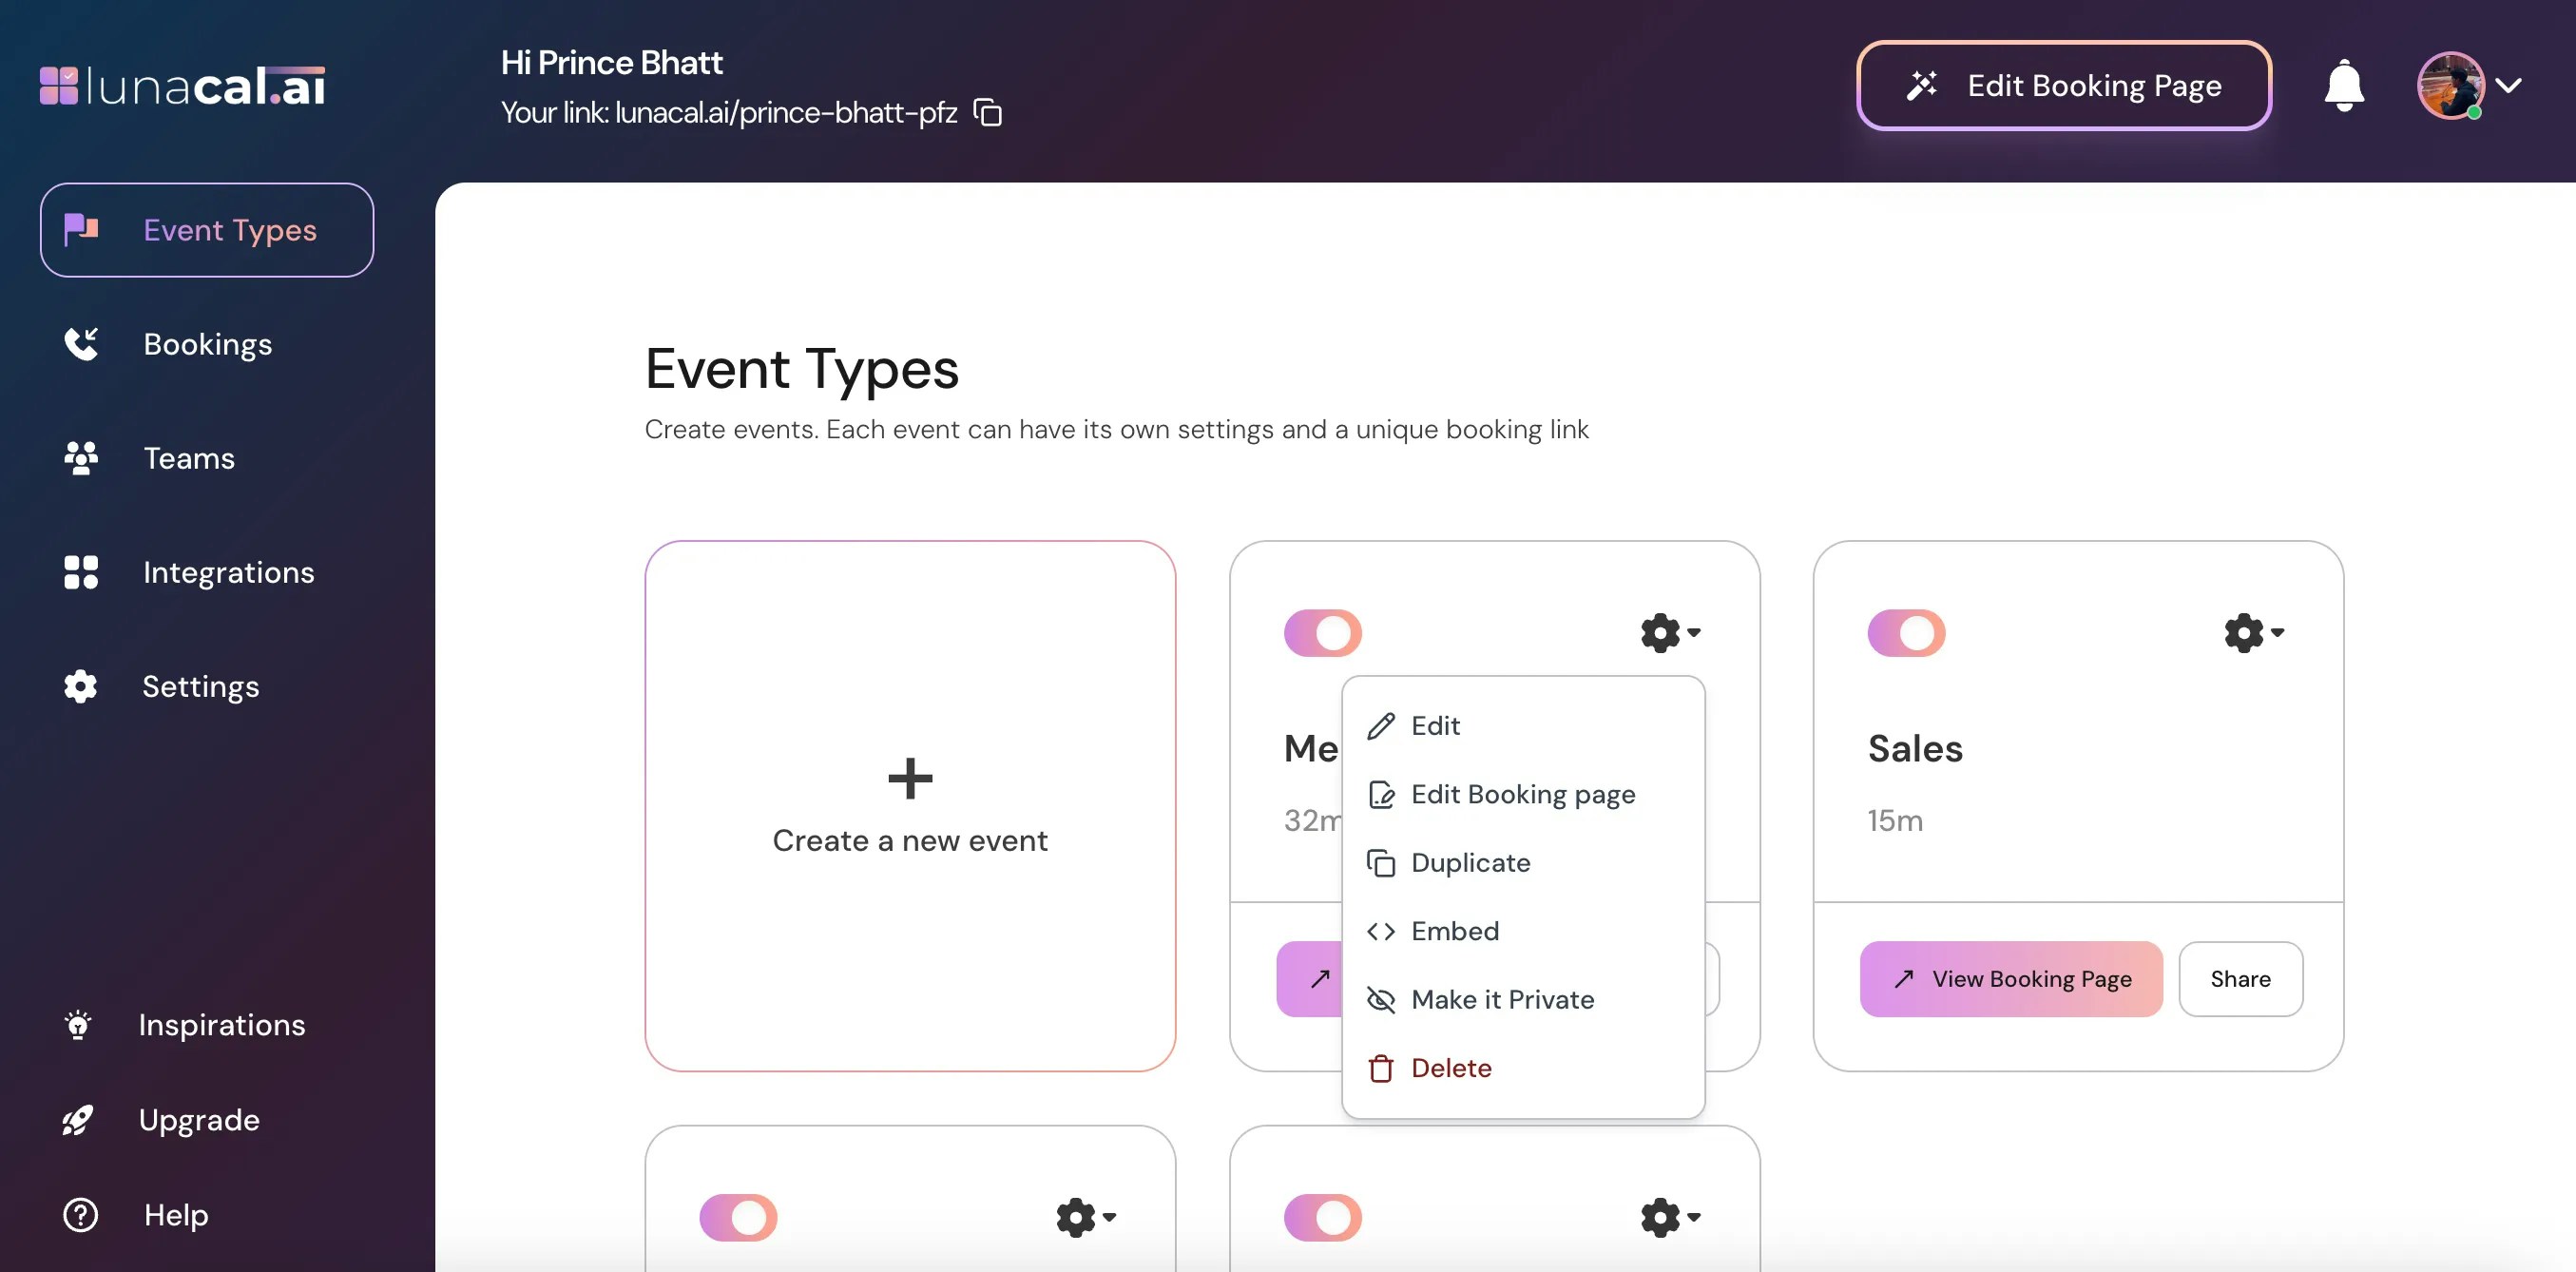
Step 3
Choose “Edit” from the dropdown.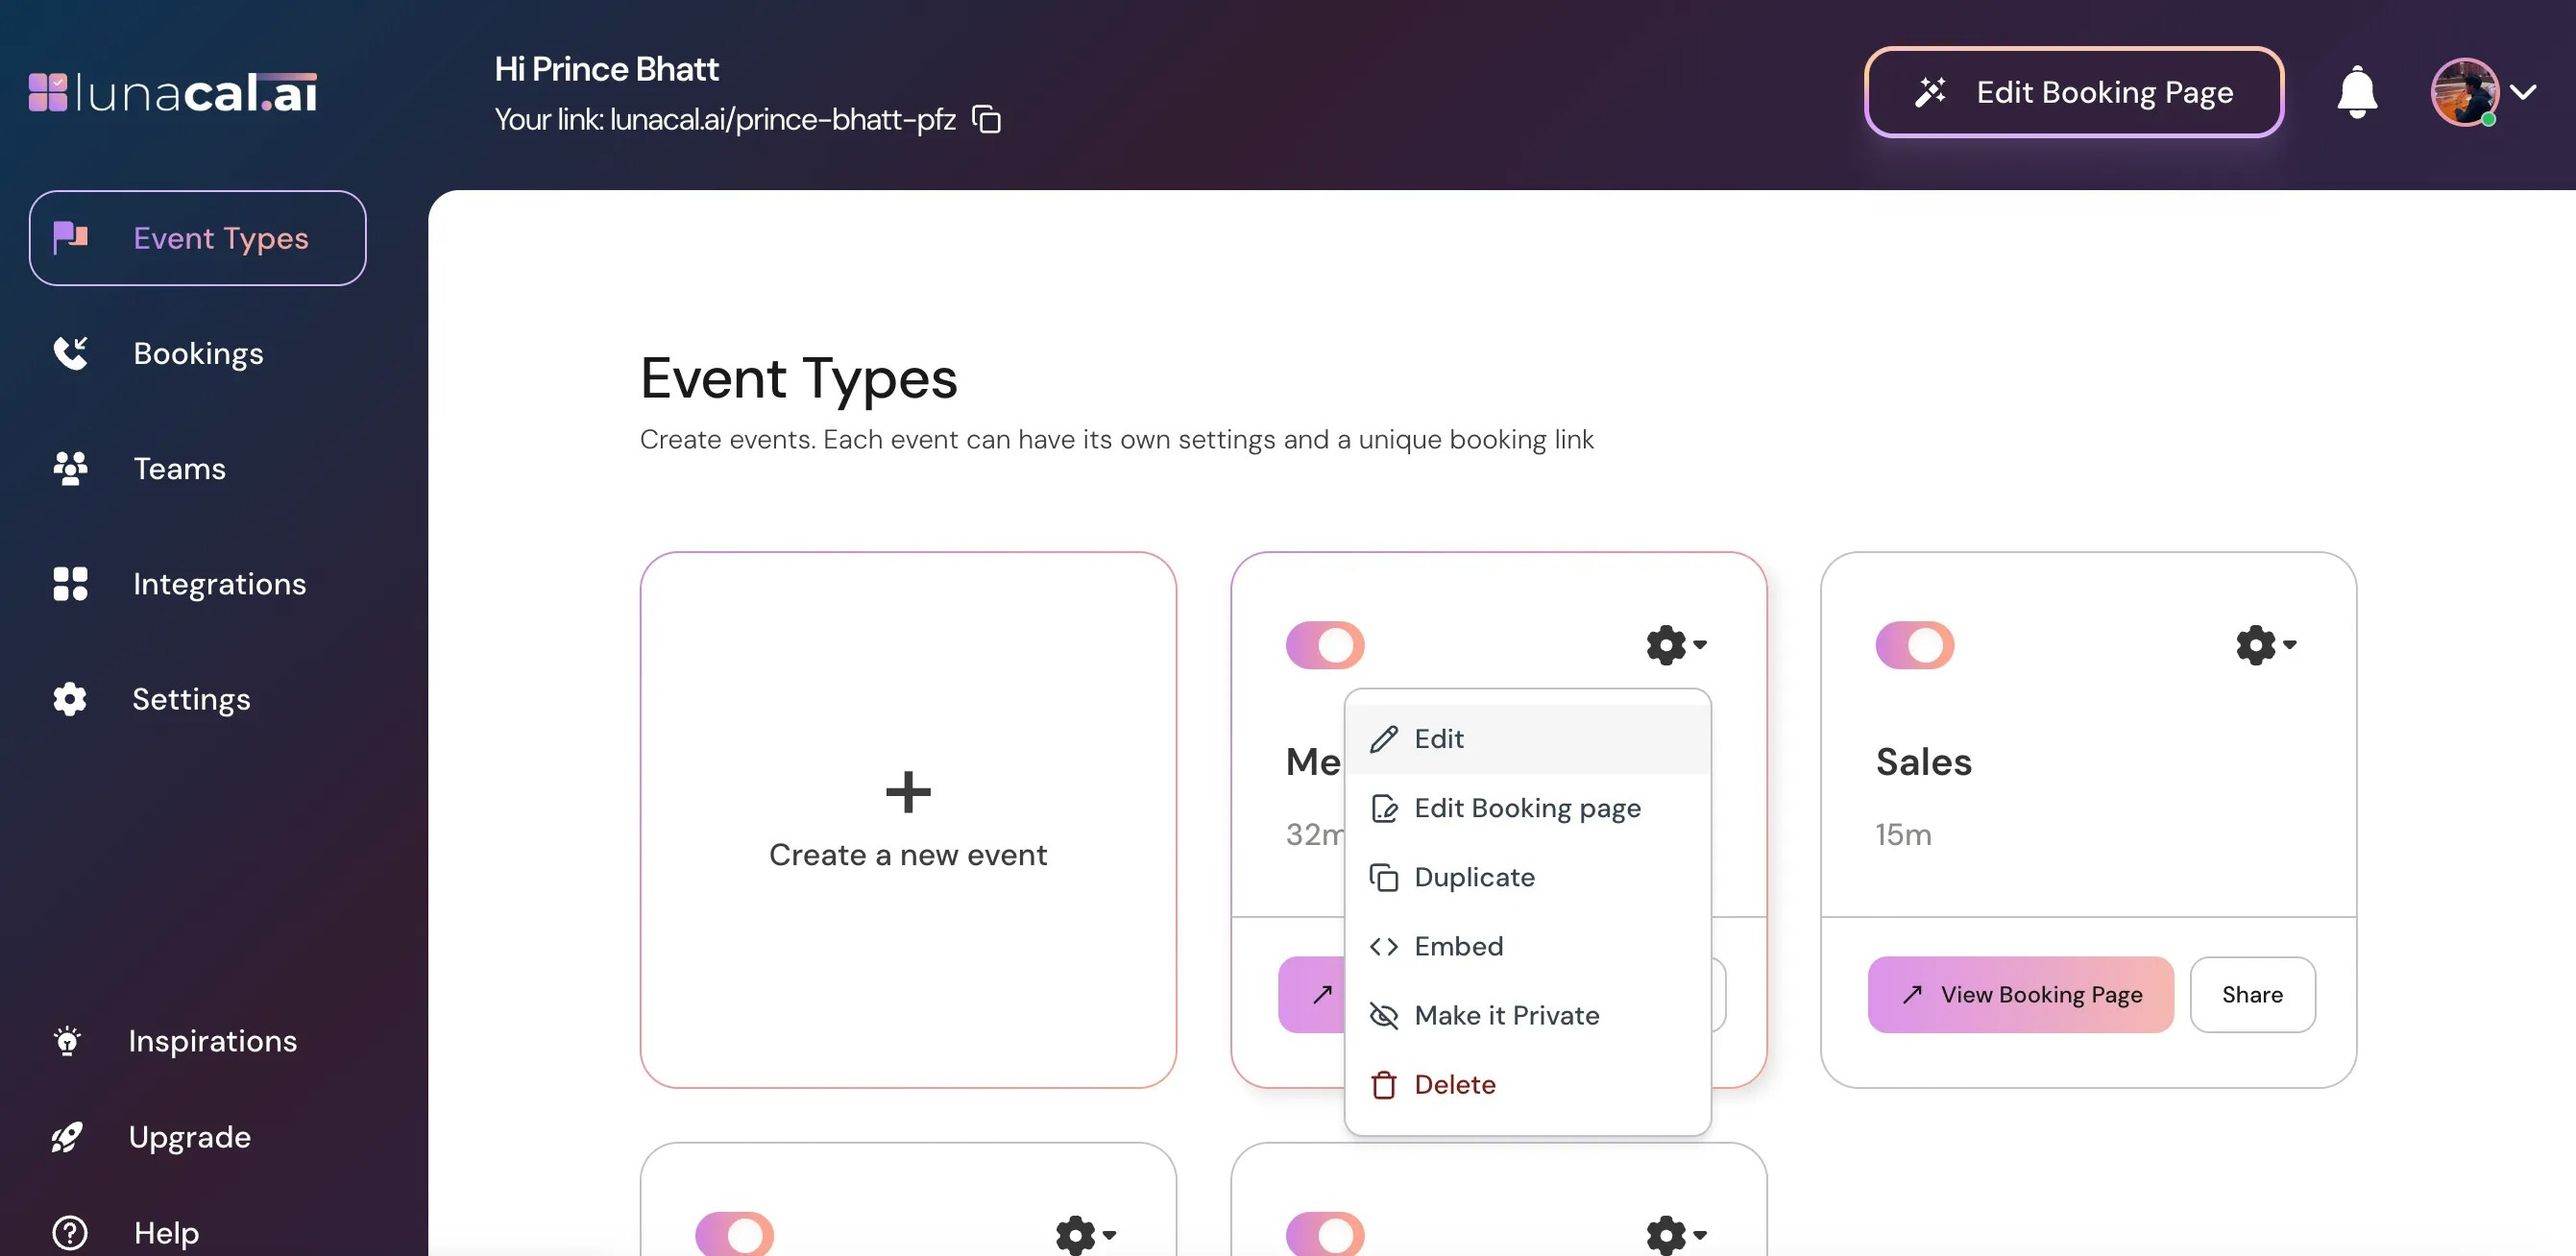
Step 4
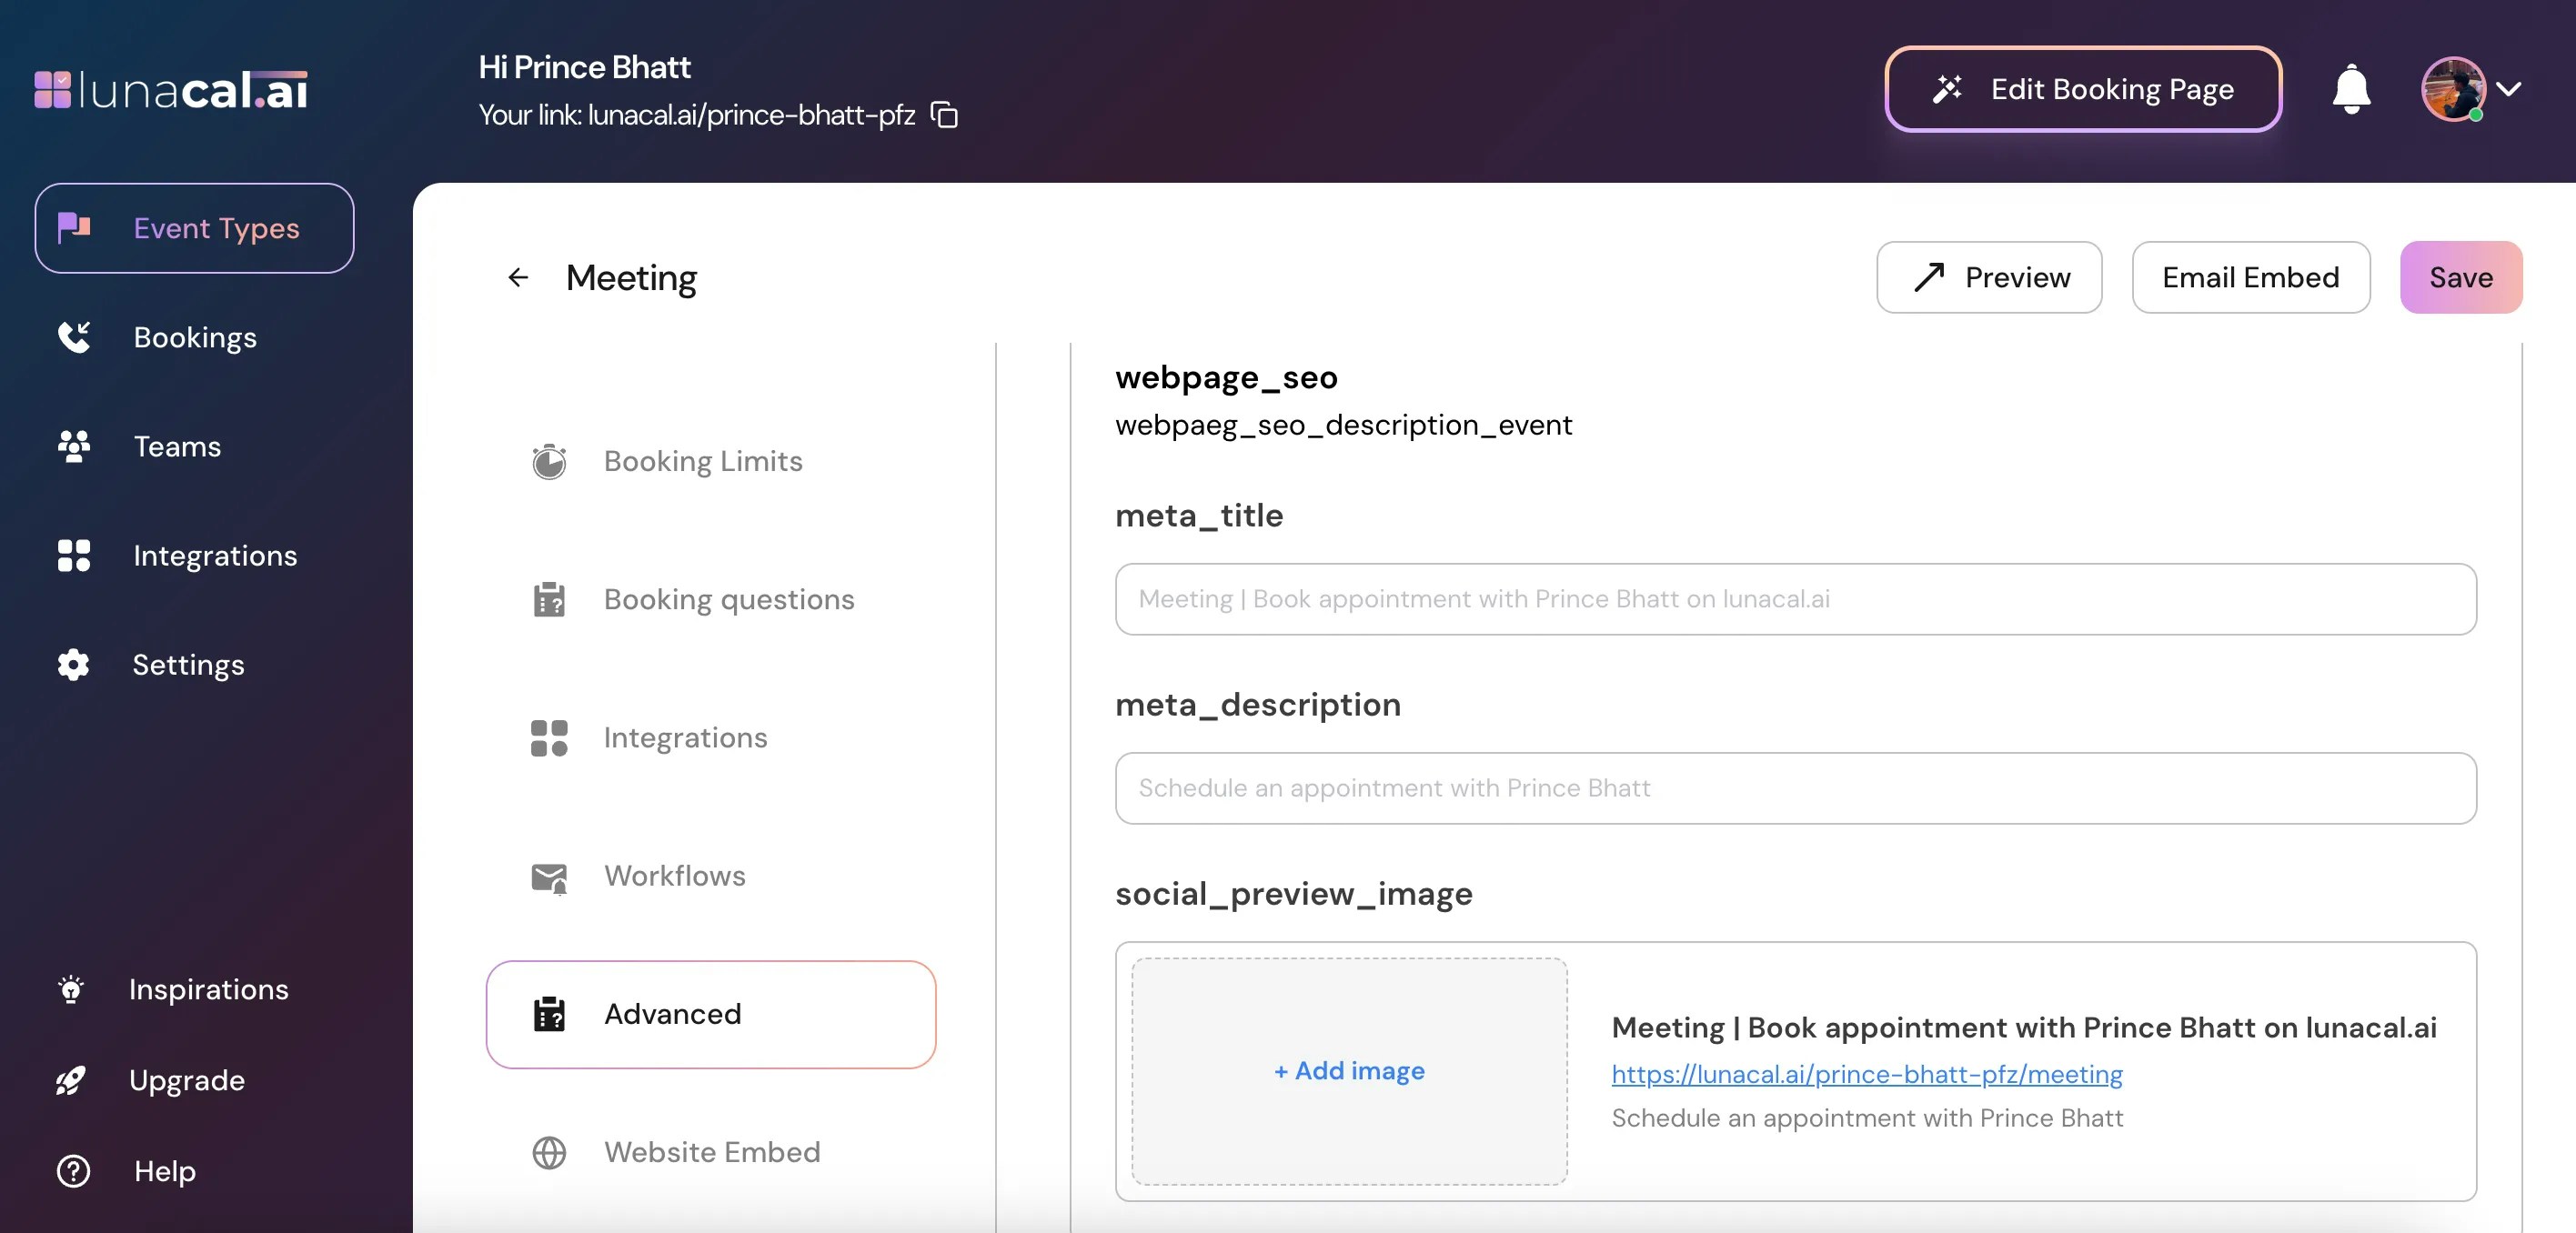
In Your “Event Type”, scroll down to find “Advanced.”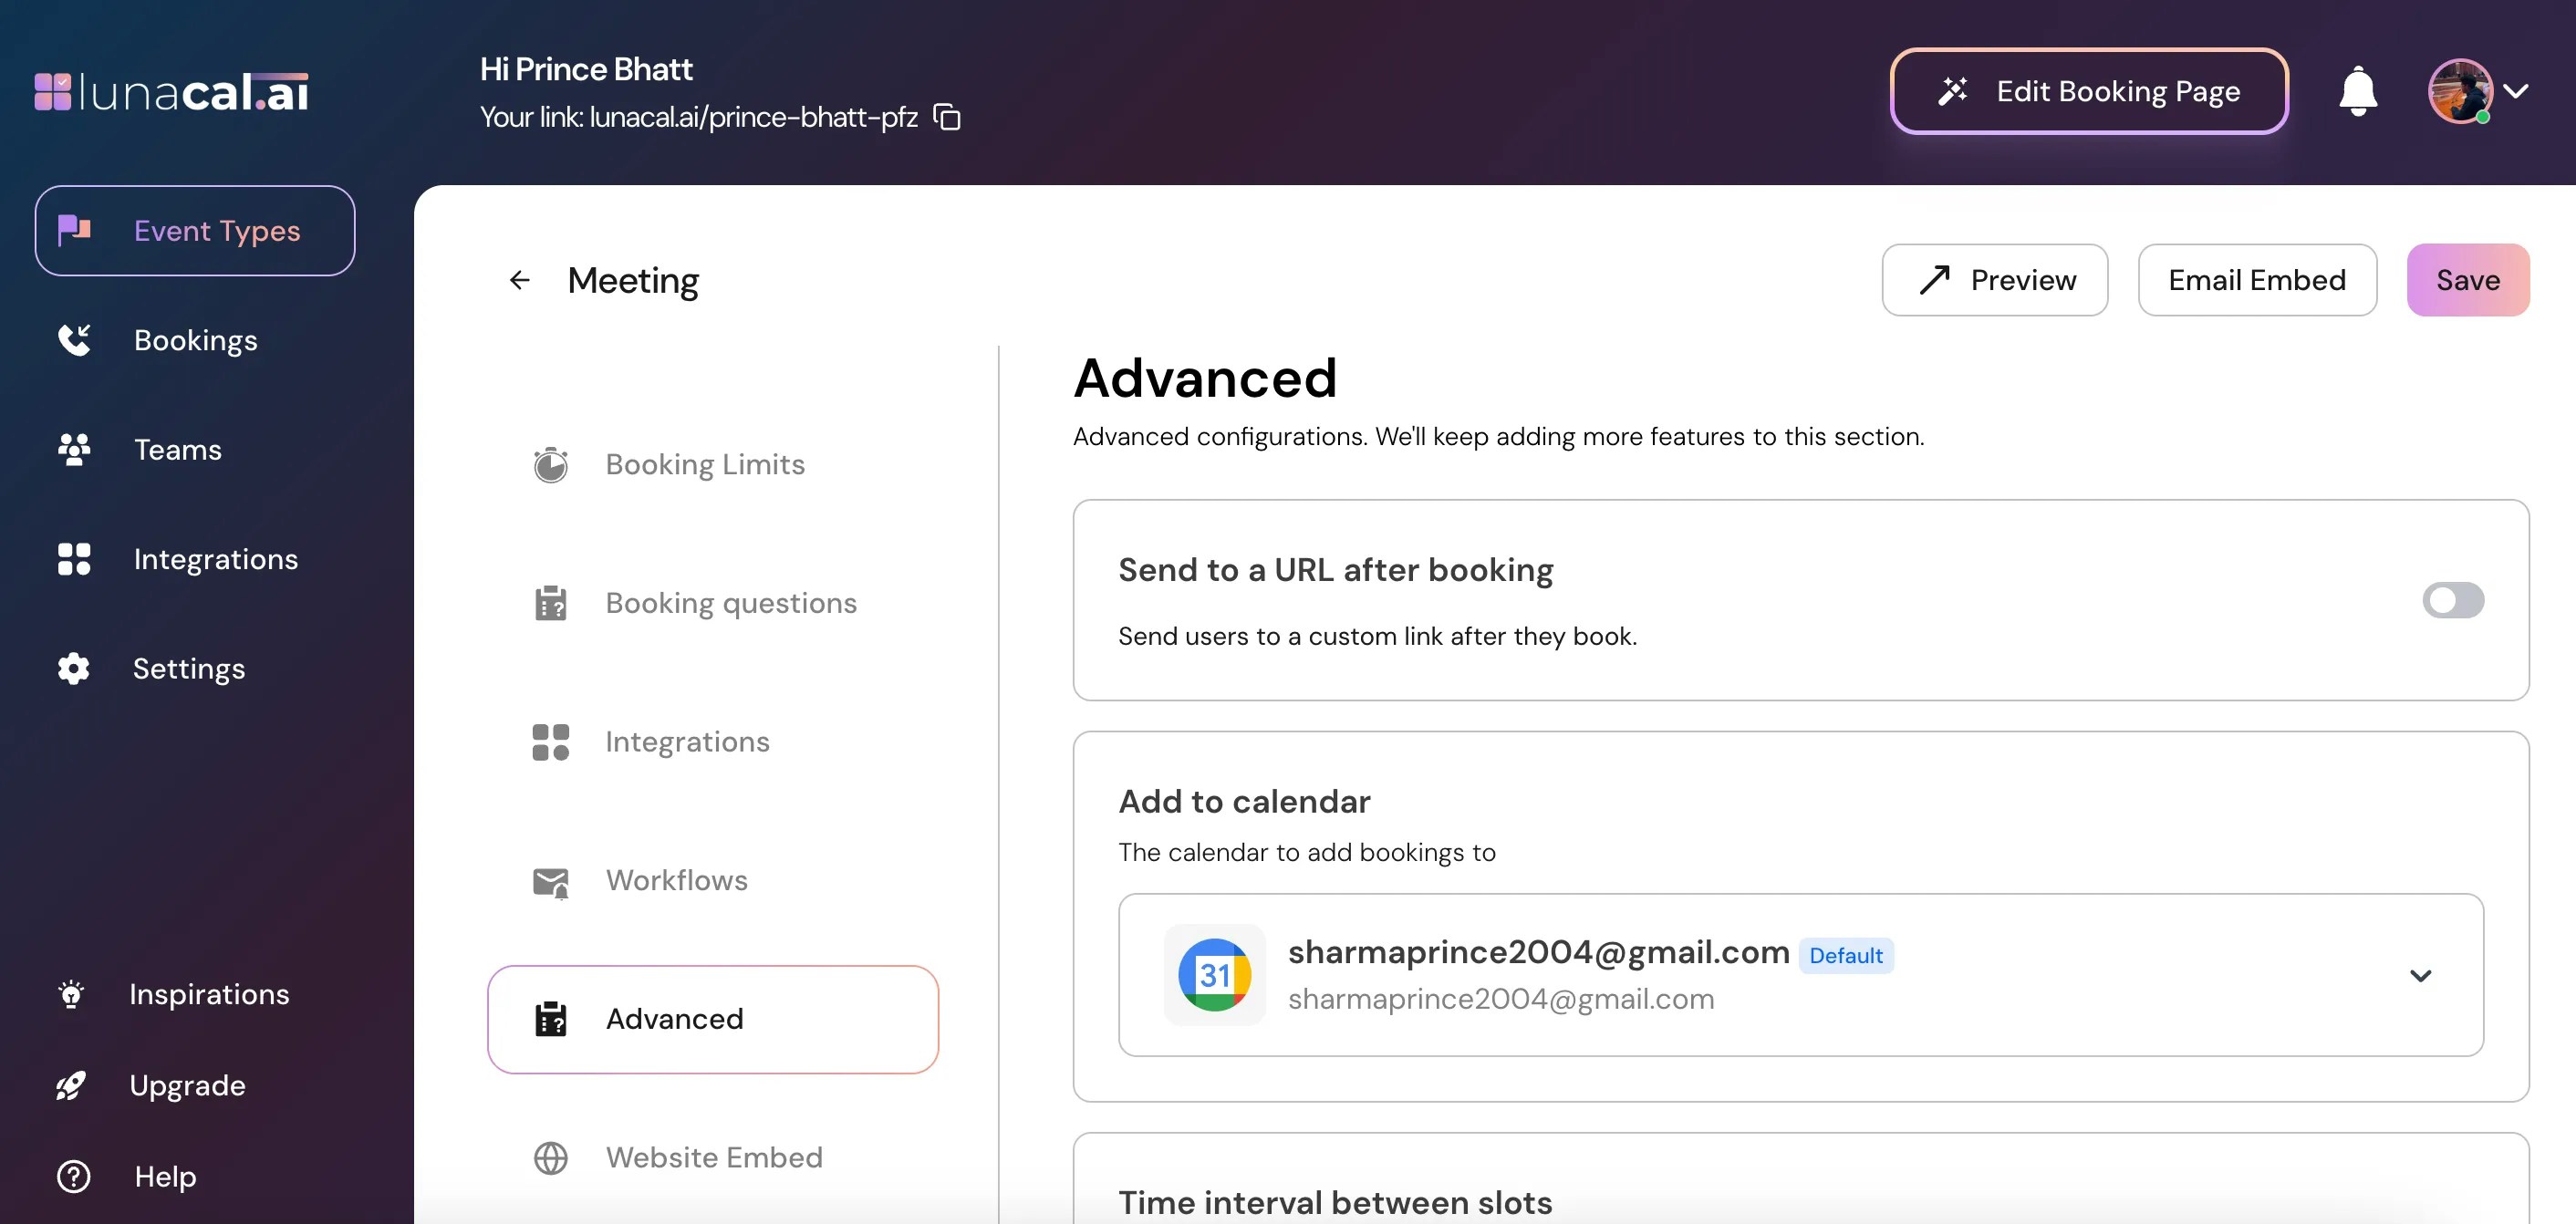
Step 5
In “Advanced” scroll down and update the following fields in “Webpage SEO & Branding”: “Meta Title” → Keep it under 55–60 characters so it doesn’t get cut in Google. Put the event name first, then your name/brand or location for context.- Example (agency): “Strategy Call — Brand Positioning Audit | BrightLabs”
Step 6
Click “Save” to apply the changes.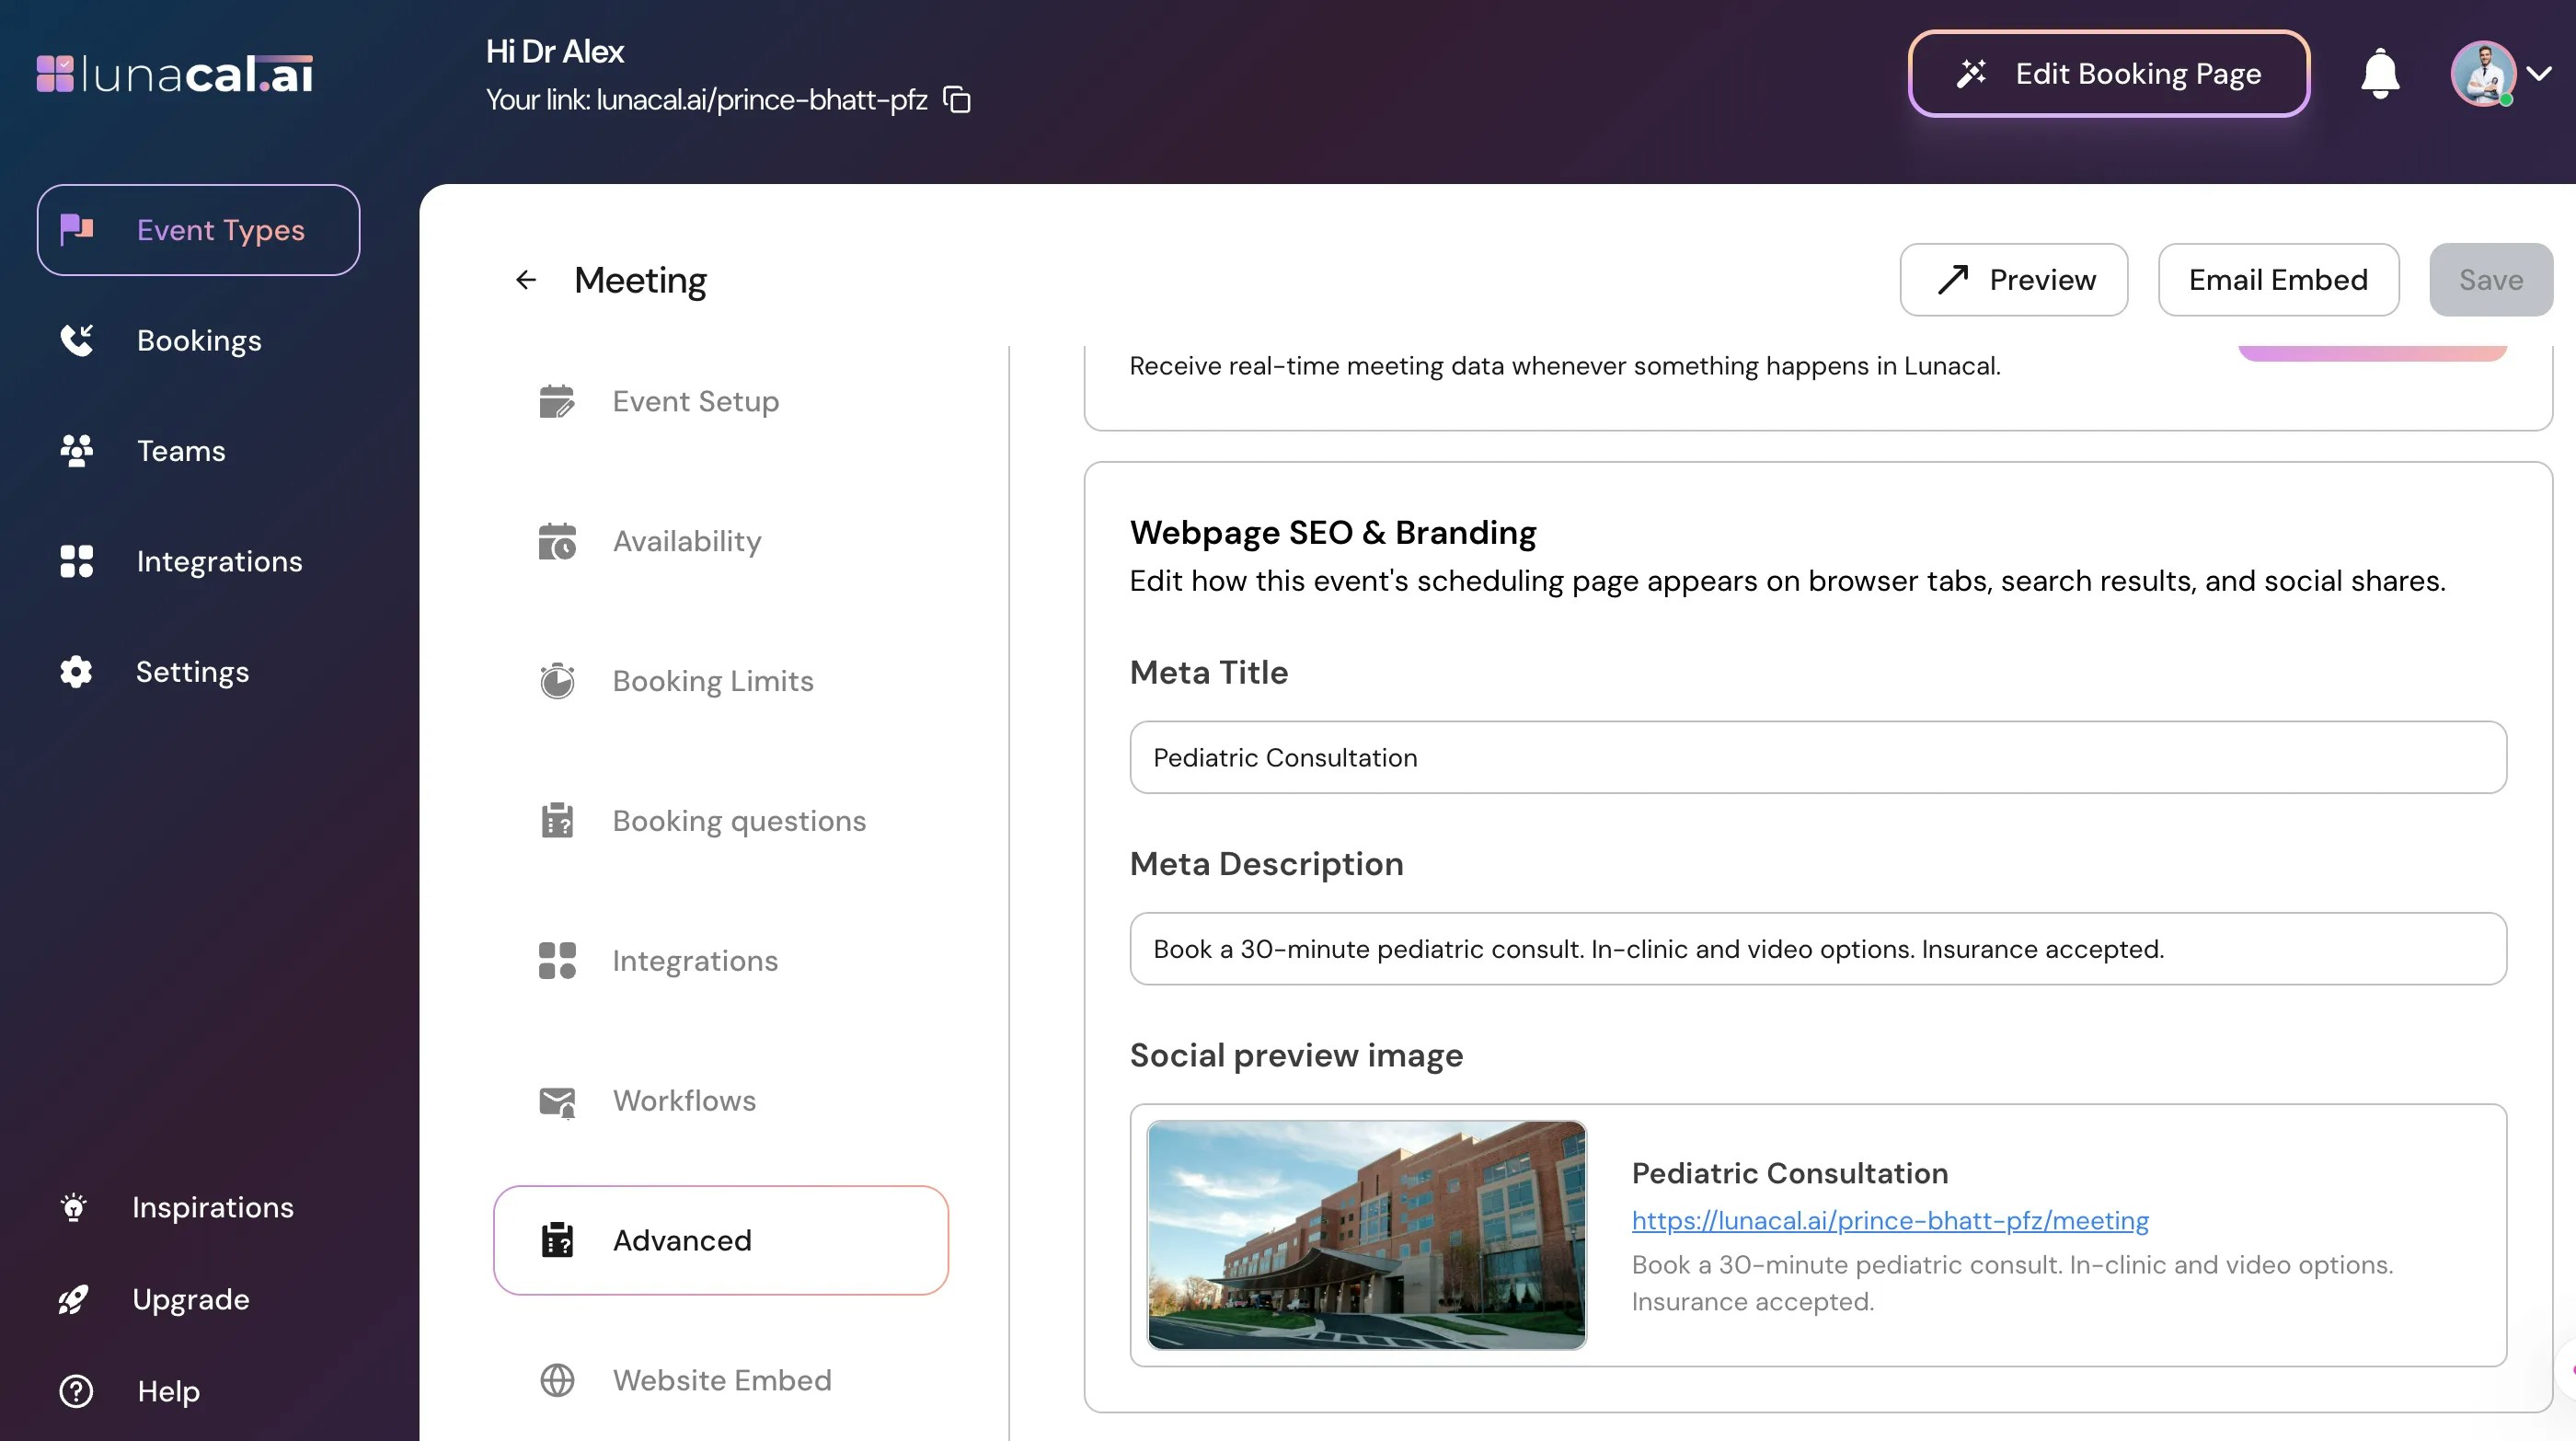
Step 7
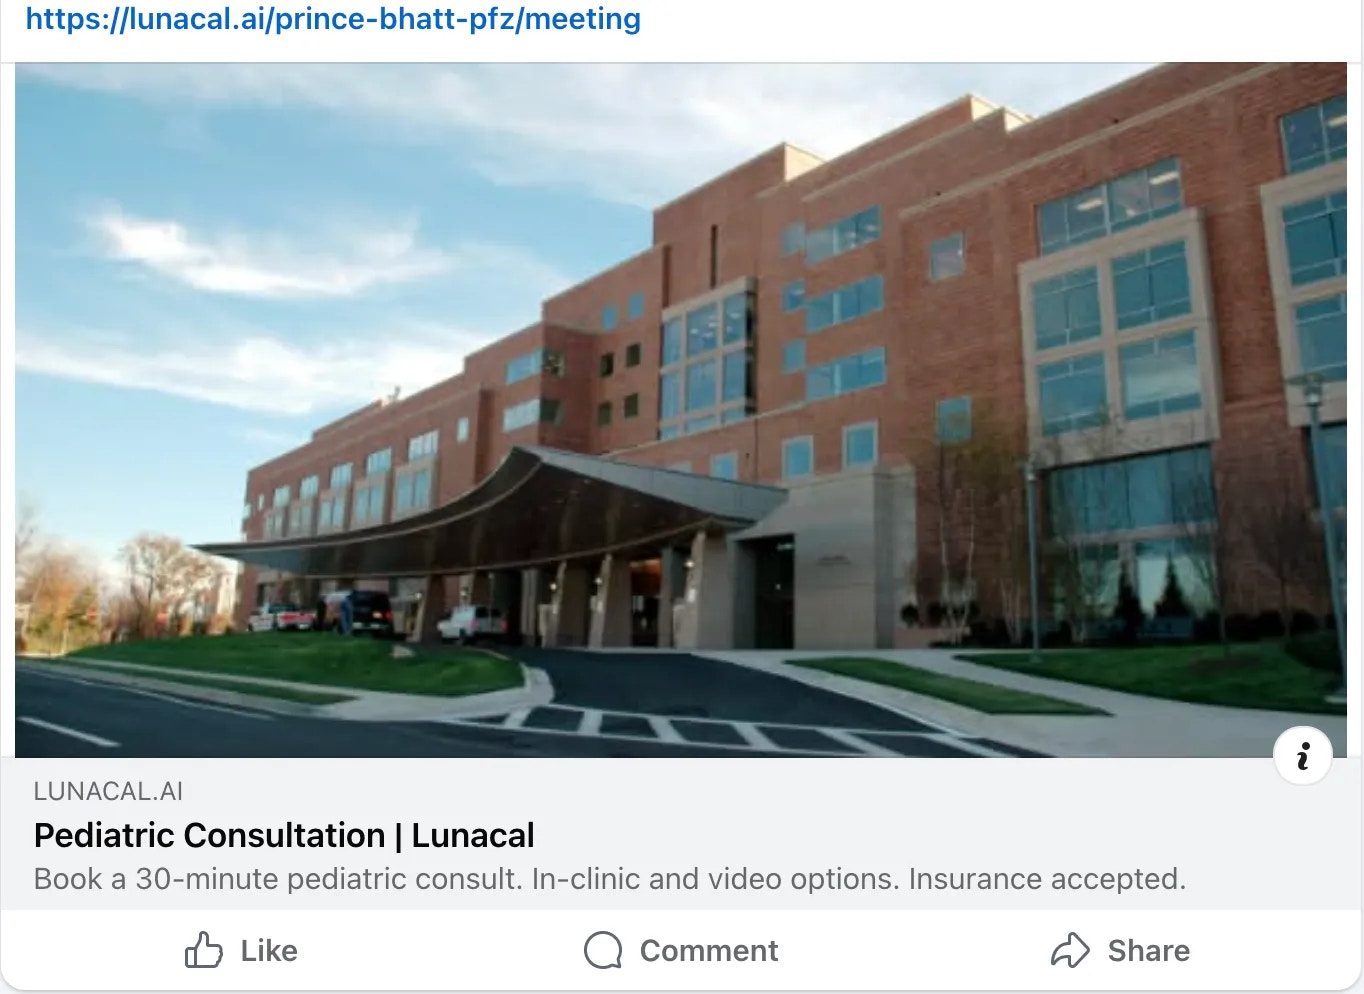
Copy your event link and paste it on the channel you want to share (WhatsApp, LinkedIn, X, Facebook, email). The “Social Preview Image” and “Meta Title”/“Meta Description” will render automatically. Preview-