Step 1
Go to “Integrations” → “Payment”, then click “connect” to start PayPal setup.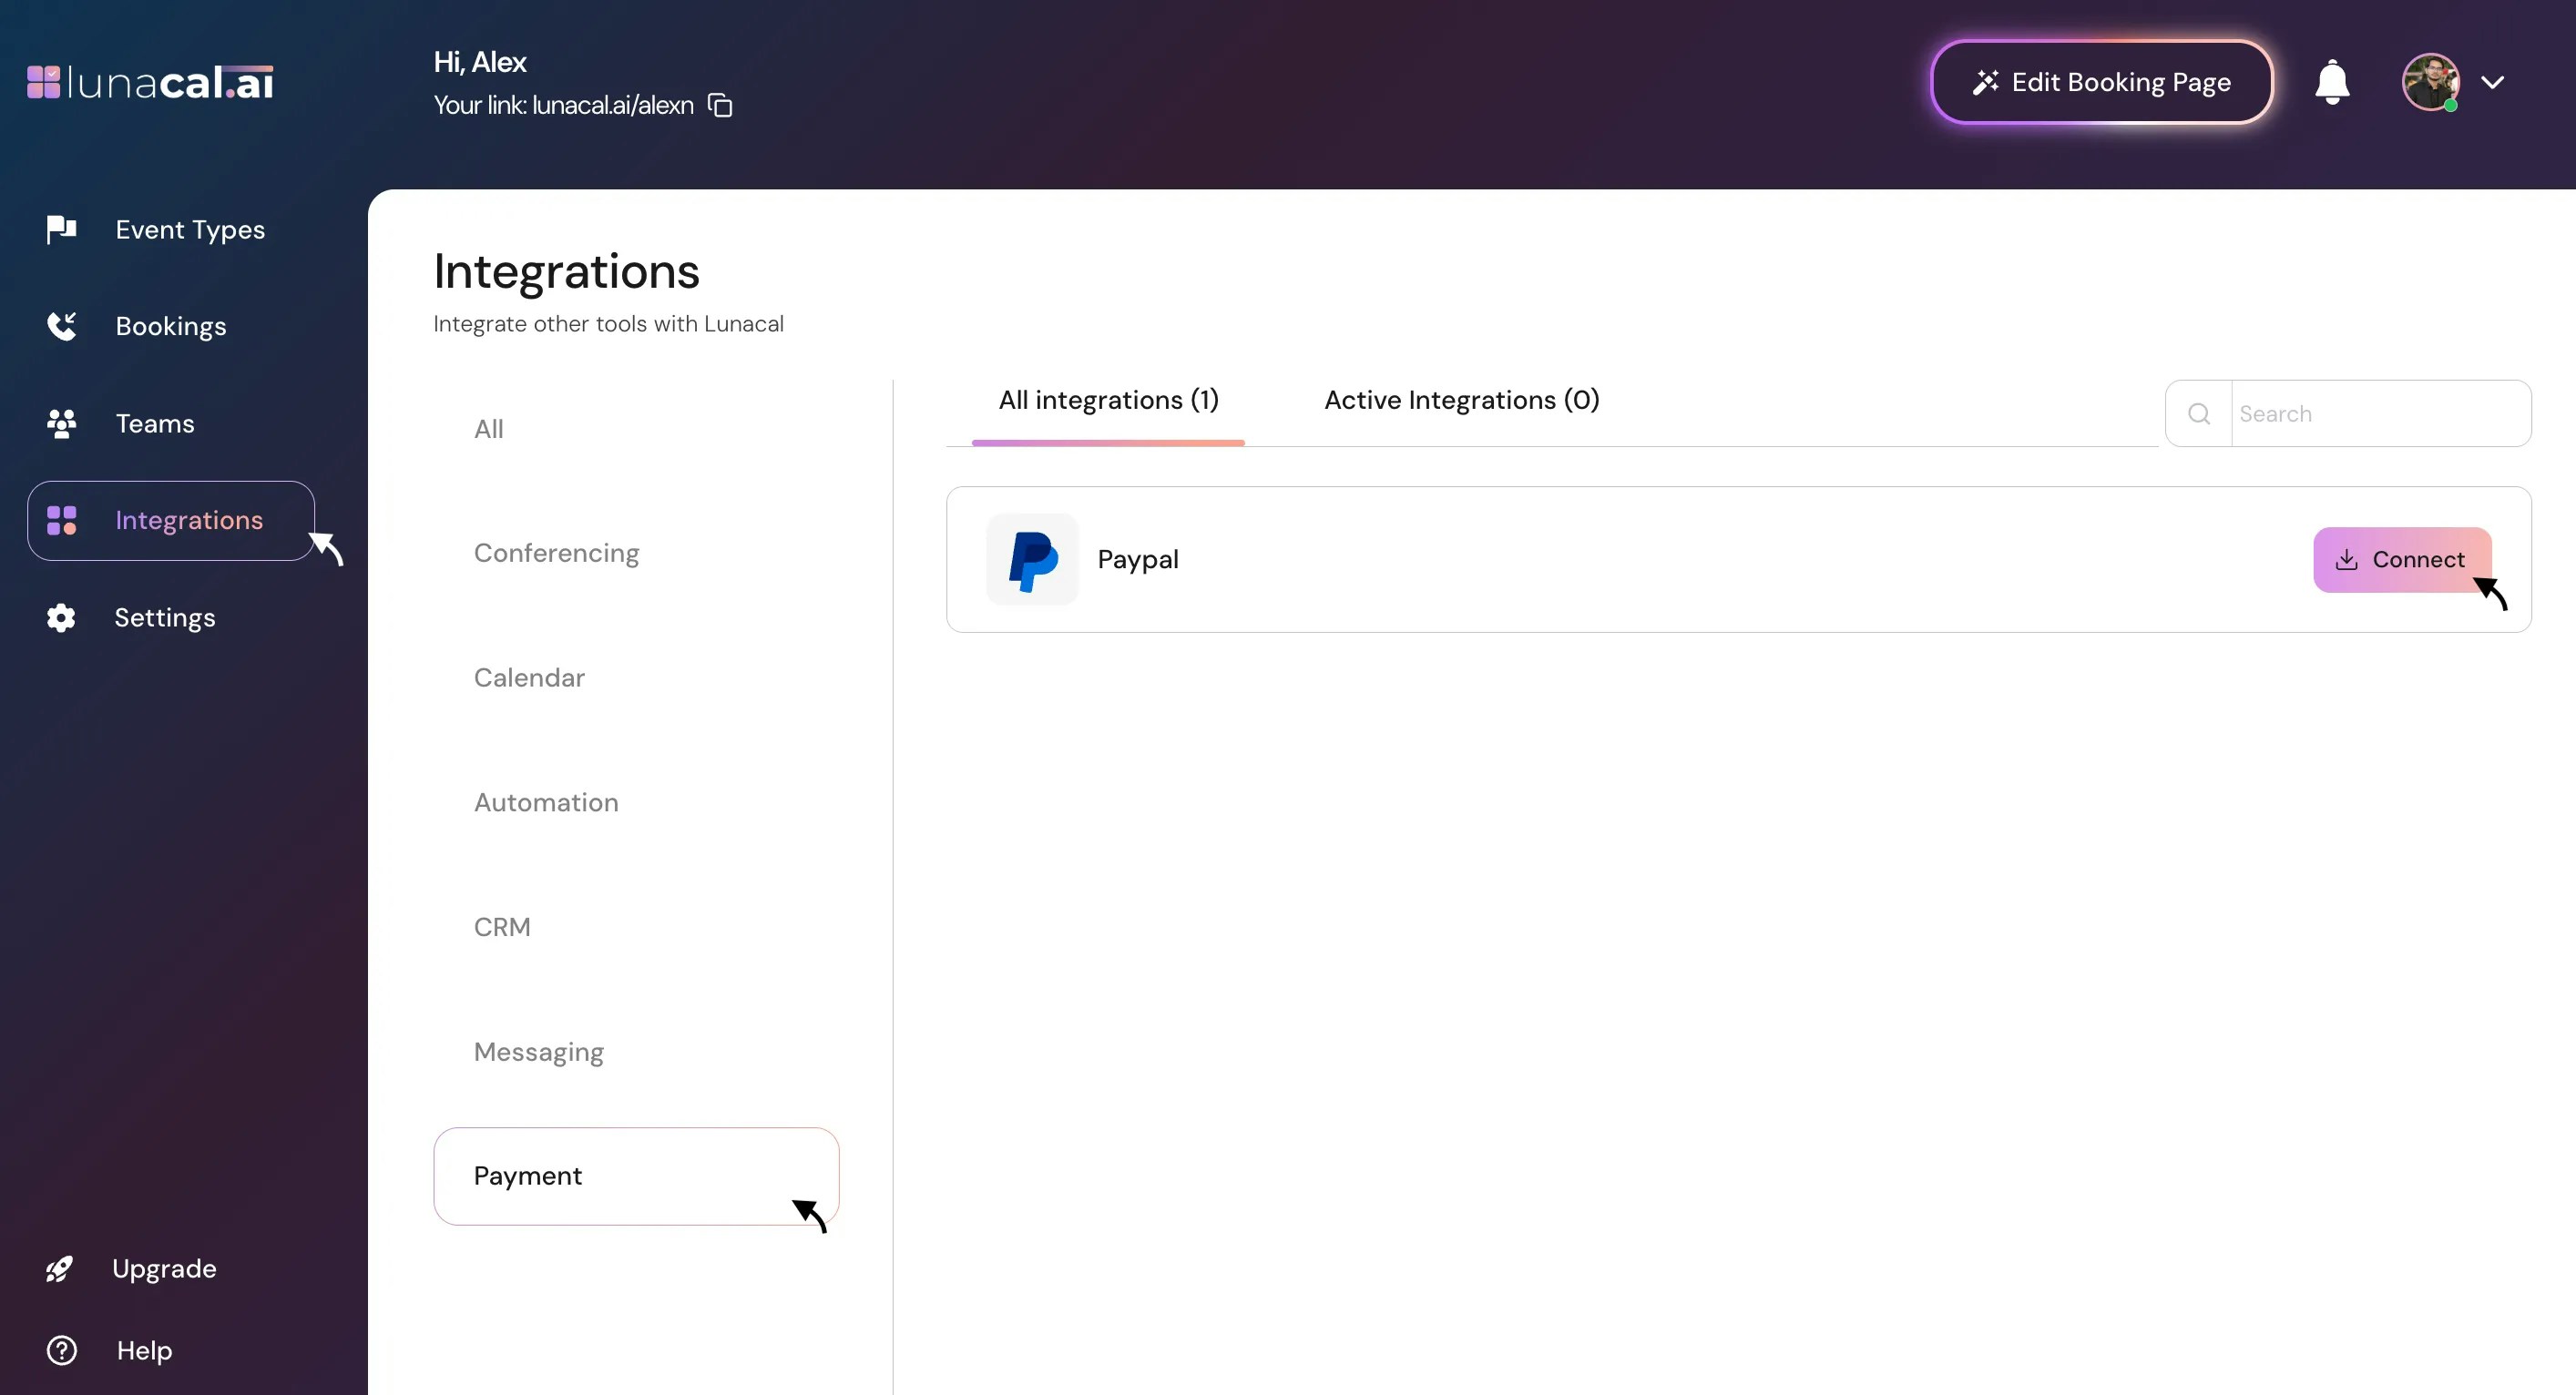
Step 2
Choose where to install PayPal: a specific event or your teams.Example: You run free intro calls but paid workshops. Install PayPal only on the “Workshop” event so intro calls stay free.

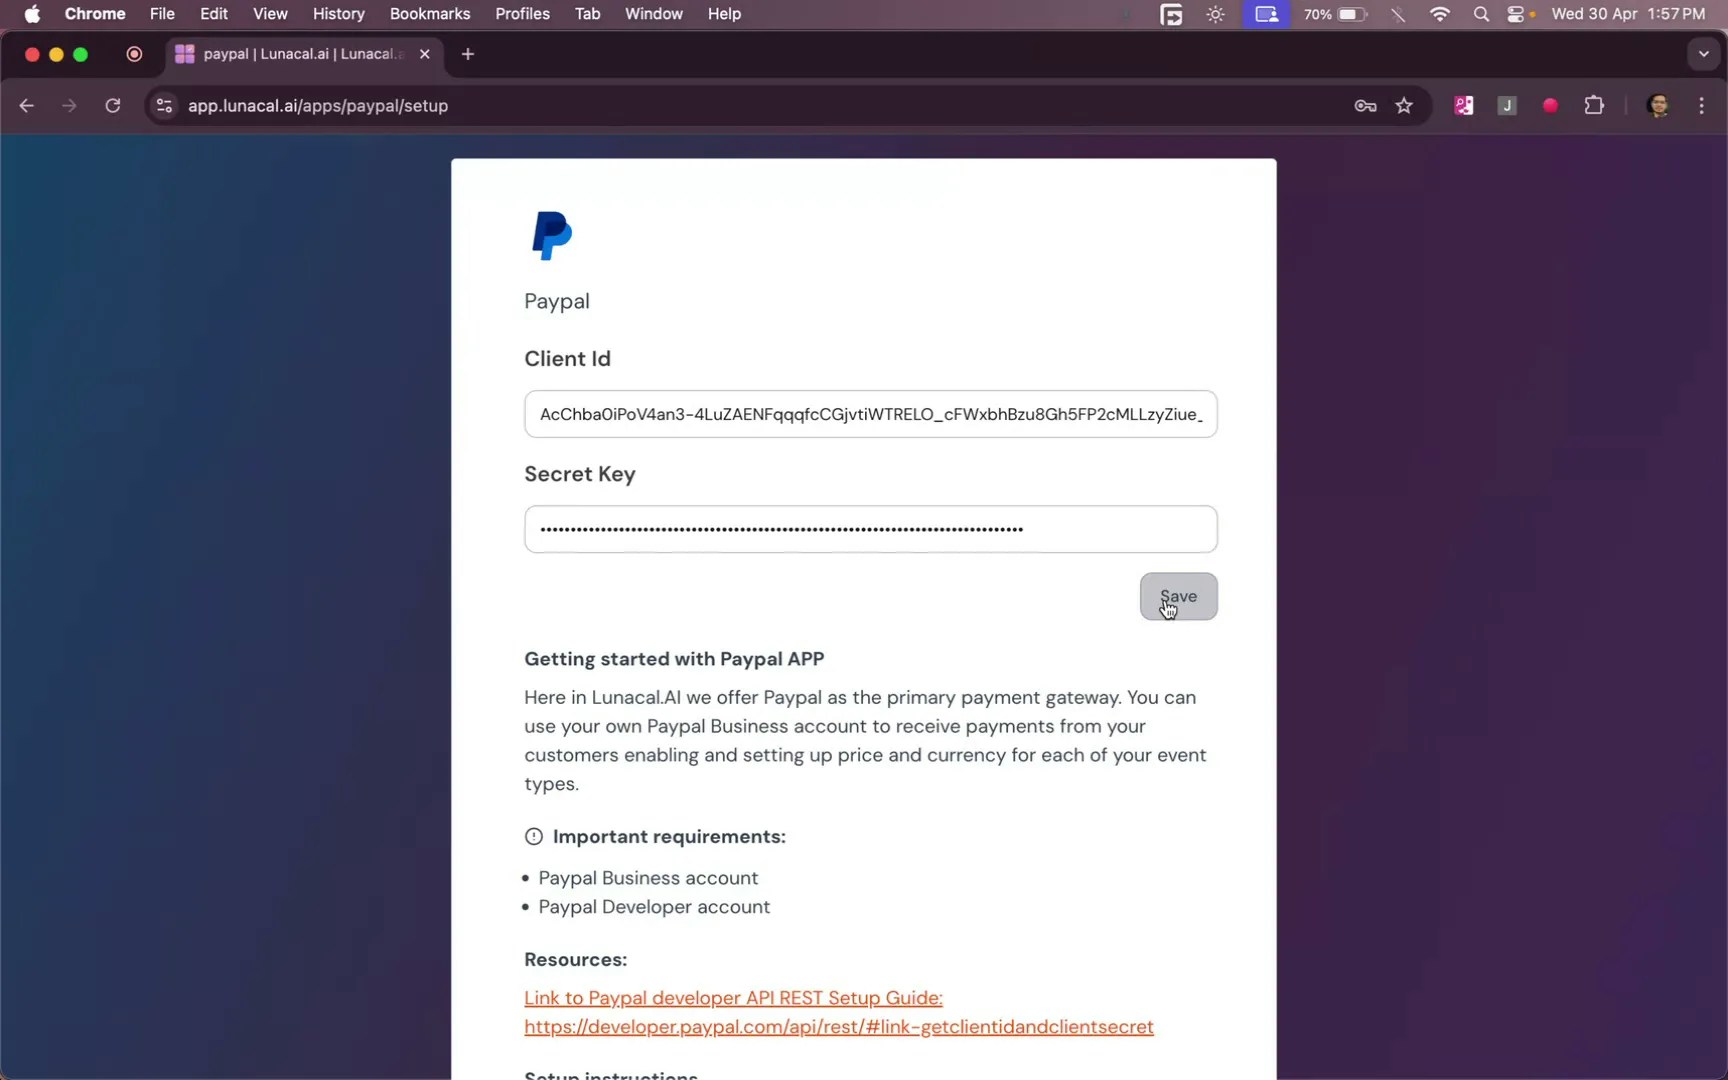
Step 3
Enter your “Client ID” and “Secret Key”, then click “Save”.Example: If your developer manages credentials, ask them for the “Client ID” and “Secret Key” from PayPal. Keep the “Secret Key” private Note: To Get Your PayPal Client ID and Secret Key refer to these Docs OR Tutorial
Step 4
After install, open the event app where you want payments and click the event.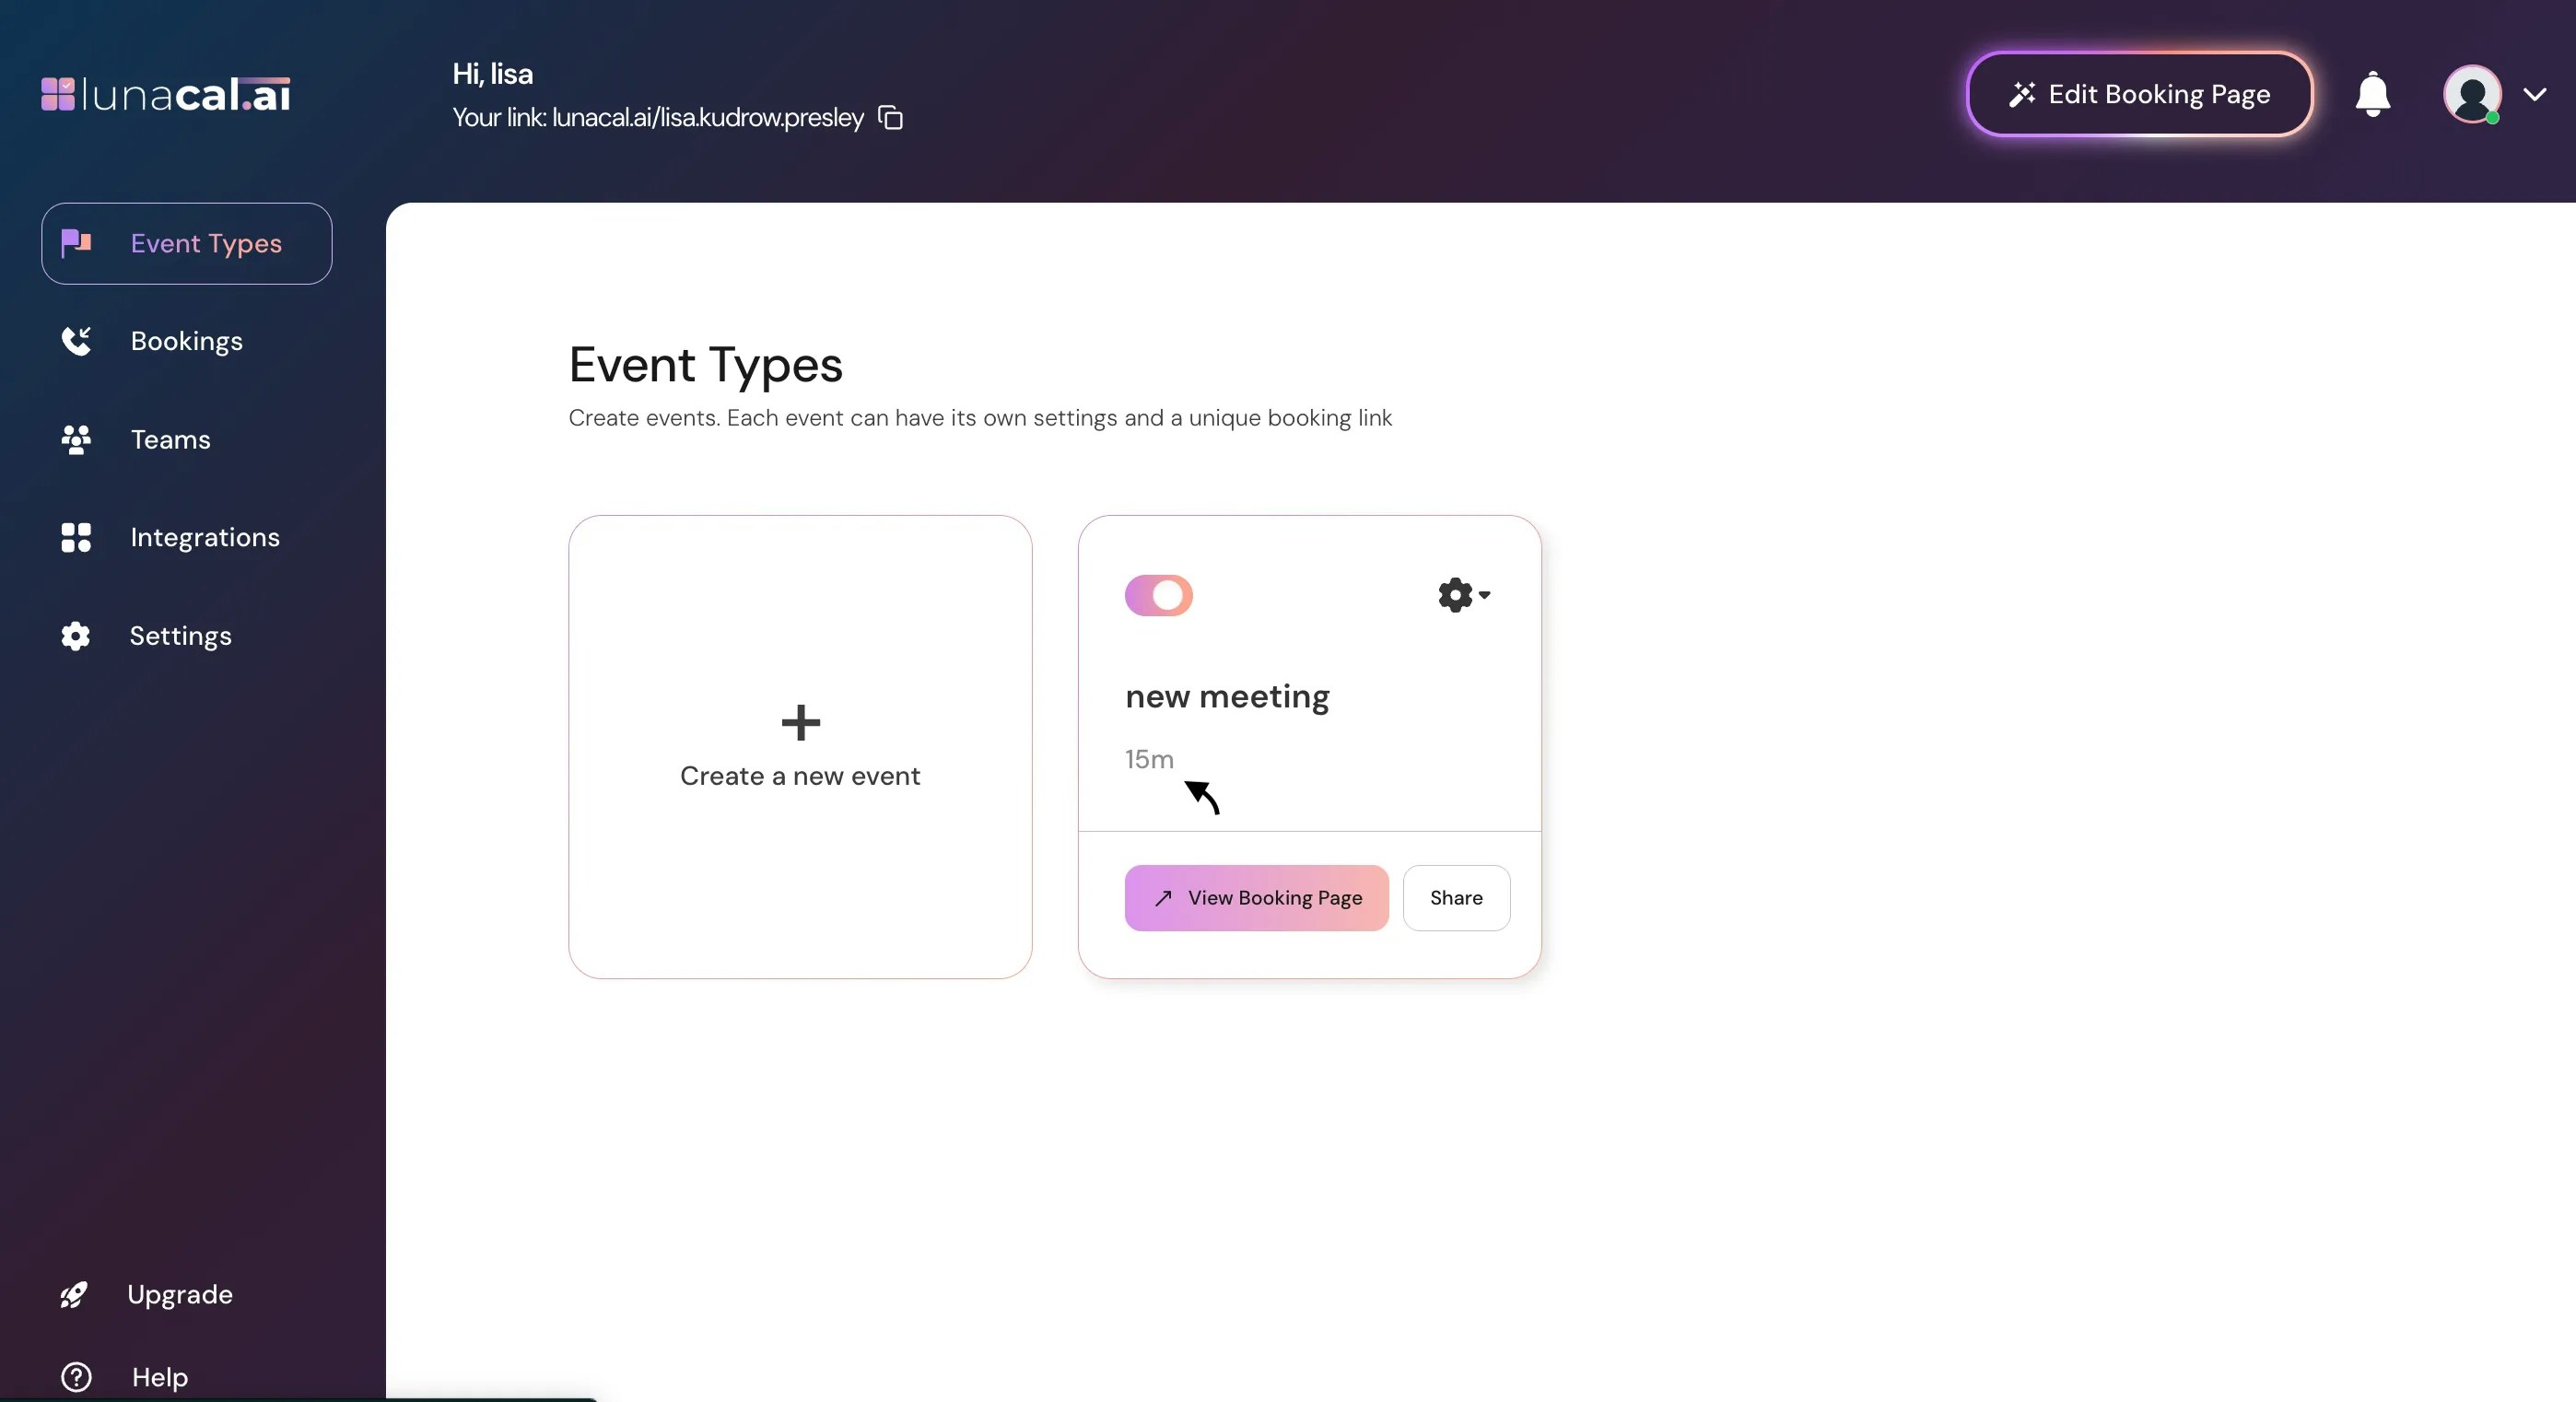
Step 5
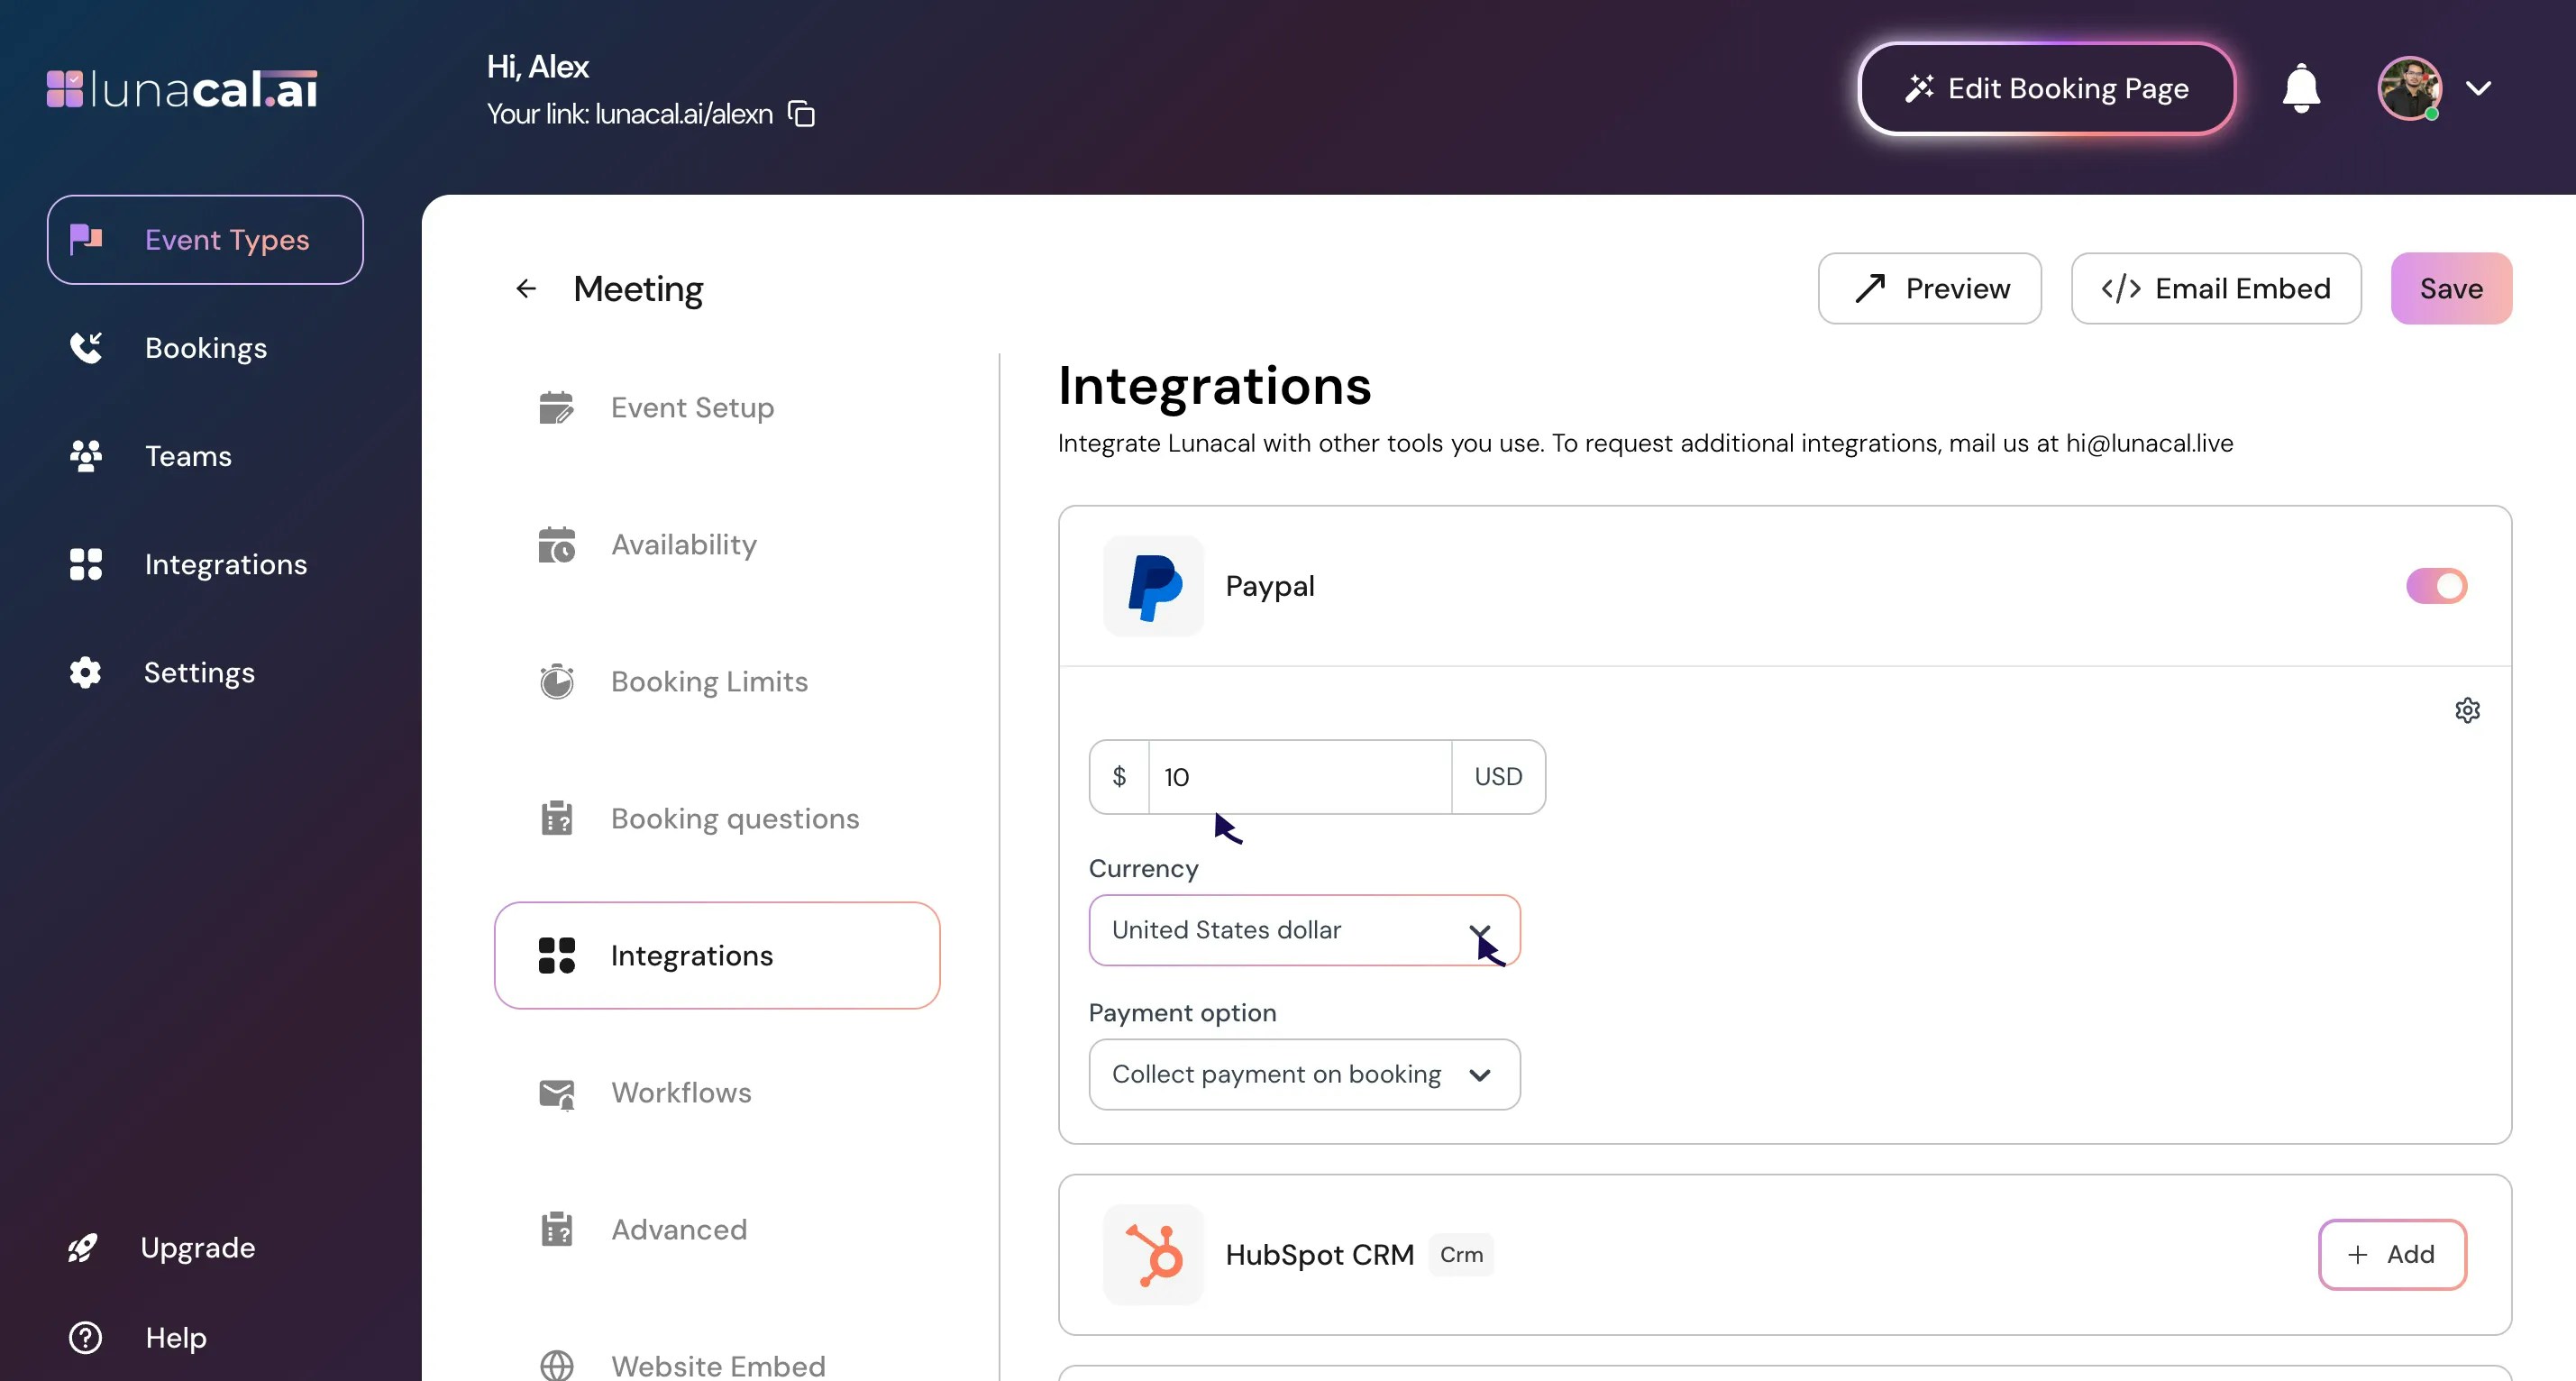
In “integrations”, enable the “paypal” button.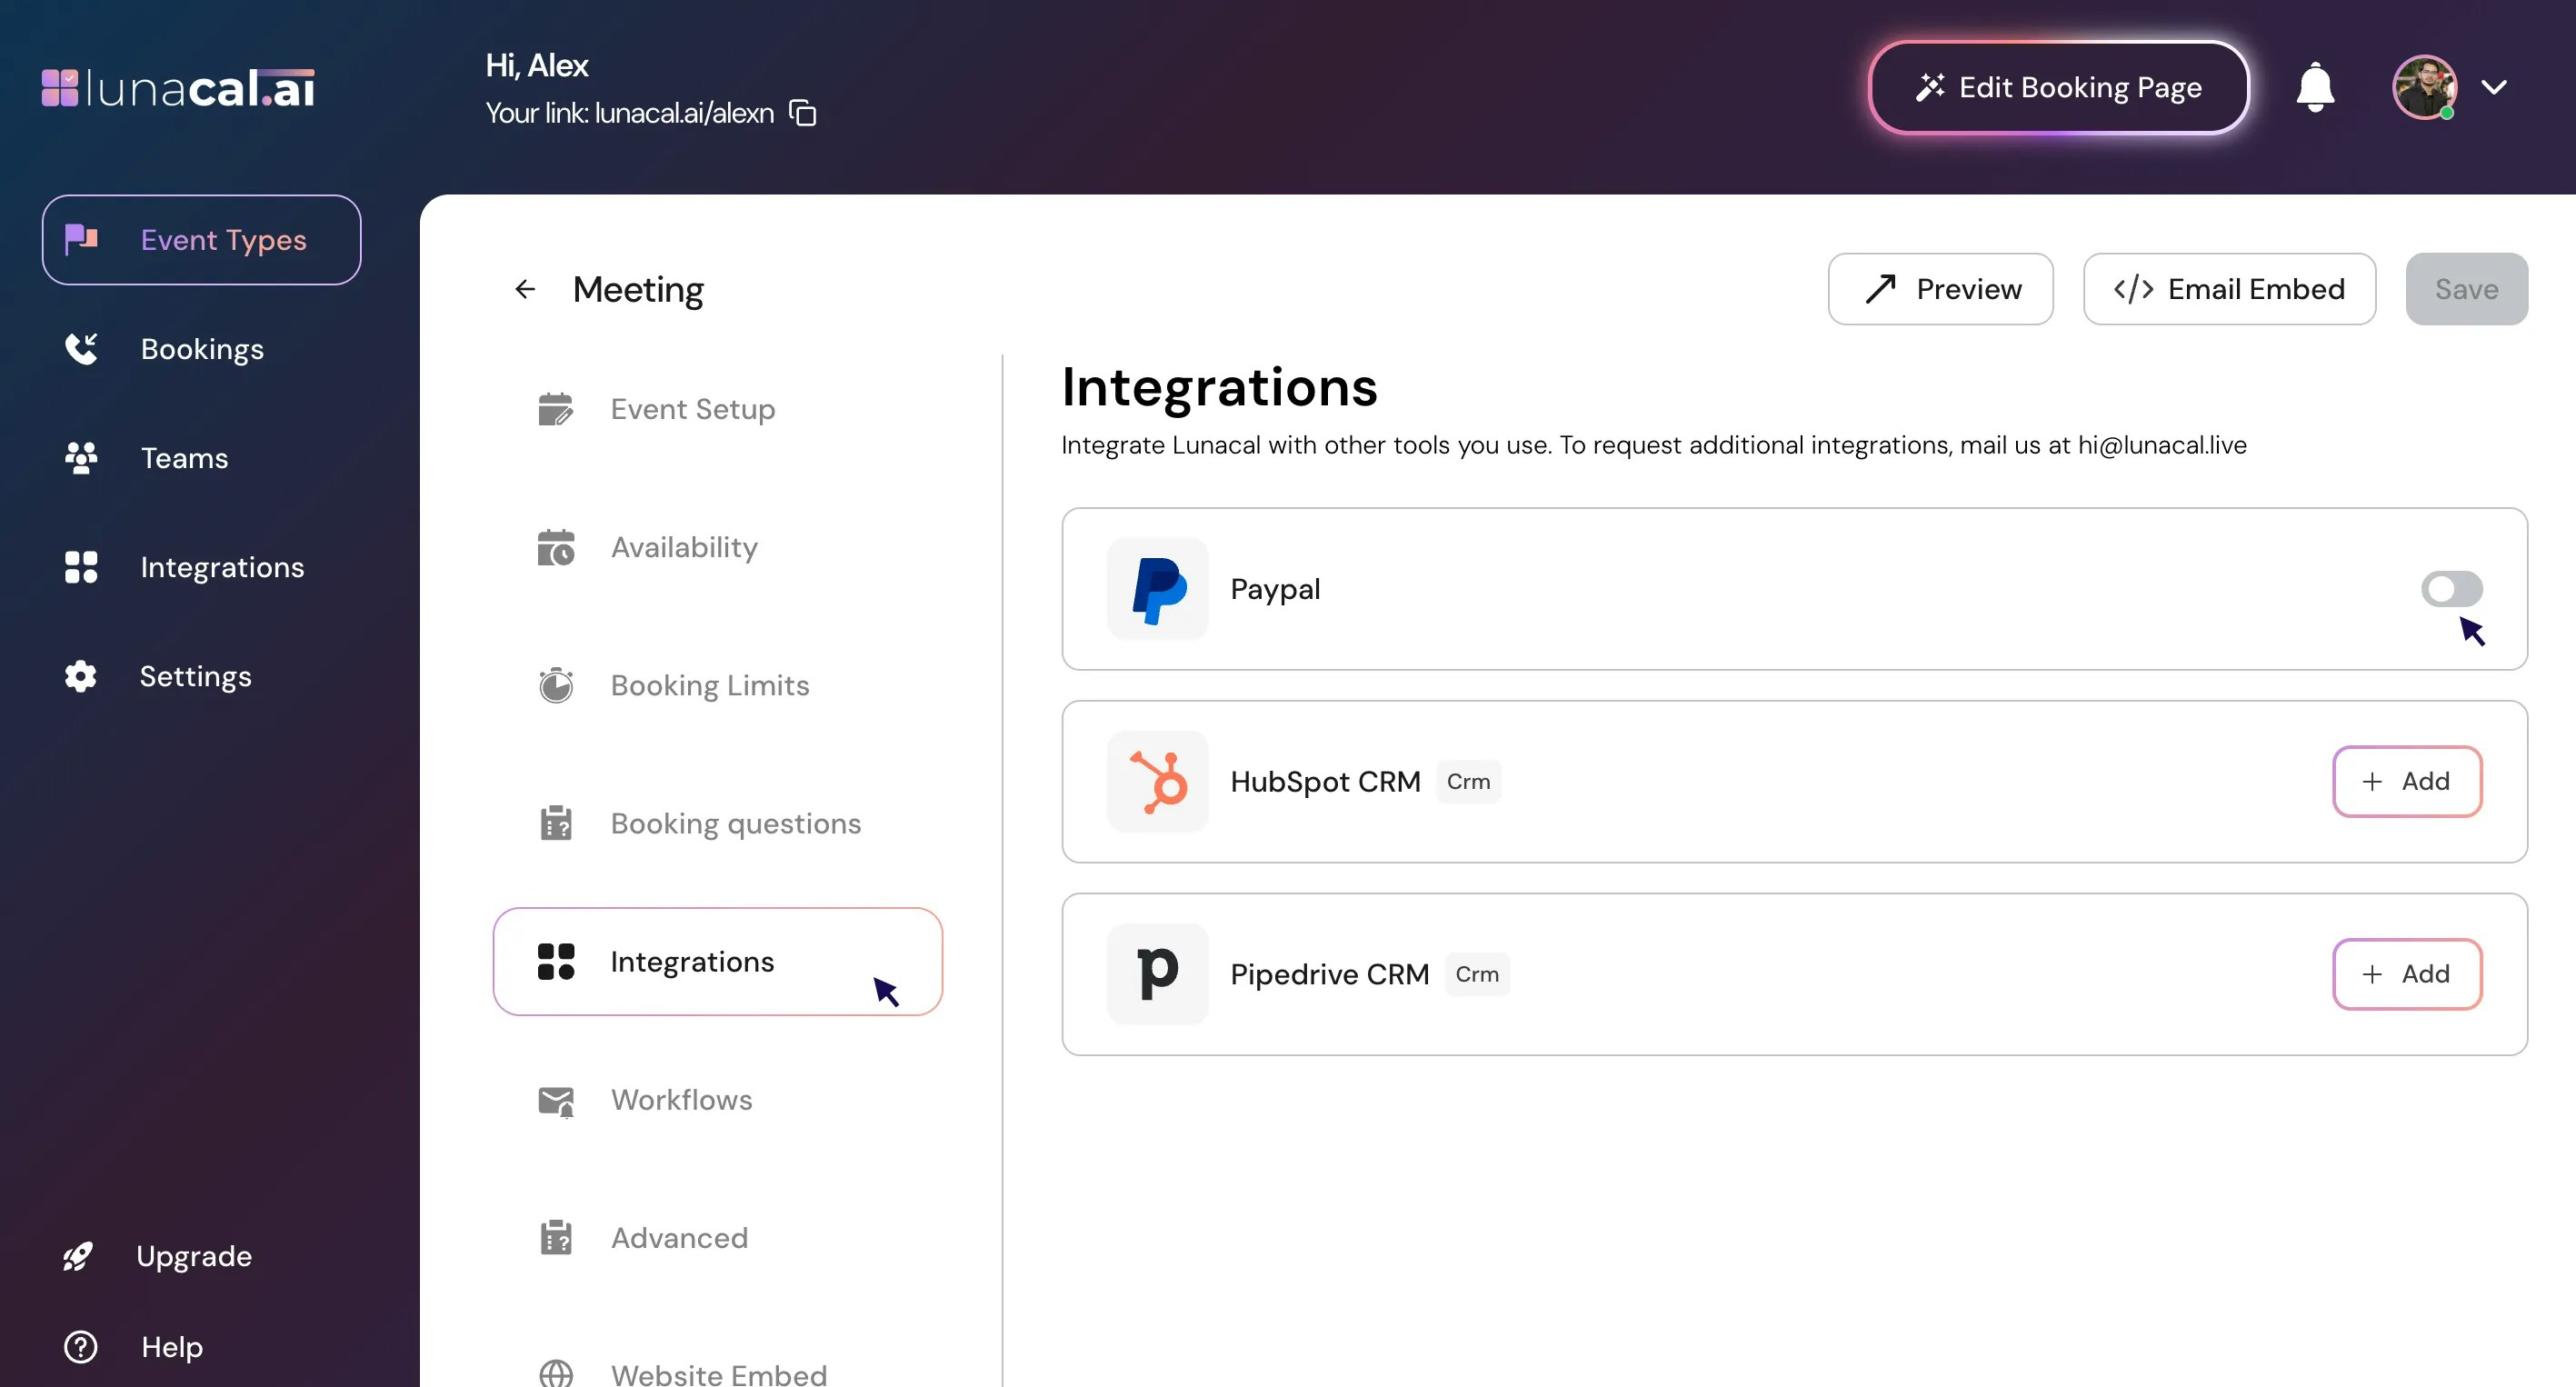
Step 6
Set a price (e.g., $10) and select the currency.Example: If your audience is global, set USD. If most clients are in the EU, pick EUR to reduce conversion fees.
Step 7
Click “Save” to confirm your settings.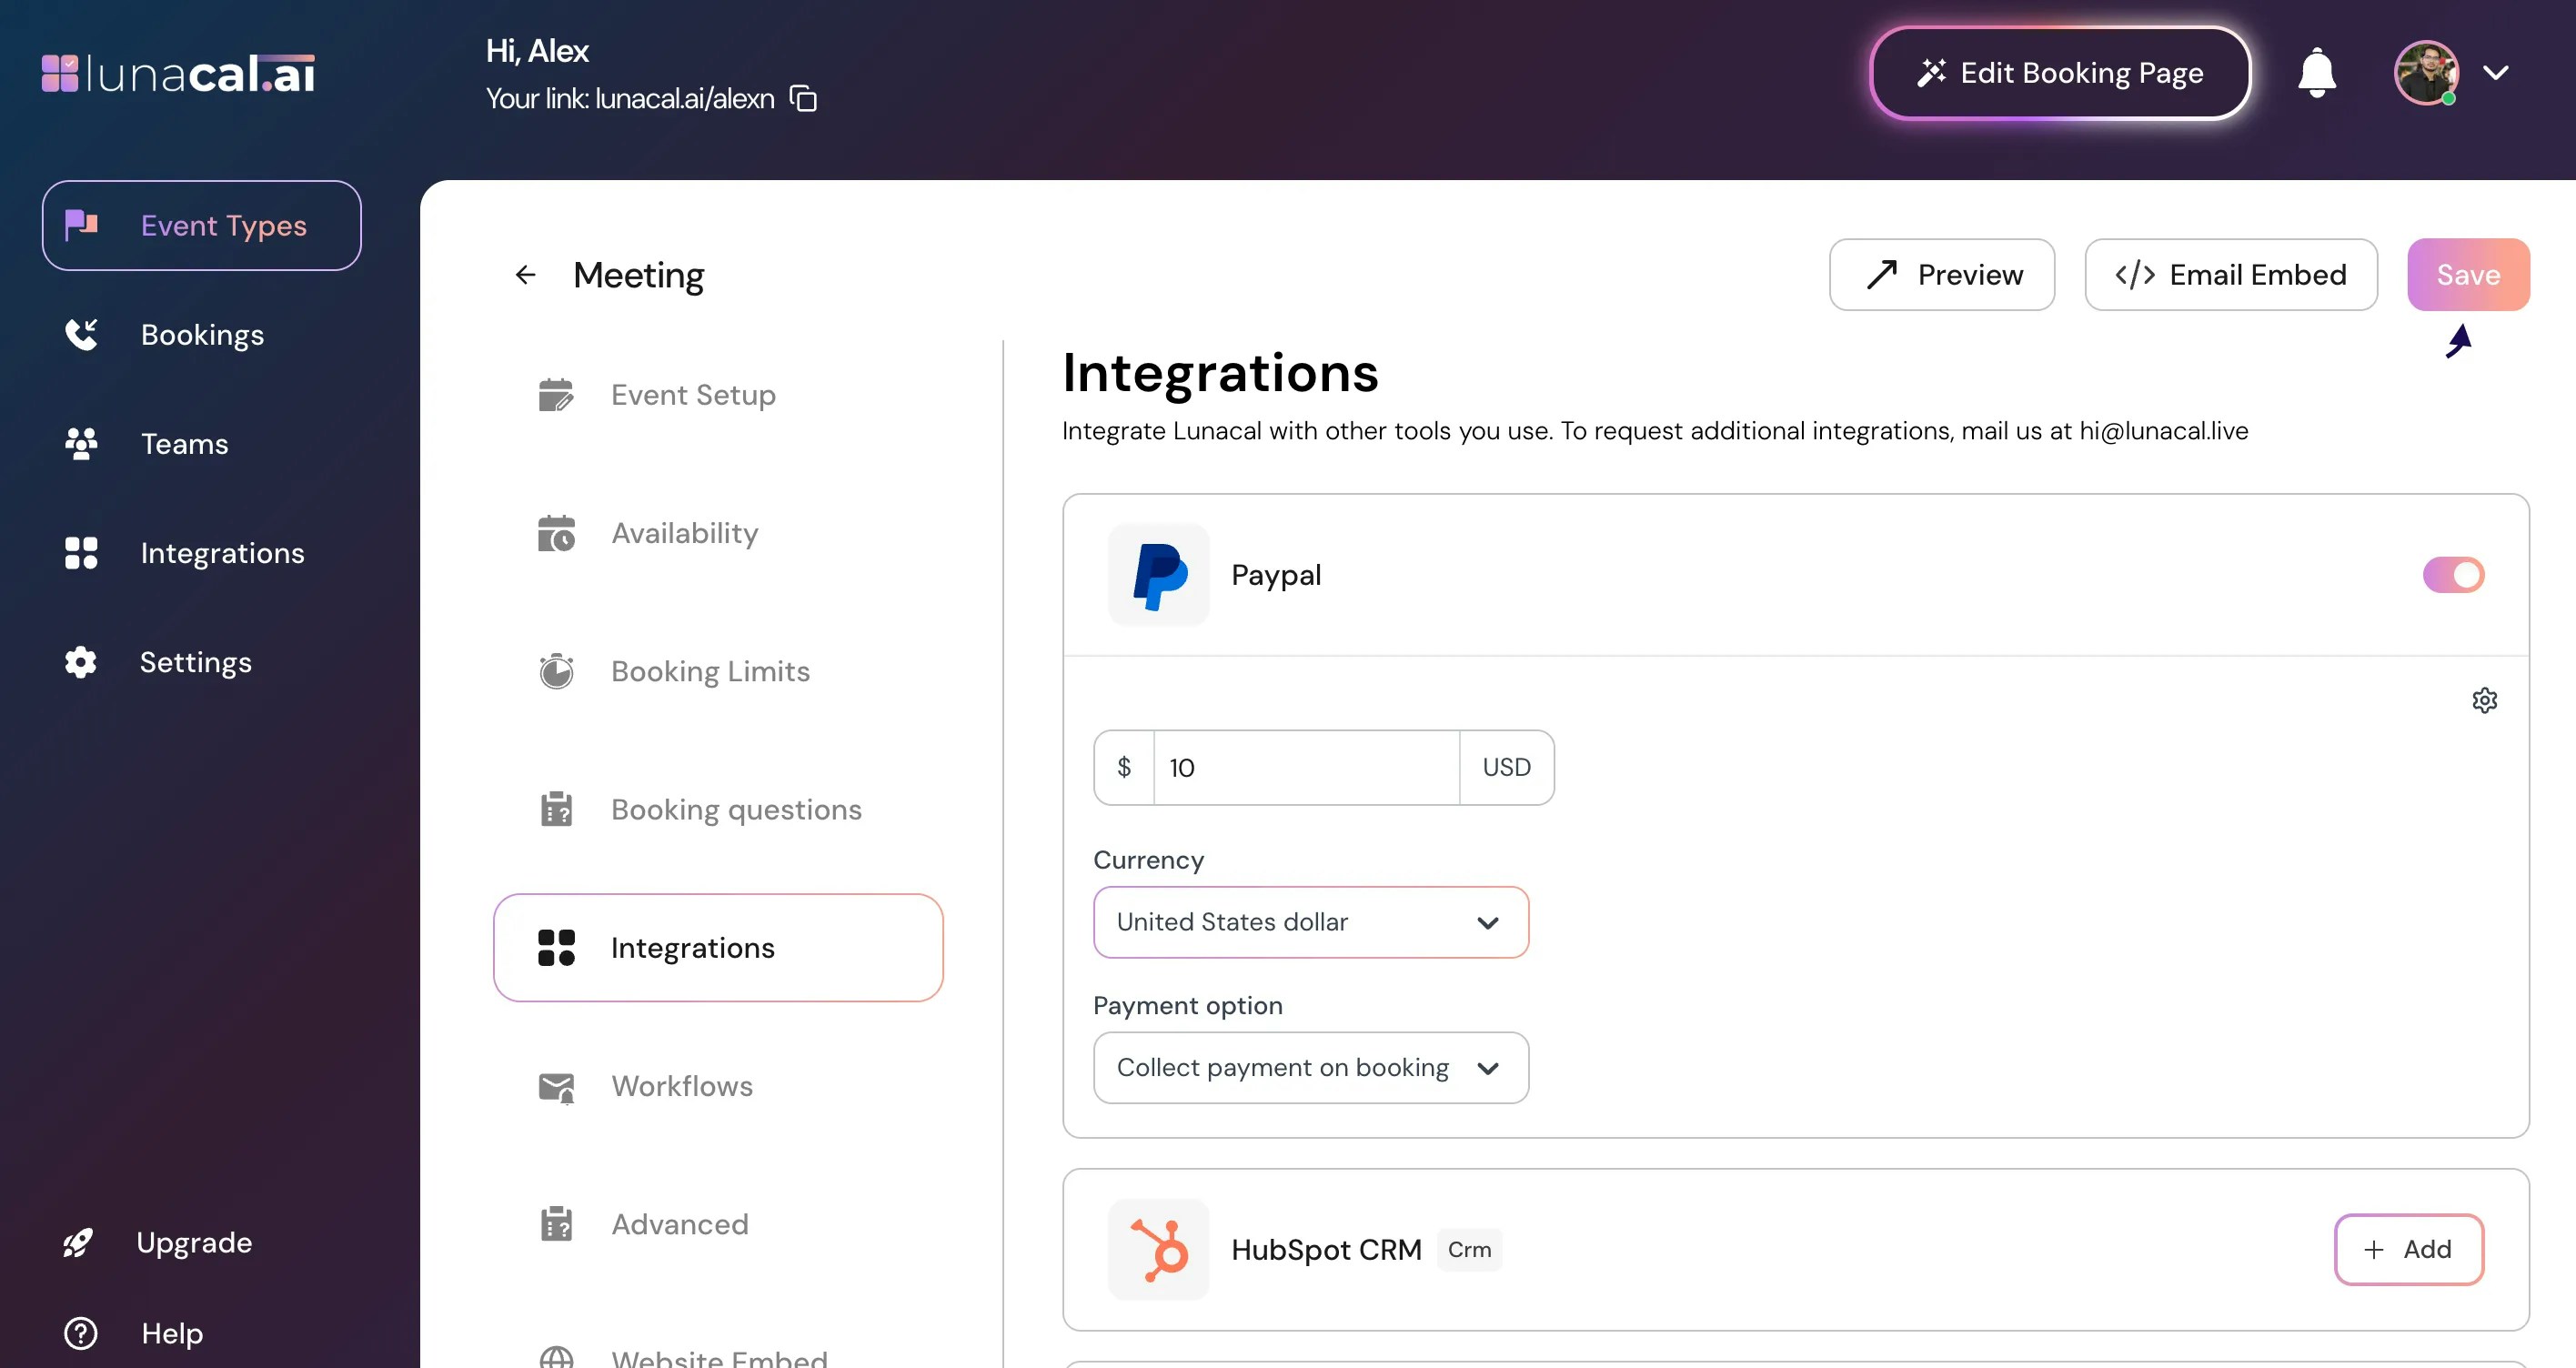
Step 8
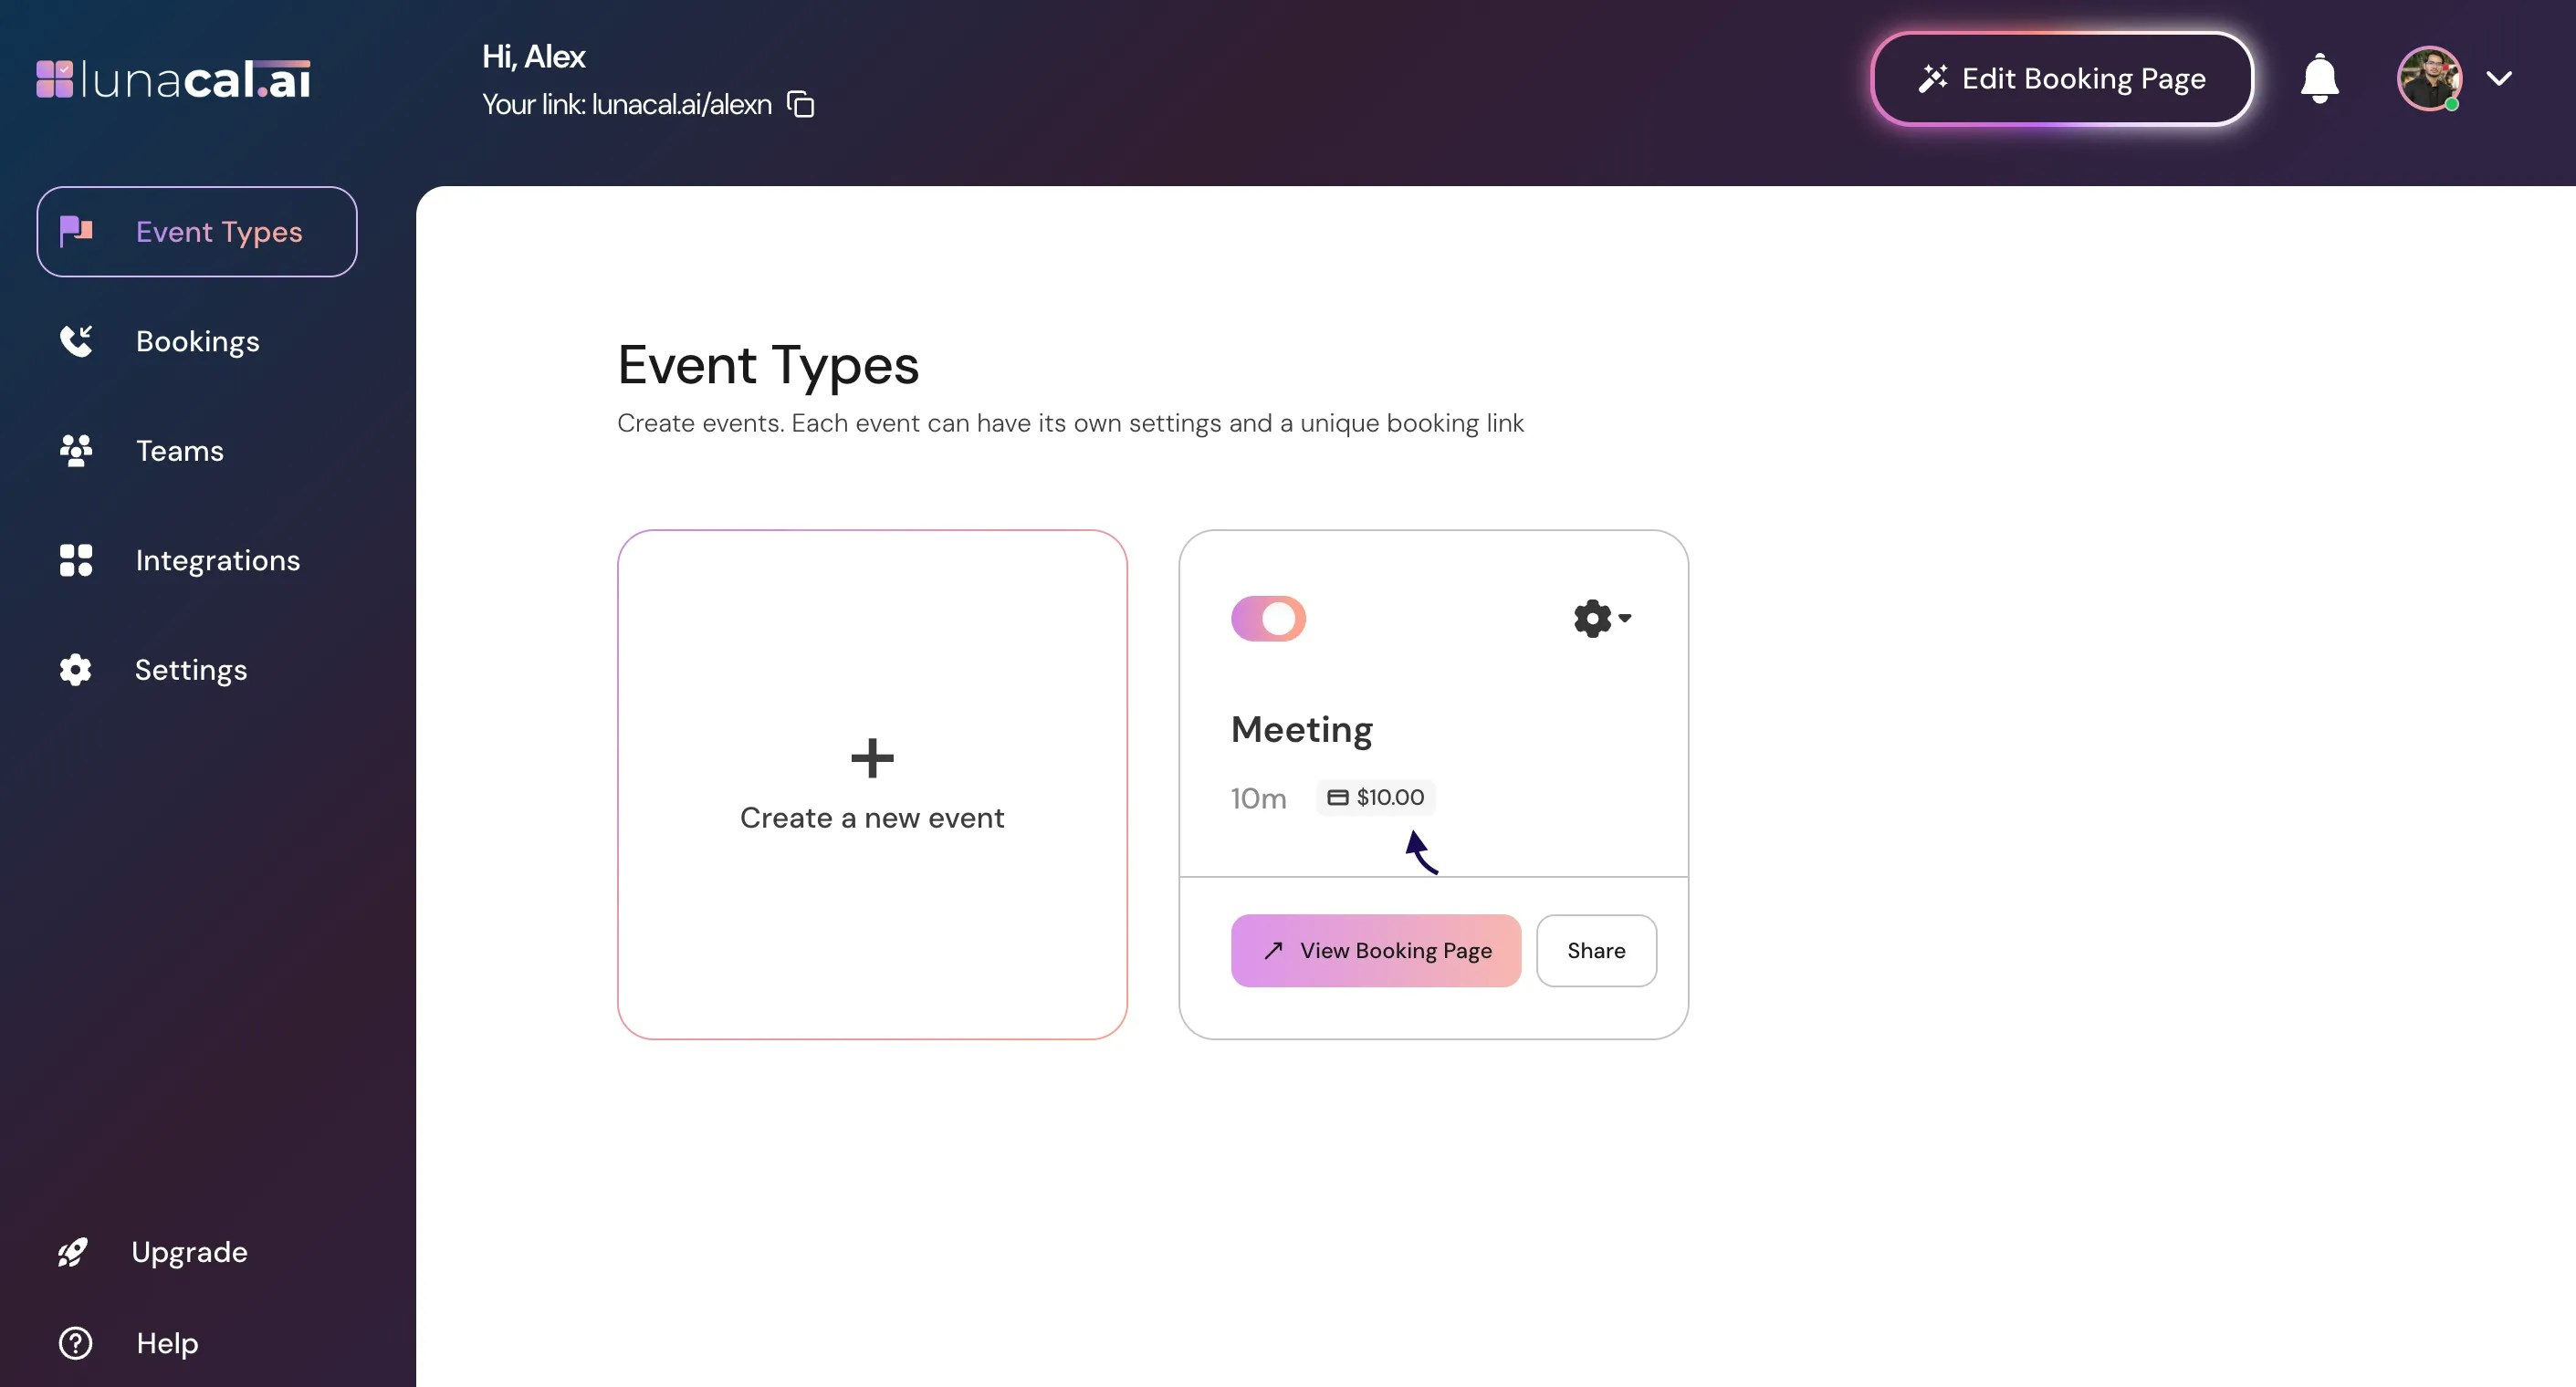
Your setup is complete. You’ll see a $10 tag on that event type.Example: A client books the “Workshop” and sees the price on the scheduling page—no surprises, fewer drop-offs
• Entering the wrong “Client ID”/“Secret Key” (typos break checkout).
• Forgetting to enable the “paypal” toggle under “integrations” for the event.
• Setting price but not saving; the event remains free.
• Installing PayPal at team level when you meant to apply it only to one event. Good defaults to start with -
• Install PayPal on one paid event first (keep trial/intro events free).
• Use a single common currency for your main audience.
• Start with a round price (for example, $25) to simplify checkout and reporting.
• Test one real booking end-to-end before promoting the link.