Integrations extend lunacal by syncing calendars, adding conferencing links, automating workflows, and collecting payments. Connected apps directly affect availability, booking confirmations, and post-meeting actions.
Step 1
Navigate to the Integrations tab.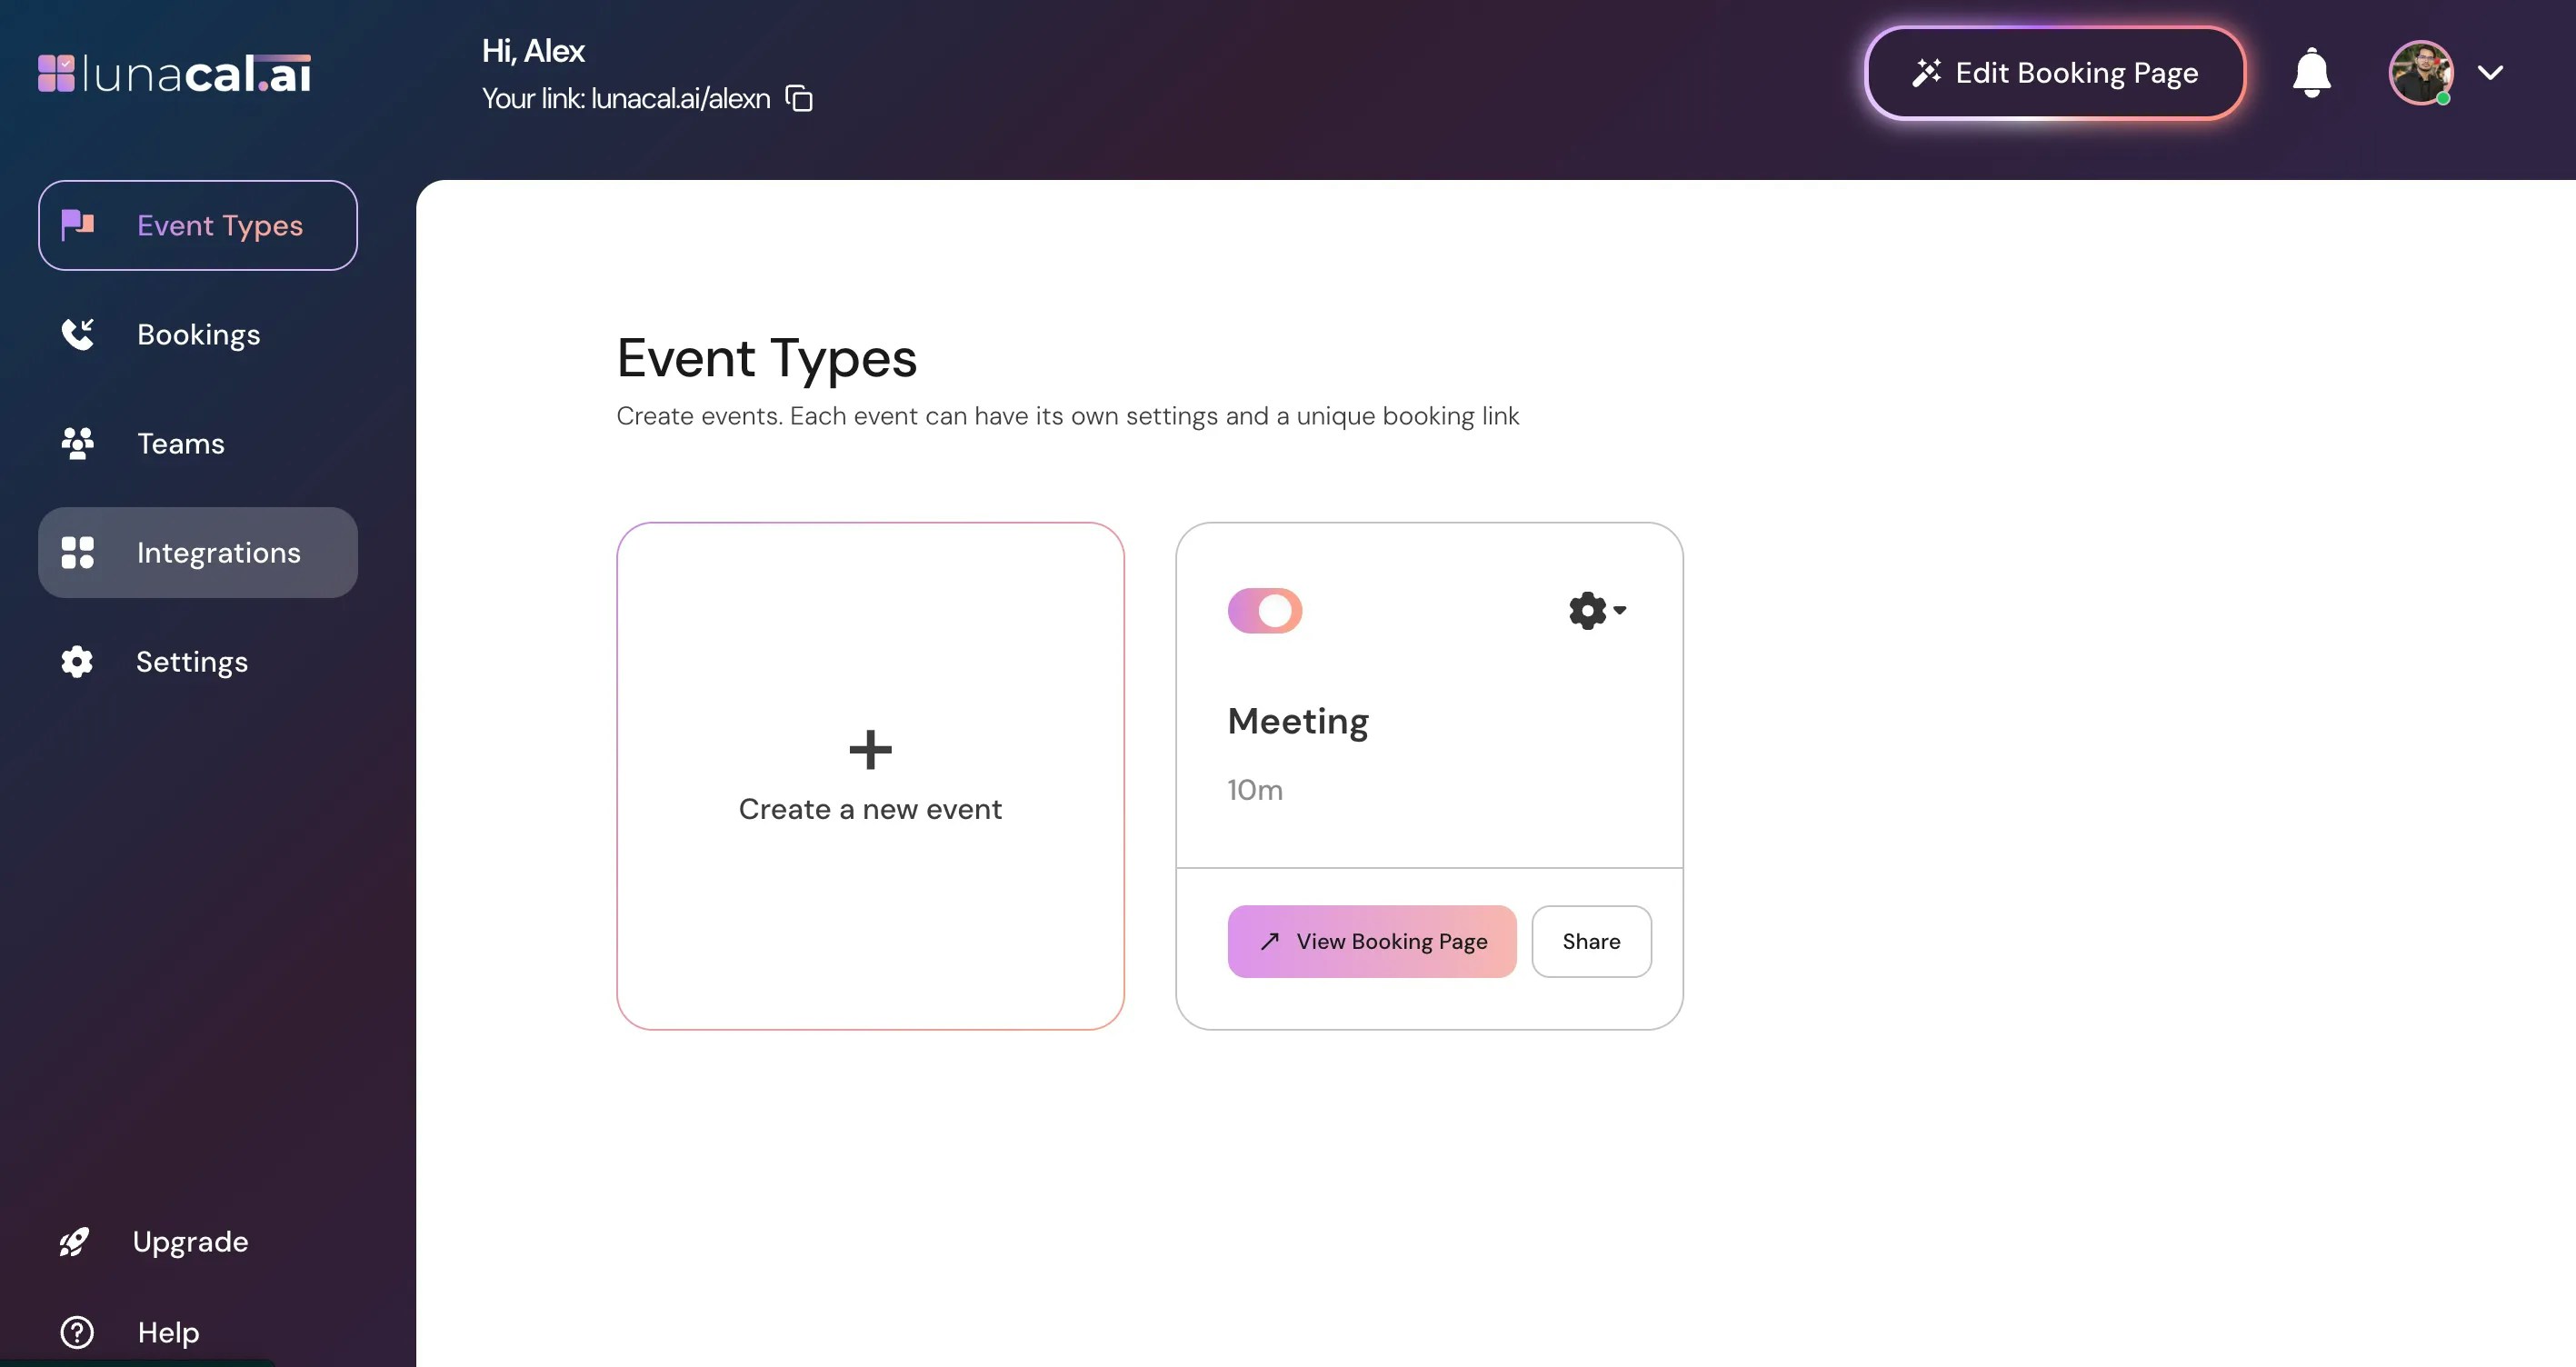
Note: Integrations are applied to the selected team. Make sure you’re selecting to the correct team before connecting or disconnecting apps.
Step 2
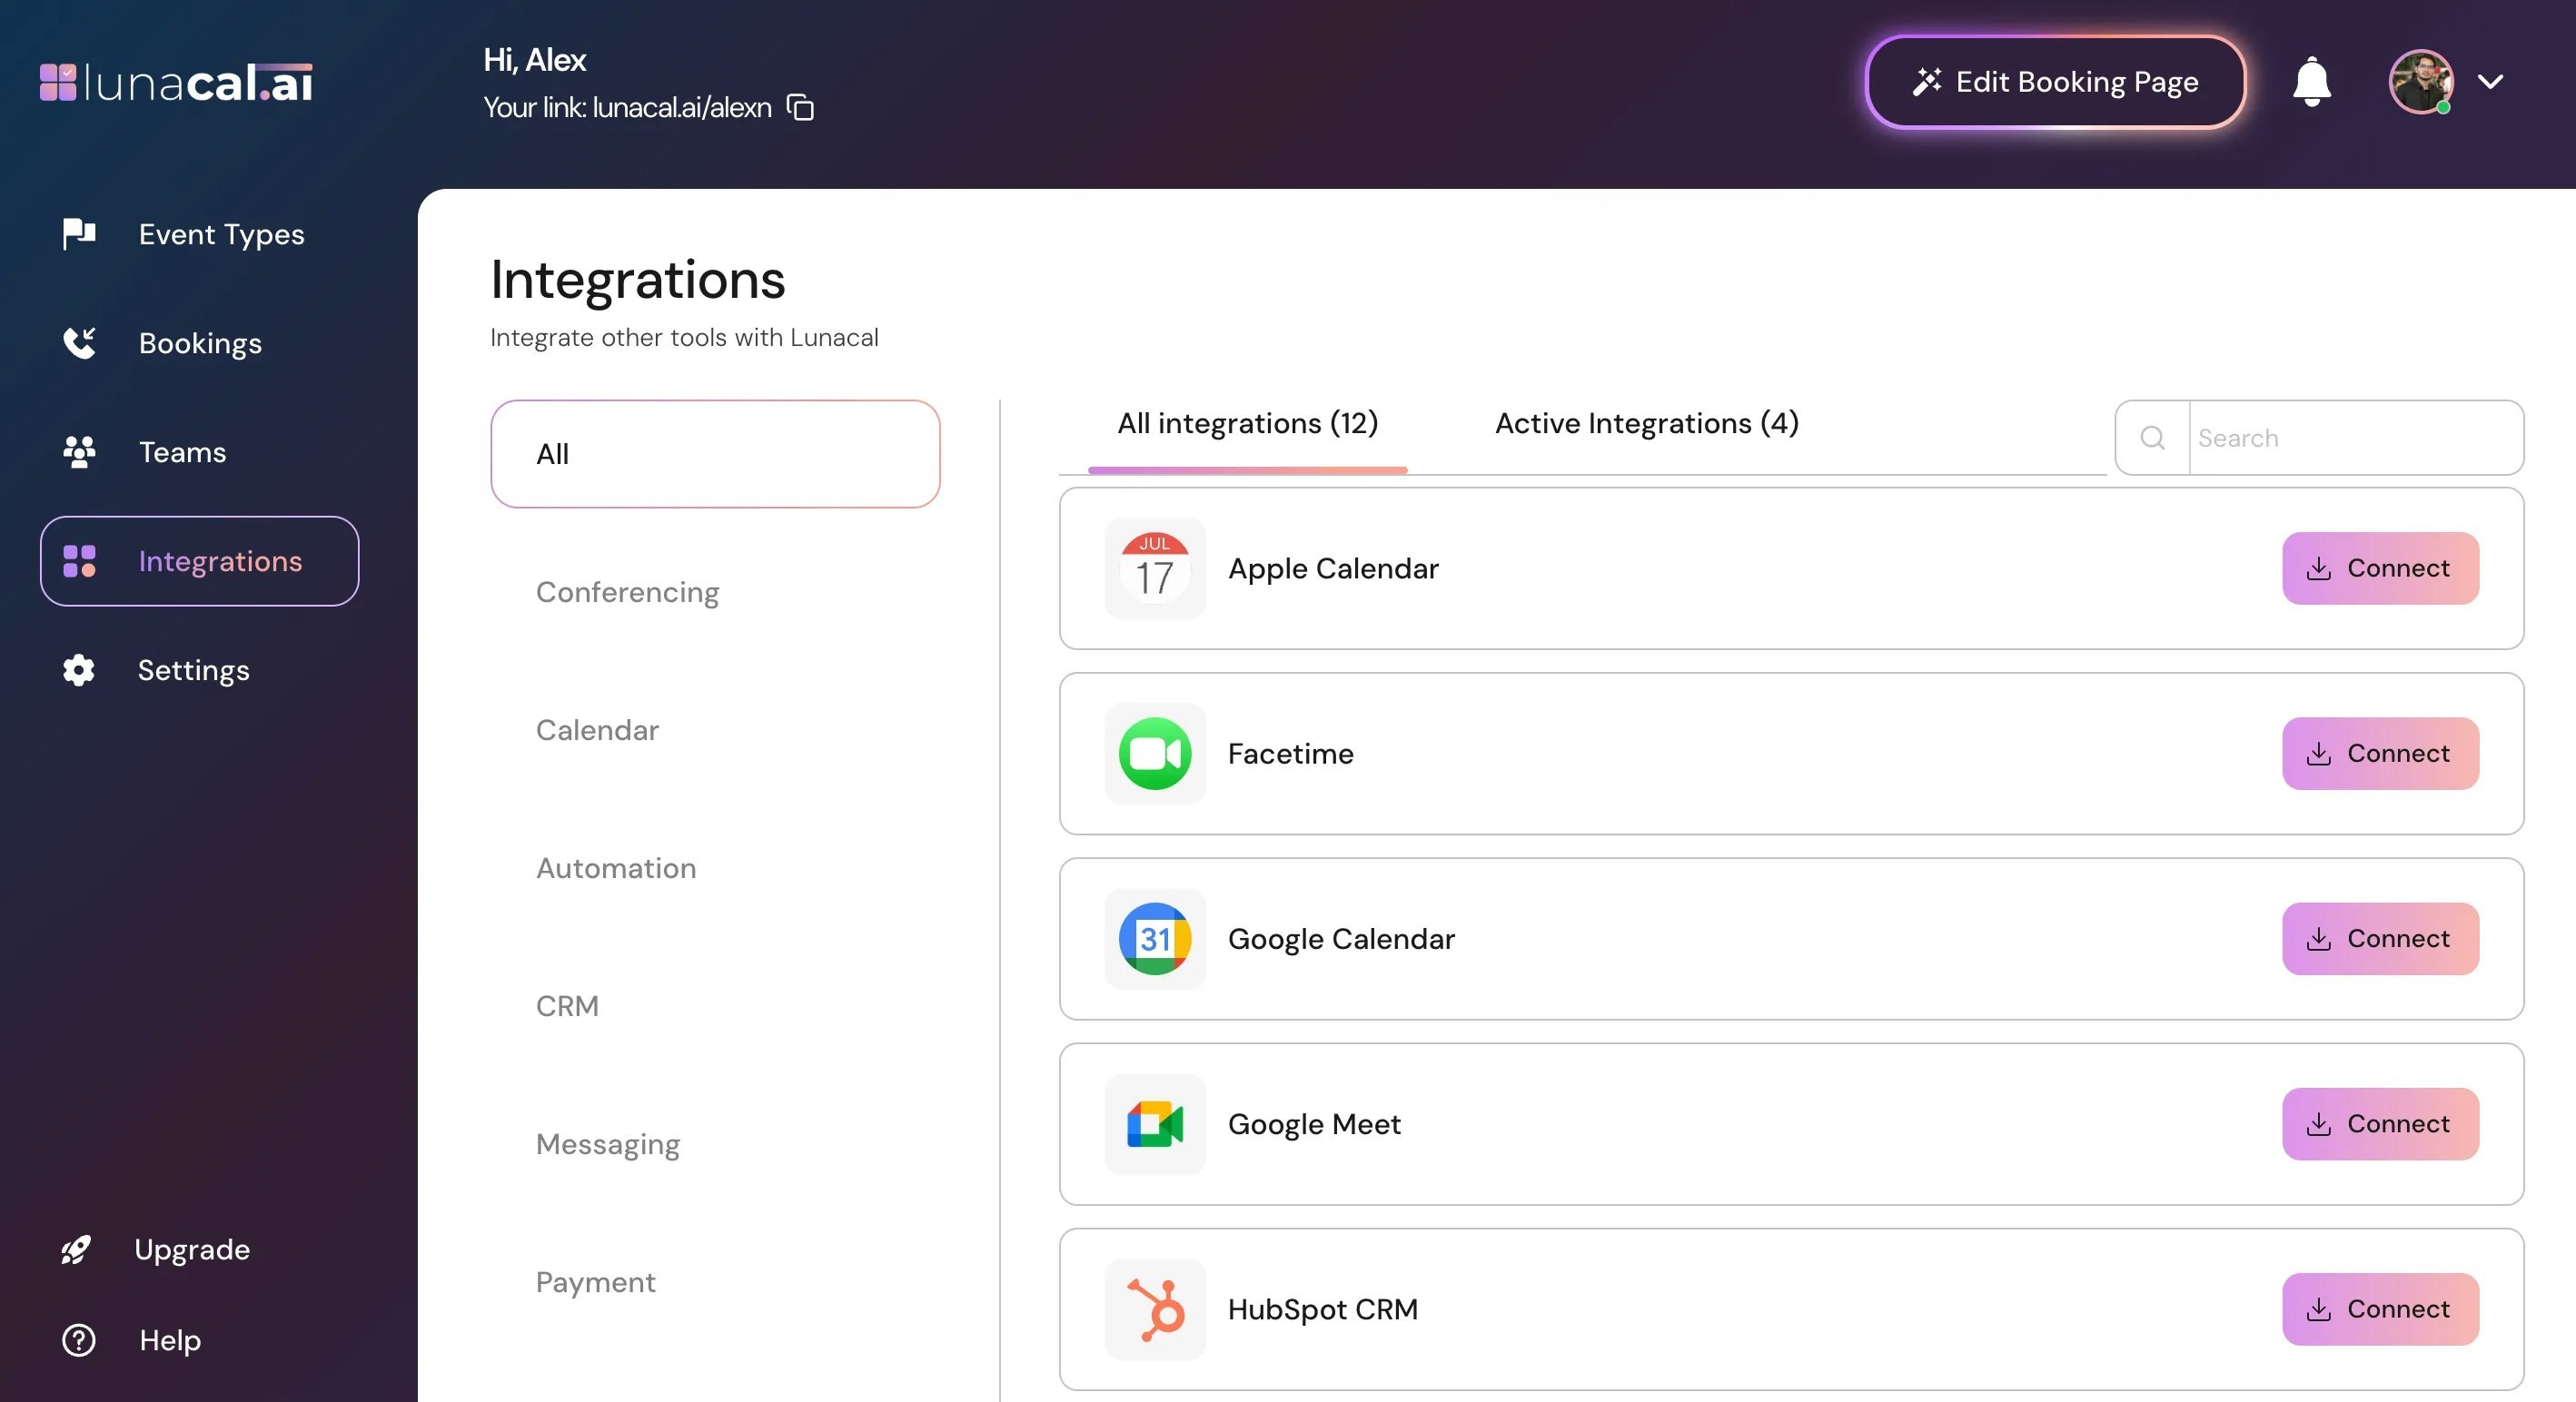
Explore categories: “Conferencing”, “Calendar”, “Automation”, “CRM”, “Messaging”, and “Payment”. Click “Conferencing” to view options.Example: You host client demos on Zoom—open “Conferencing” to connect Zoom so links are auto-added to meetings.
During connection, make sure to grant all requested permissions so this prevents broken setups.
Step 3
In “Conferencing”, you’ll find FaceTime, Google Meet, MS Teams, and Zoom Video.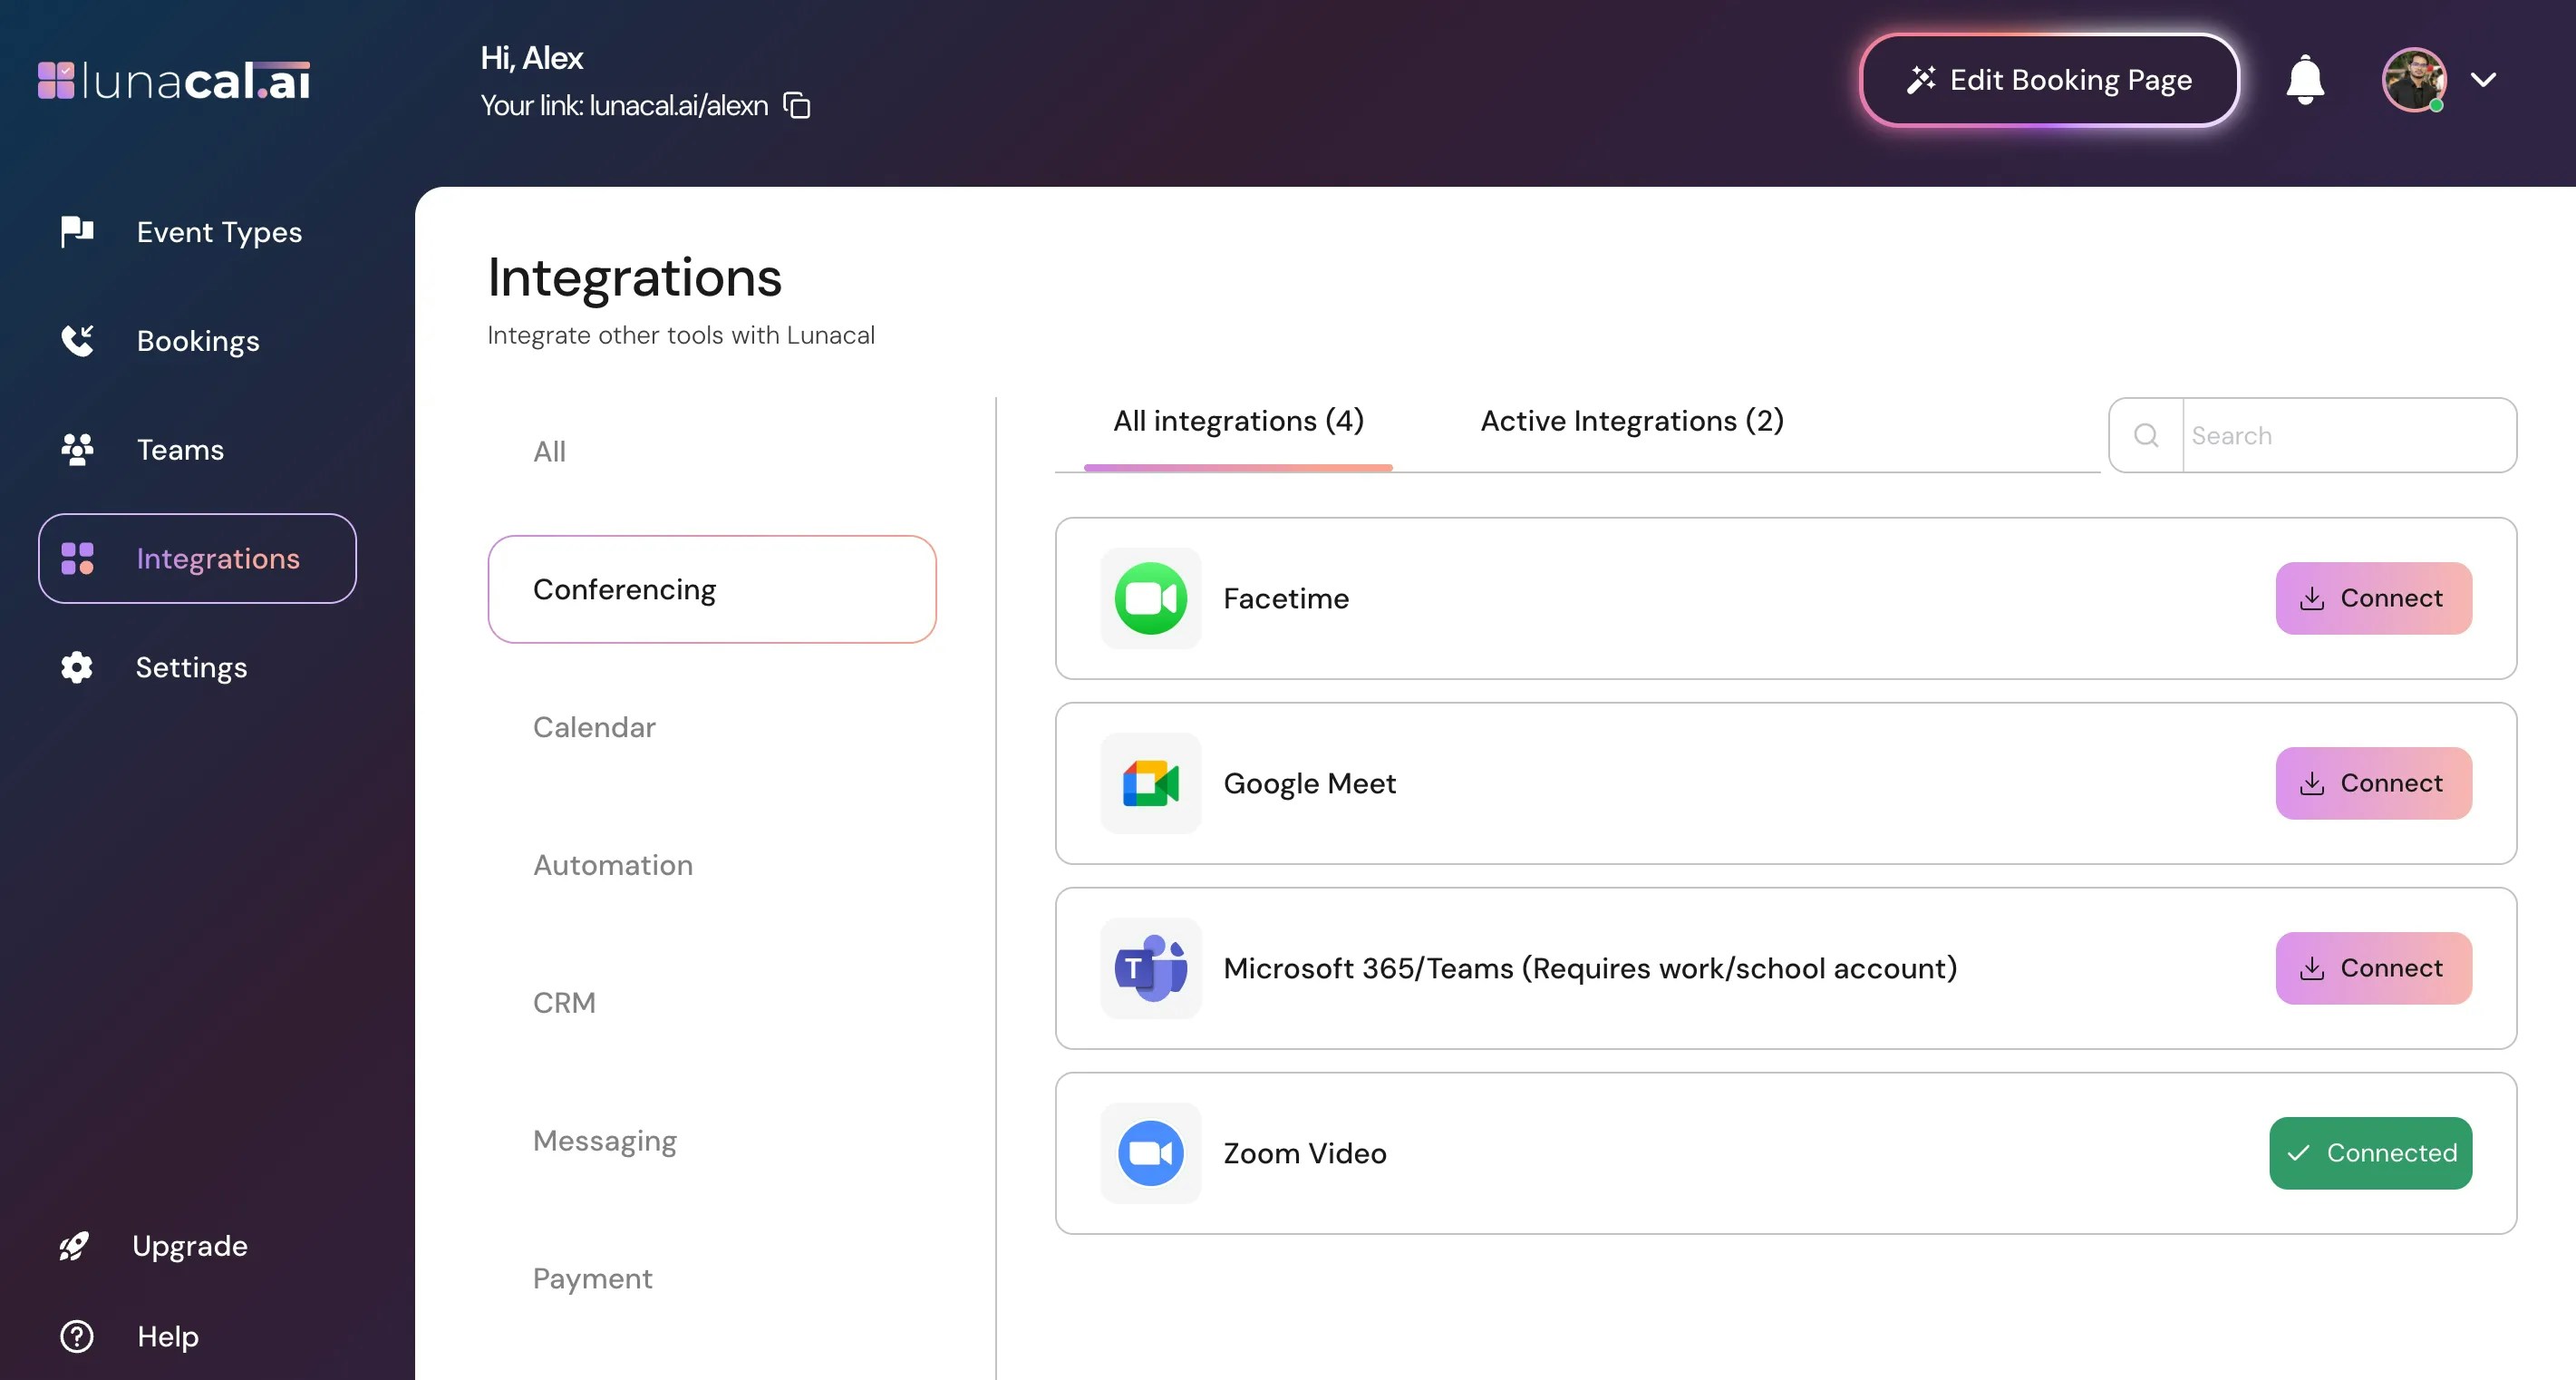
Step 4
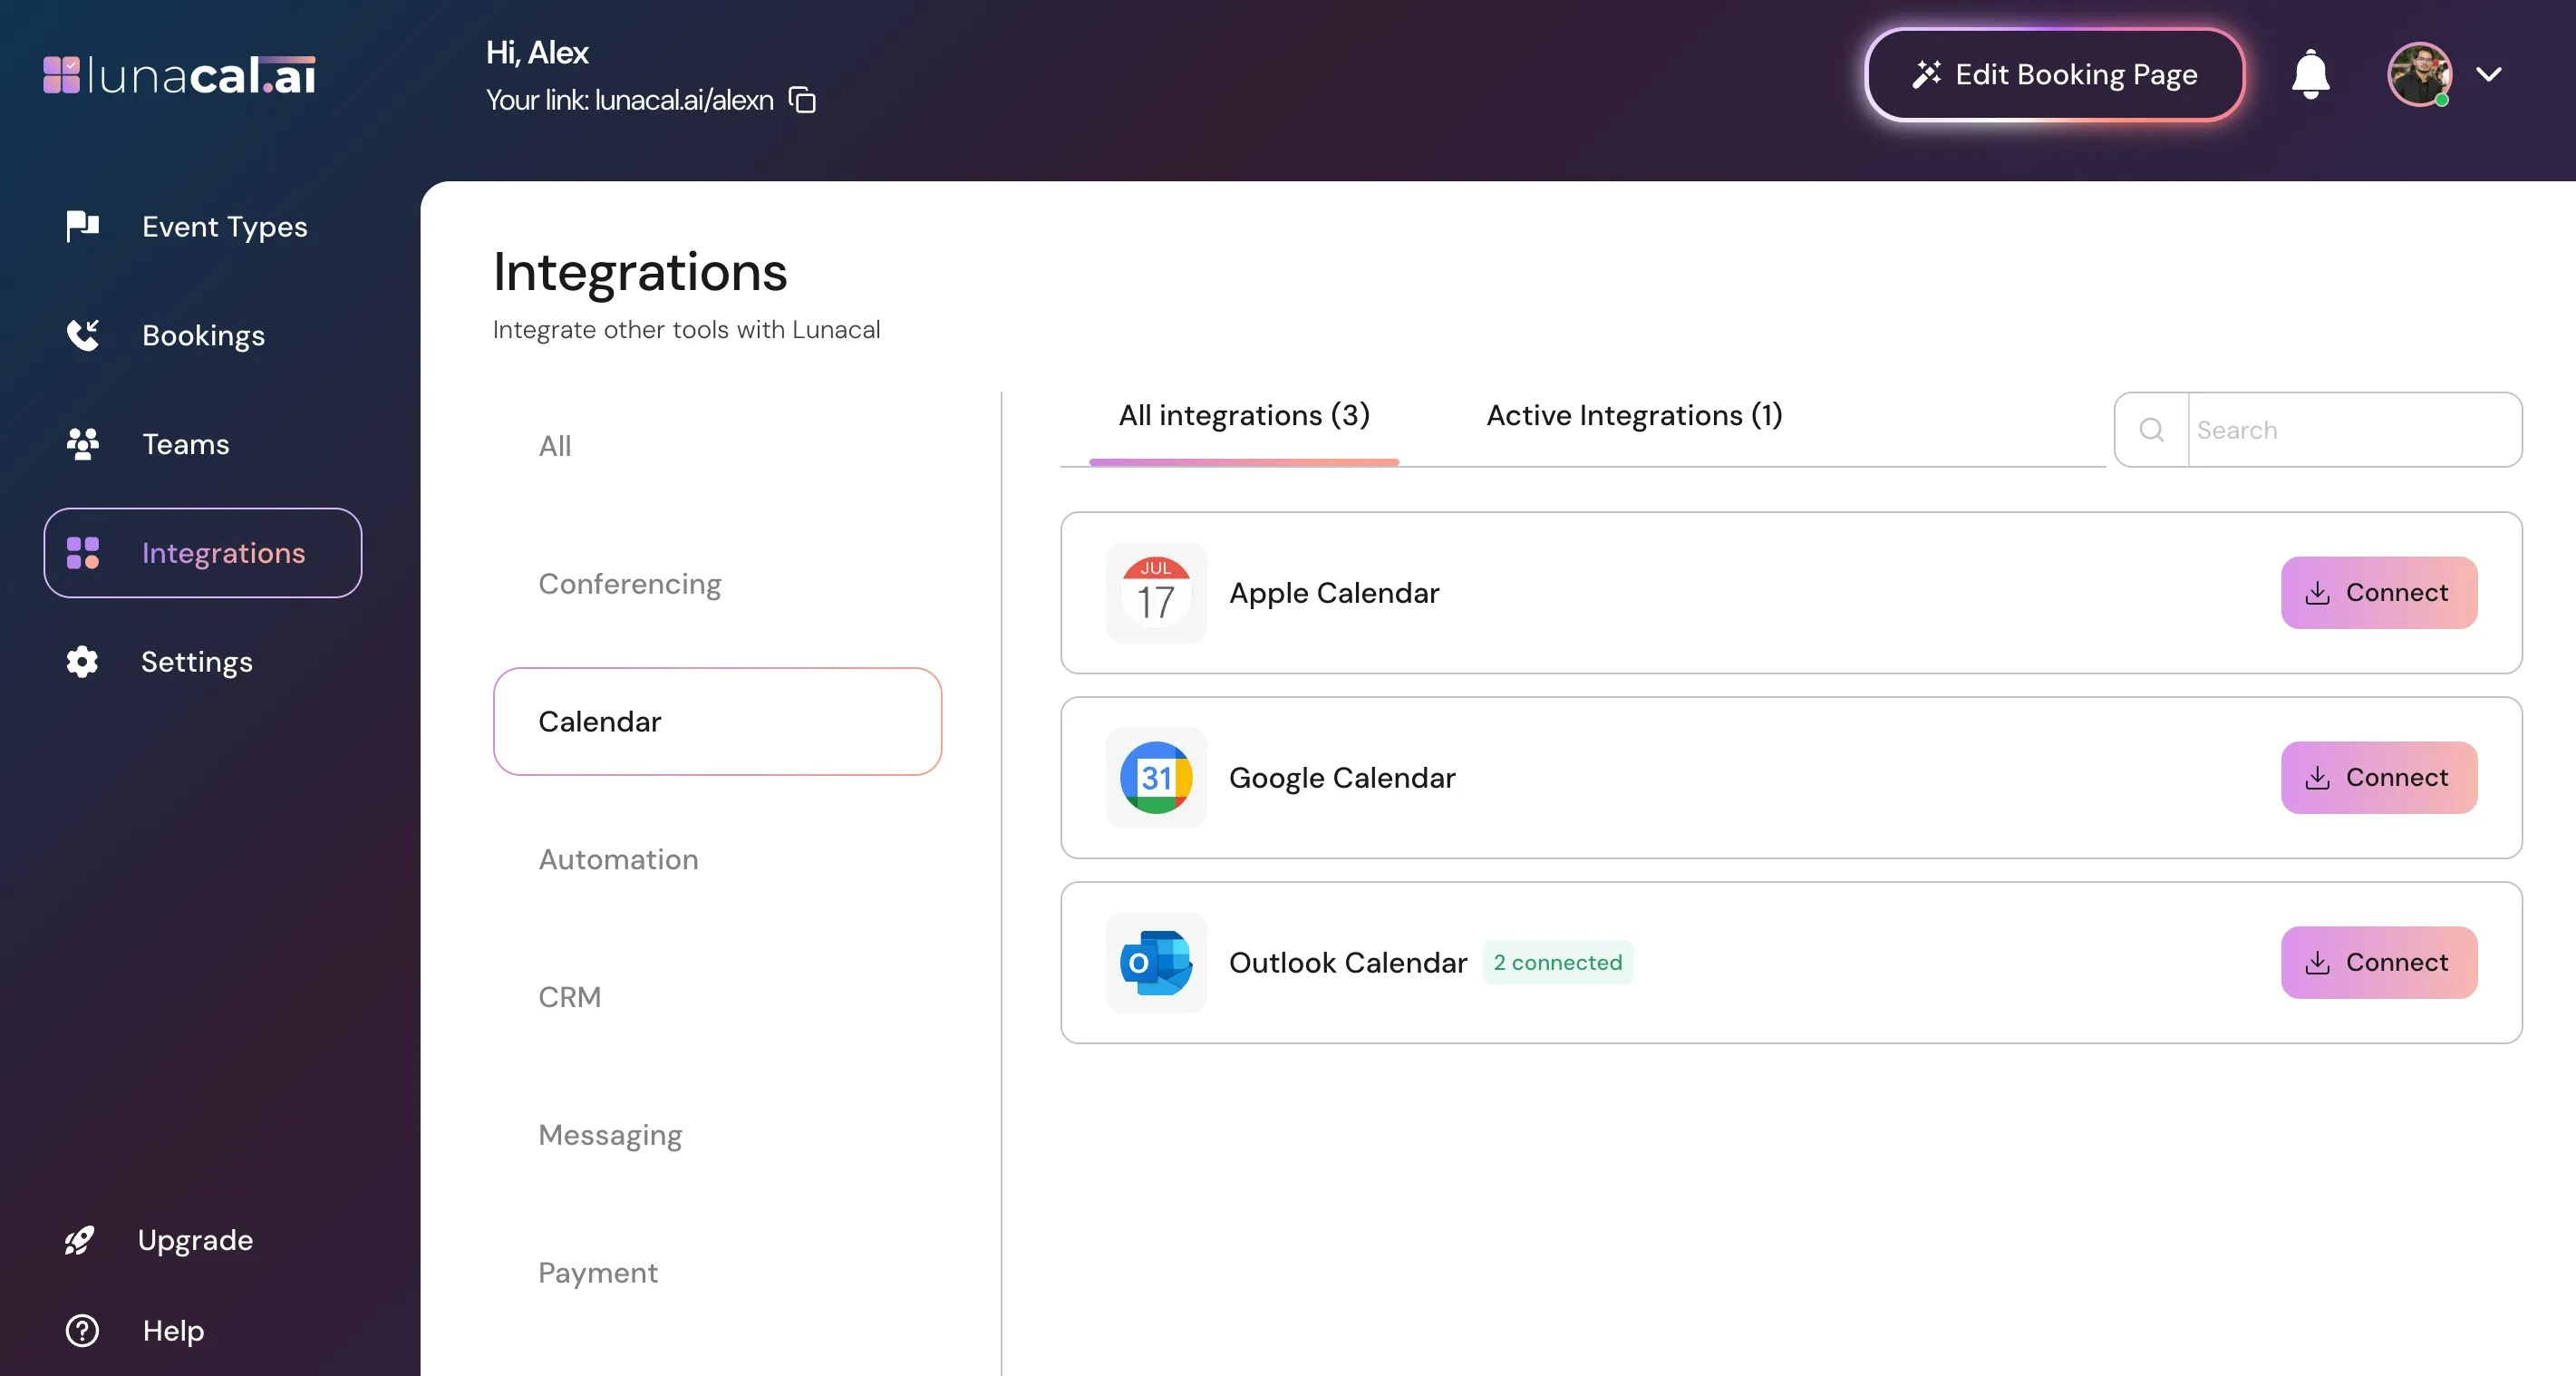
In “Calendar”, available calendars include Apple Calendar, Google Calendar, and Outlook Calendar.Example: If your main schedule lives in Google Calendar, connect it so Lunacal avoids double-booking.
Your connected calendar is used to check availability and prevent double-bookings. Without a calendar integration, lunacal cannot block busy times reliably.
Step 5
For Automation, Zapier is available.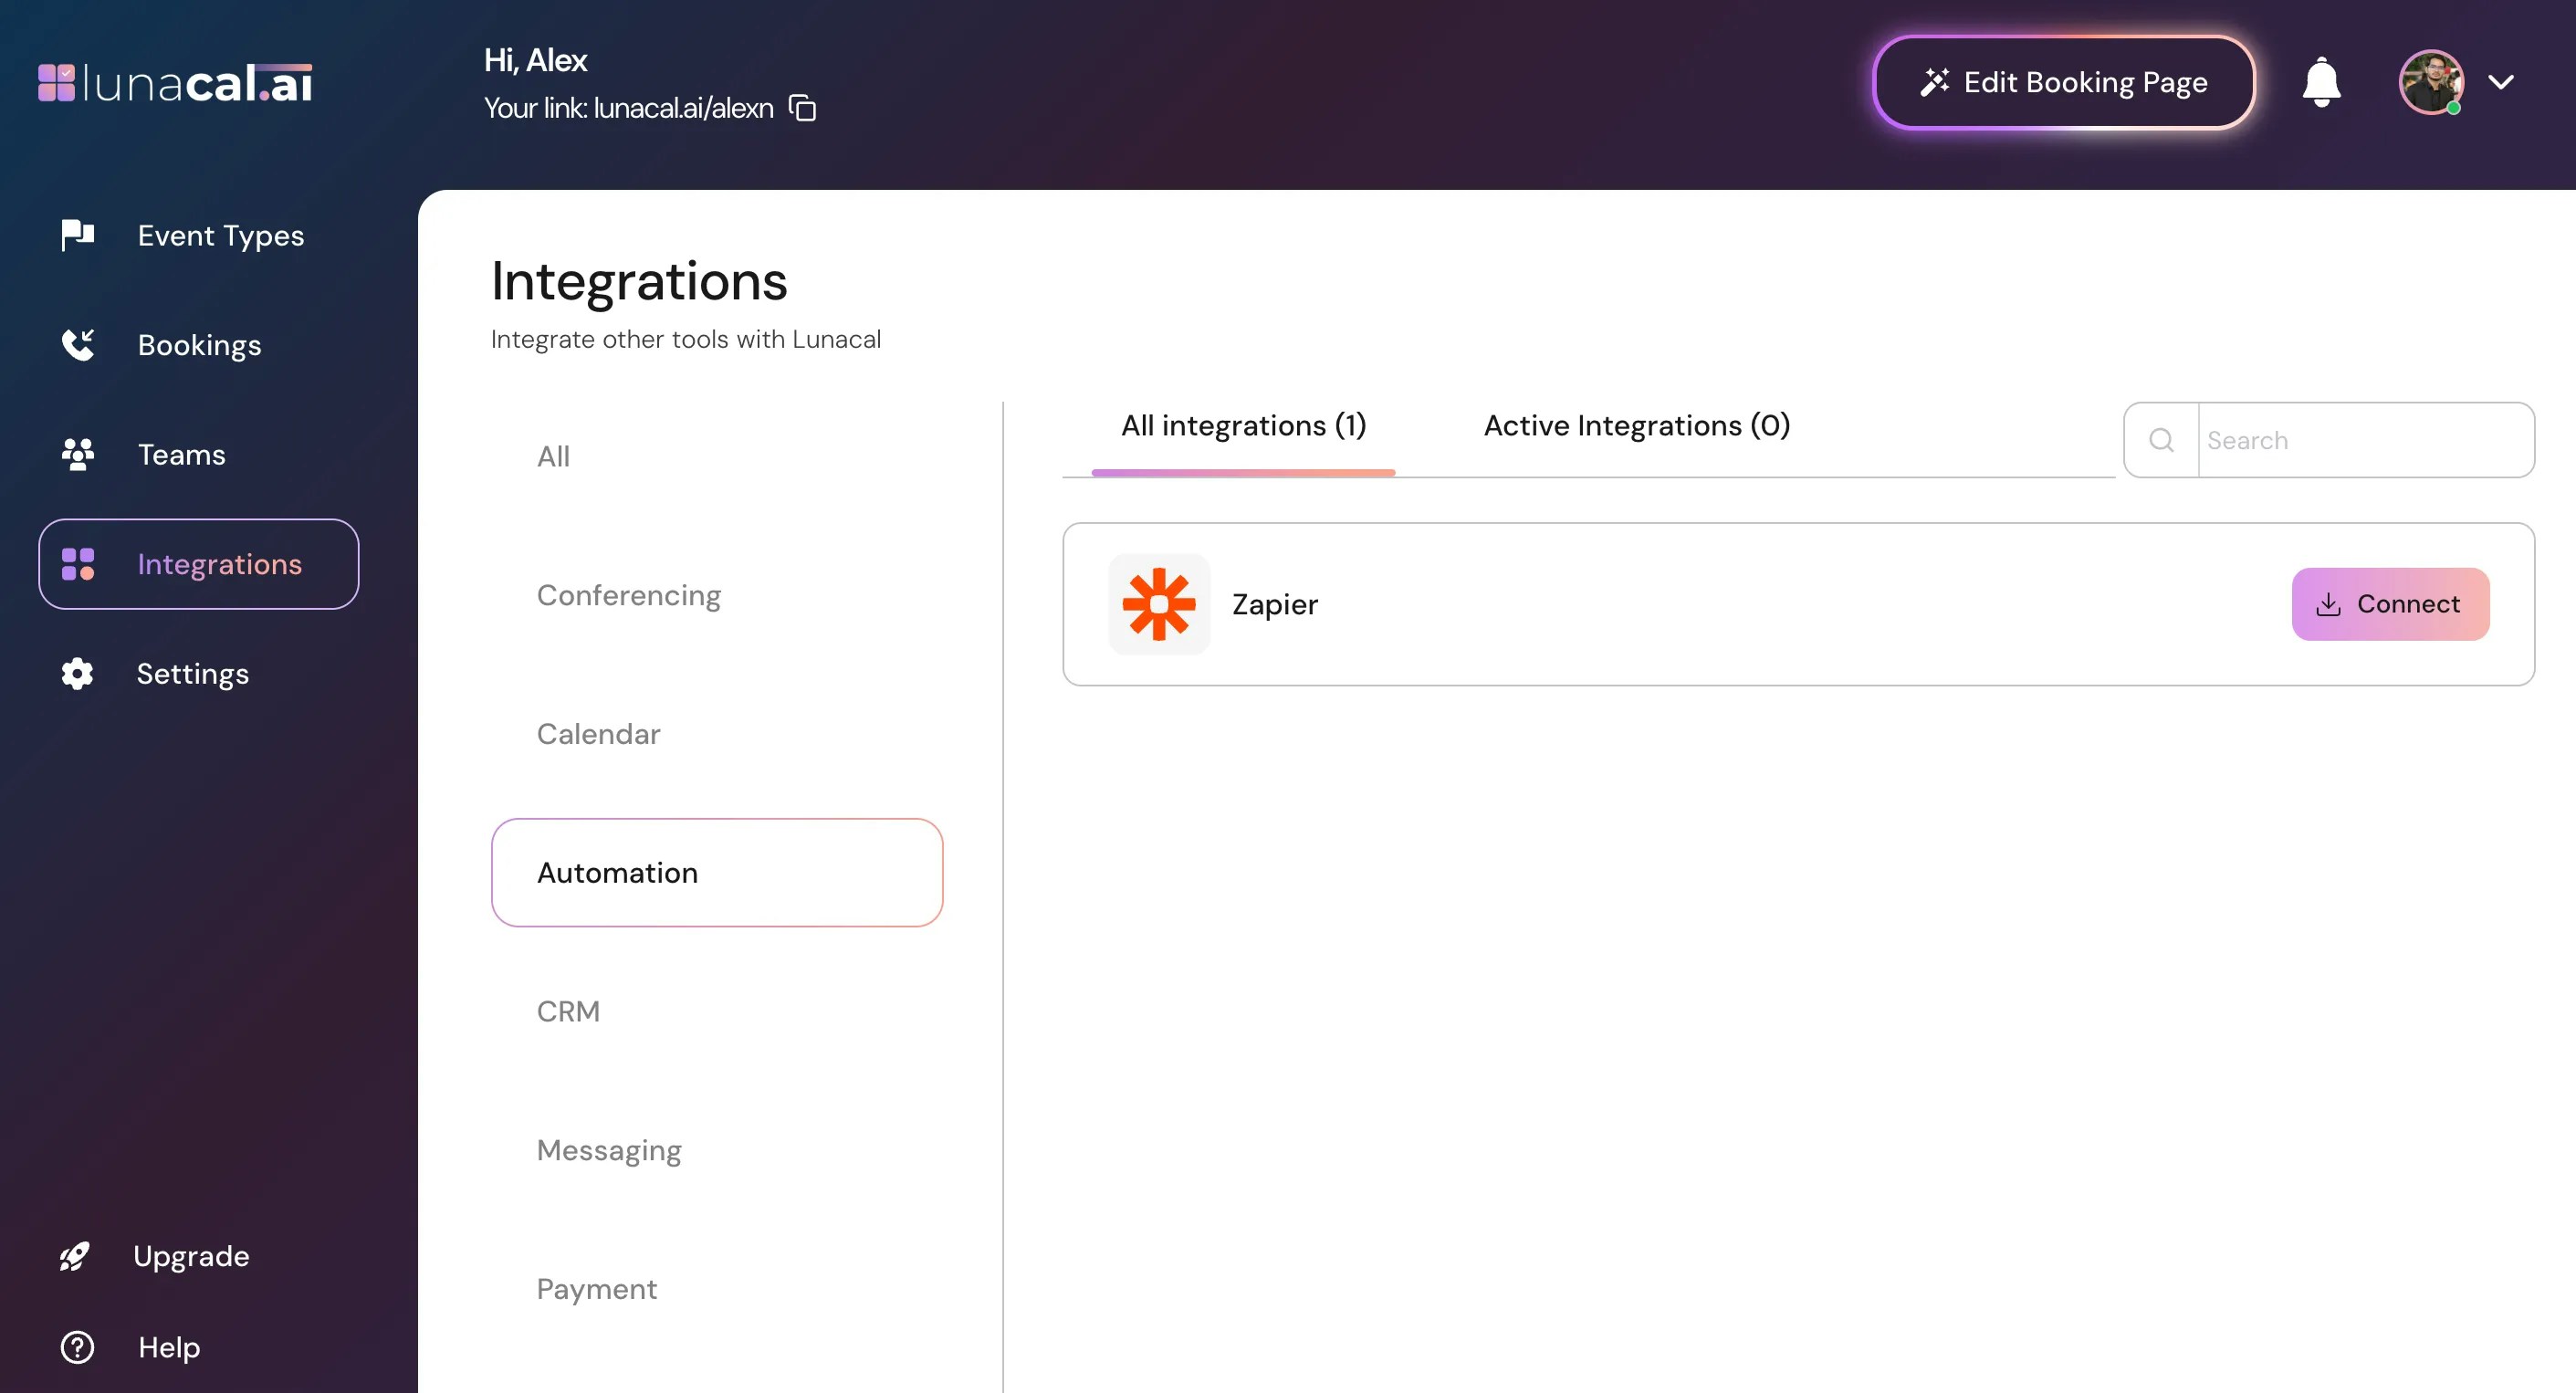
Step 6
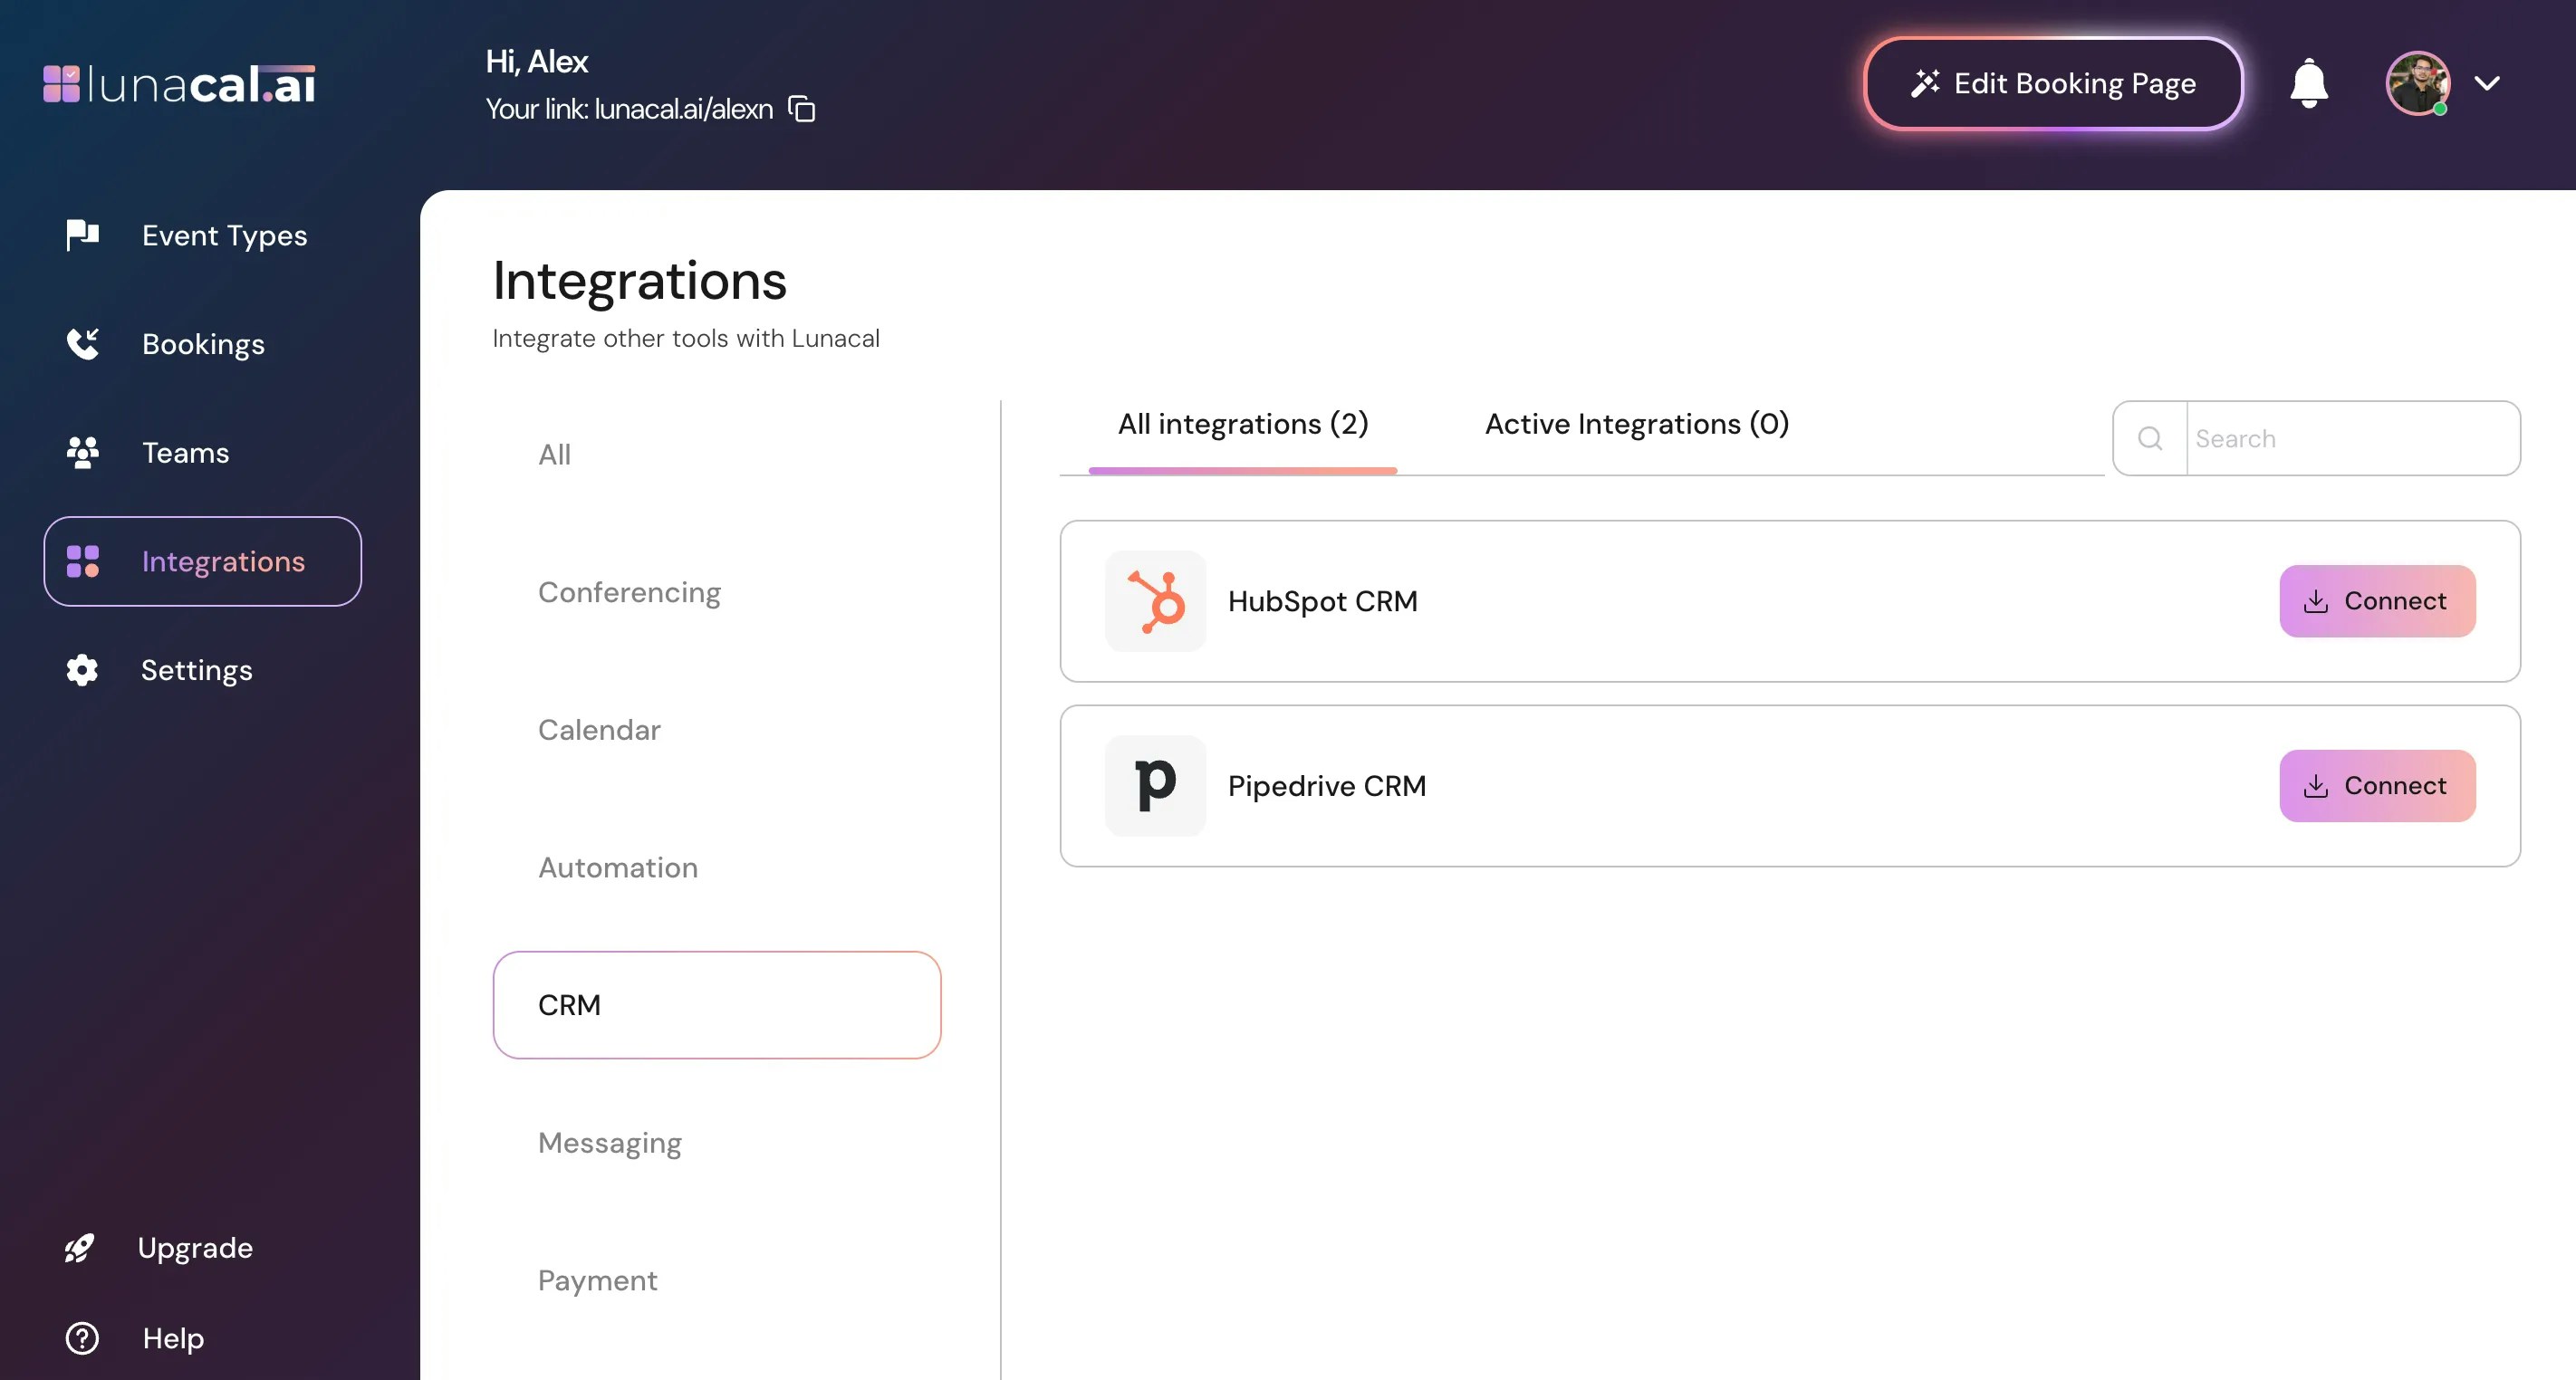
In “CRM”, you can integrate HubSpot CRM and Pipedrive CRM.Example: After each meeting, push attendees into your CRM pipeline automatically to save manual data entry.
Step 7
In “Messaging”, WhatsApp is available.Example: Send a quick WhatsApp confirmation for high-no-show meetings to reduce last-minute drop-offs.

Step 8
In the Payment category, you’ll see PayPal.
Step 9
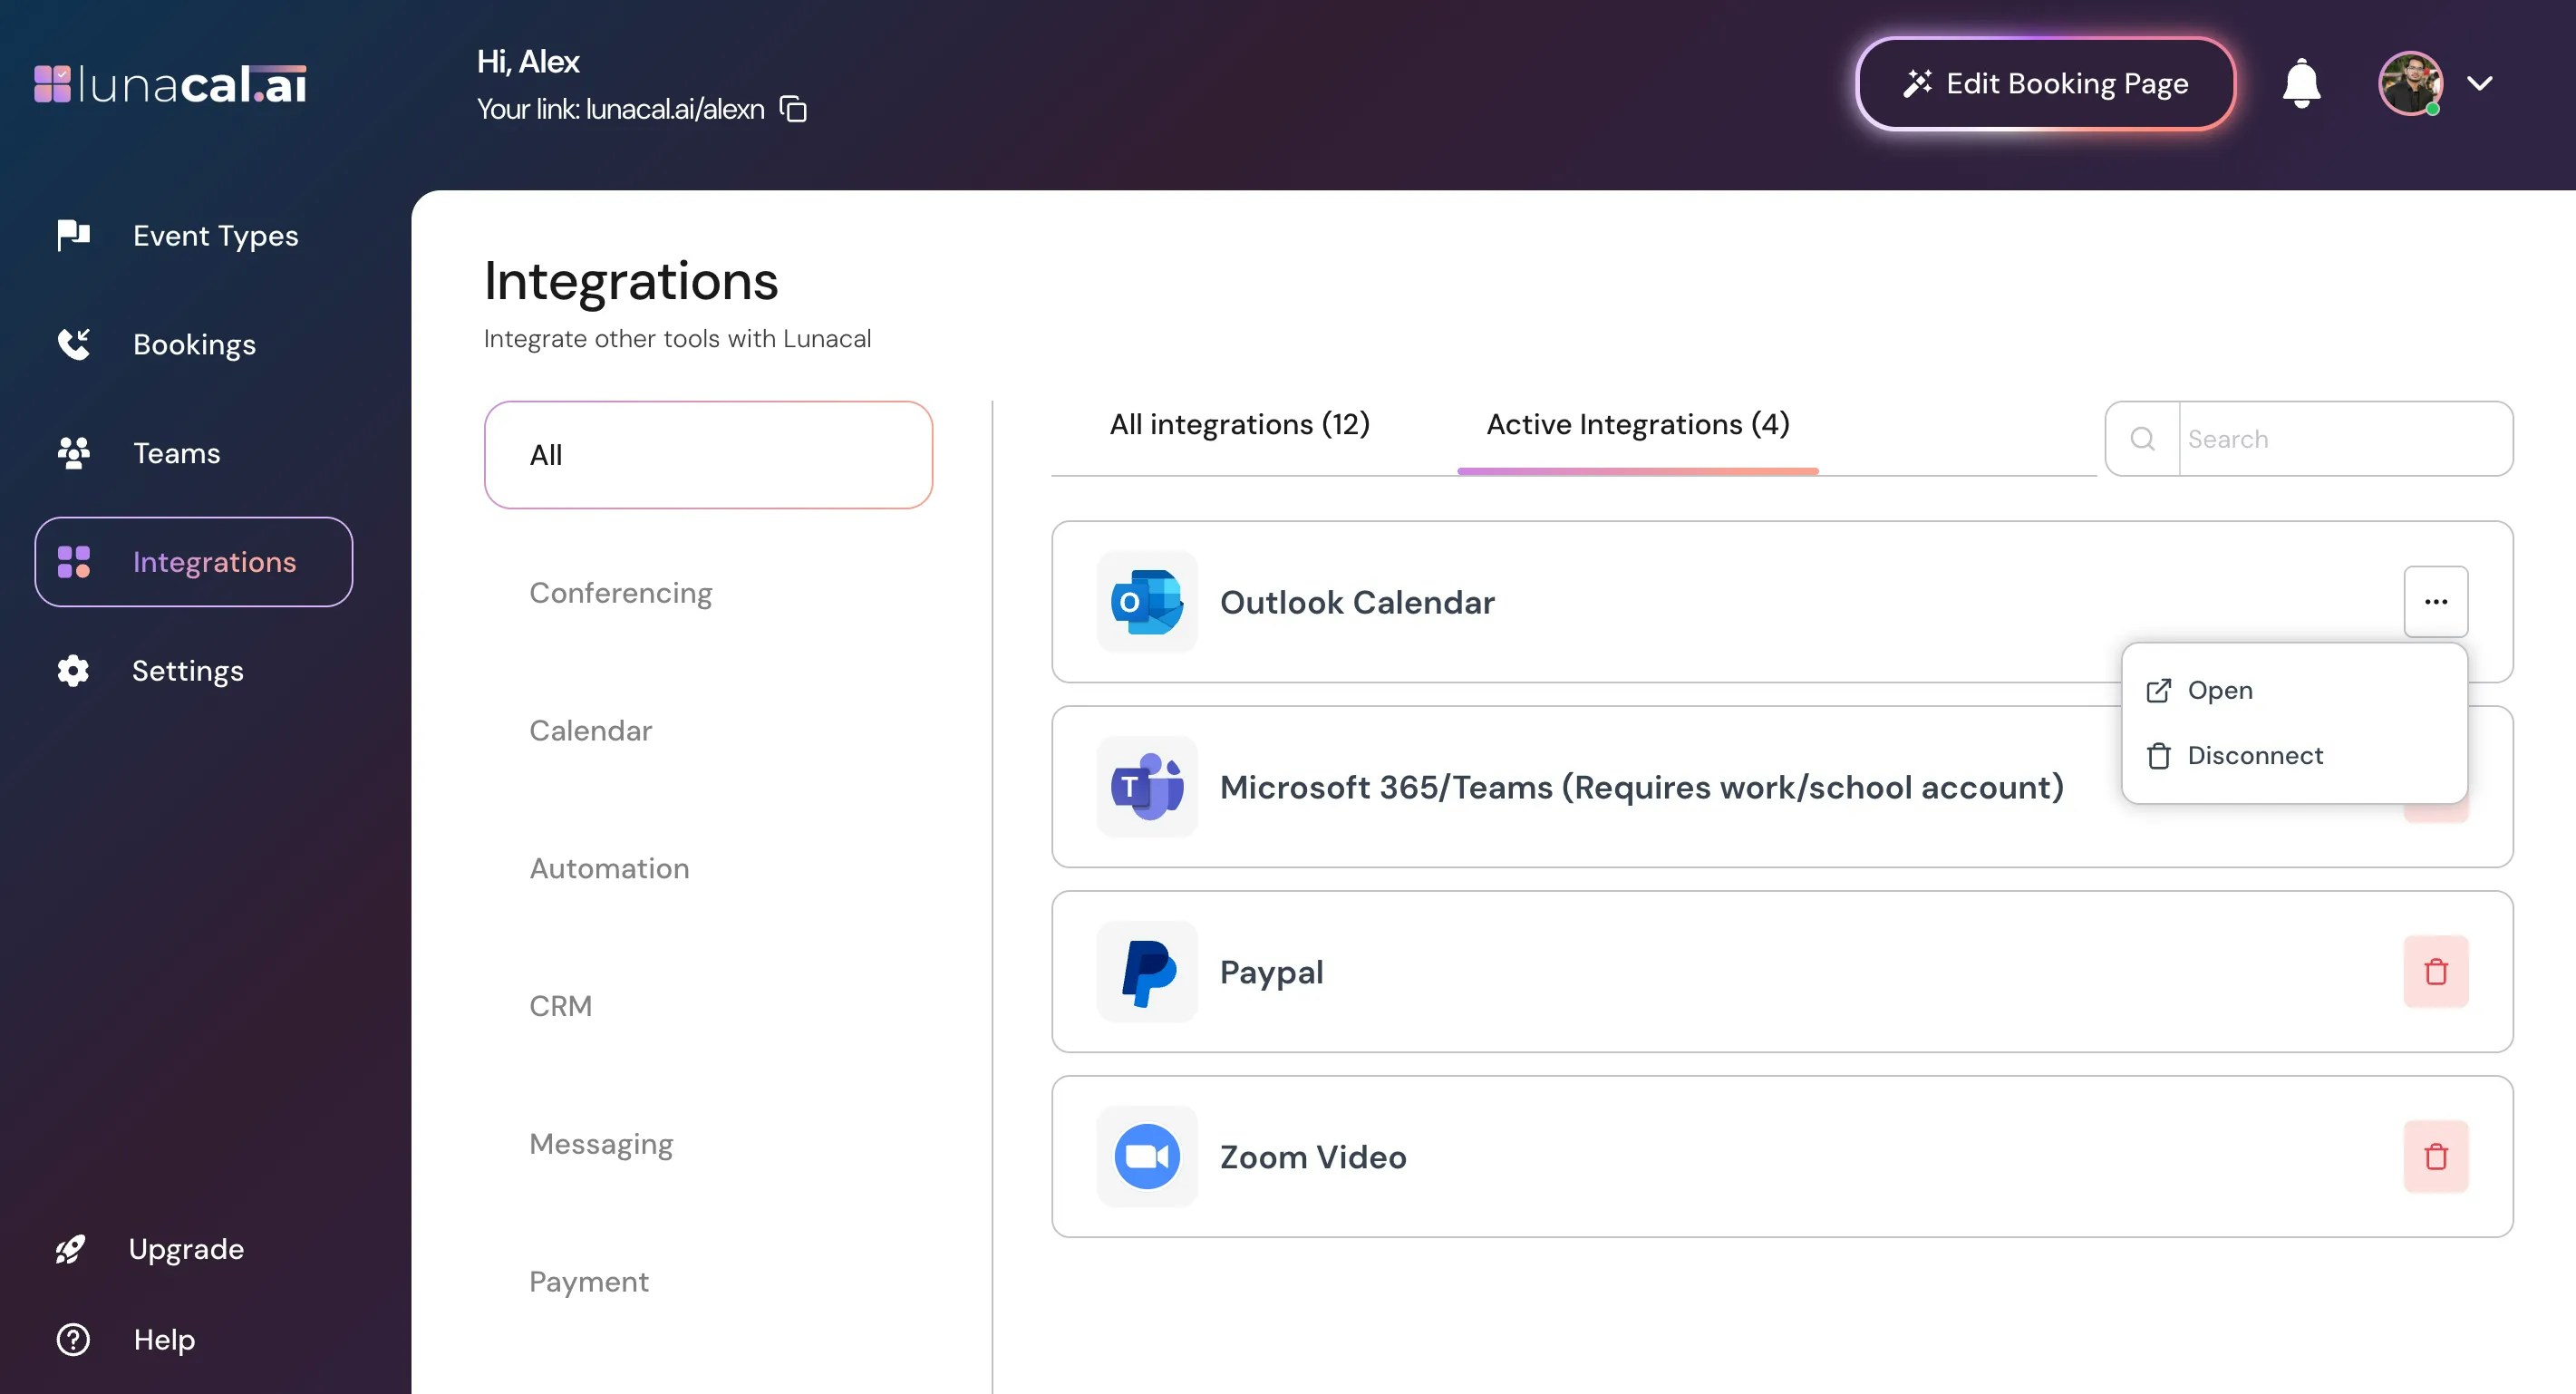
Disconnecting an app stops future syncing but does not remove past bookings or events.To remove any application, go to “Installed Apps”, click the 3 dotes, then click “Disconnect” to uninstall.
Example: During testing, disconnect a sandbox Zoom app from “Installed Apps” so only your live Zoom stays connected.
- Connecting the wrong account (personal instead of work) under “Calendar” or “Conferencing”, which breaks availability or links.
- Skipping required permissions during connect, leading to missing conference links or failed calendar sync.
- Expecting double-booking protection without connecting your primary “Calendar”.
- Removing an app only from the provider’s site and not clicking “Disconnect” in “Installed Apps”.
- Connect your main “Calendar” first; then add one preferred “Conferencing” app.
- If you use a CRM, connect “HubSpot CRM” or “Pipedrive CRM” early so new meetings flow into your pipeline.
- Add “Zapier” later for automations once basic scheduling works.
- Keep only one active app per category to reduce conflicts.