Who can use this?
Available on- Teams
- Enterprise
- Owners
- Admins
What are Routing Forms?
With Routing Forms, you can direct visitors to the right person, team, or destination based on their responses—such as industry, company size, or specific needs. Once your routing form and logic are set up, lunacal collects visitor details and automatically routes them to the correct event type or destination based on the rules you define. This article explains how to create a routing form from scratch in Lunacal.How to Create a Routing Form
Step 1 : Open Routing Forms
- Go to Event Types:
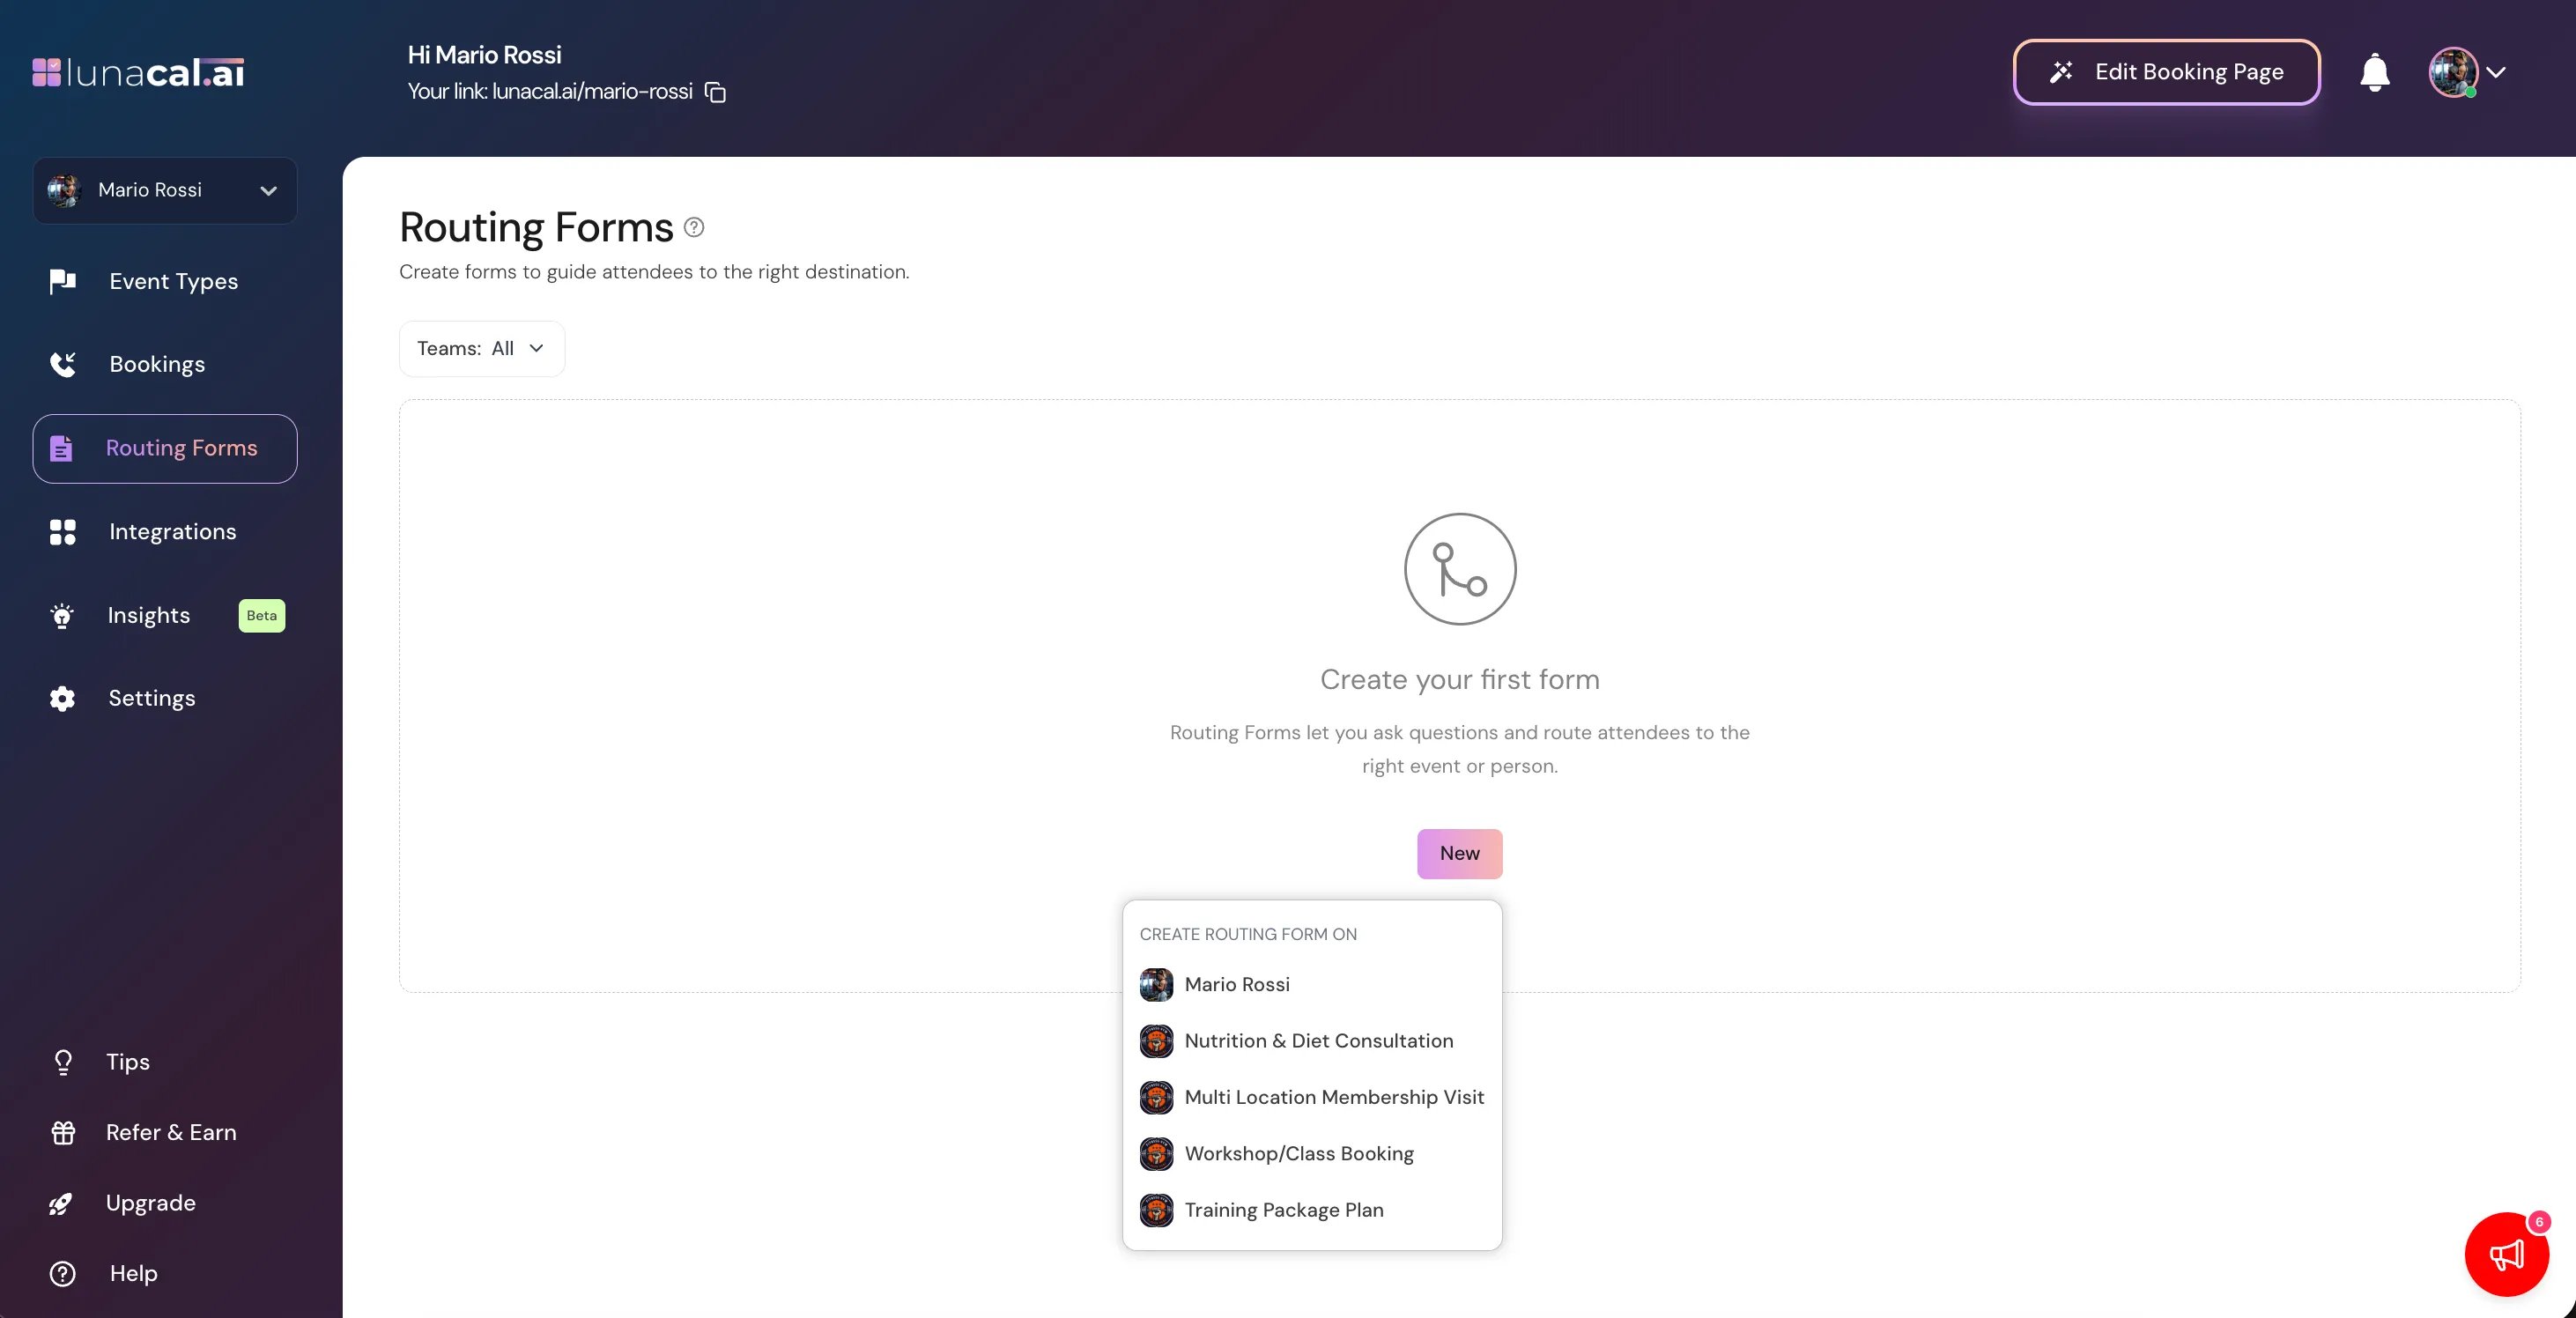
- From the left sidebar, click on Routing Forms
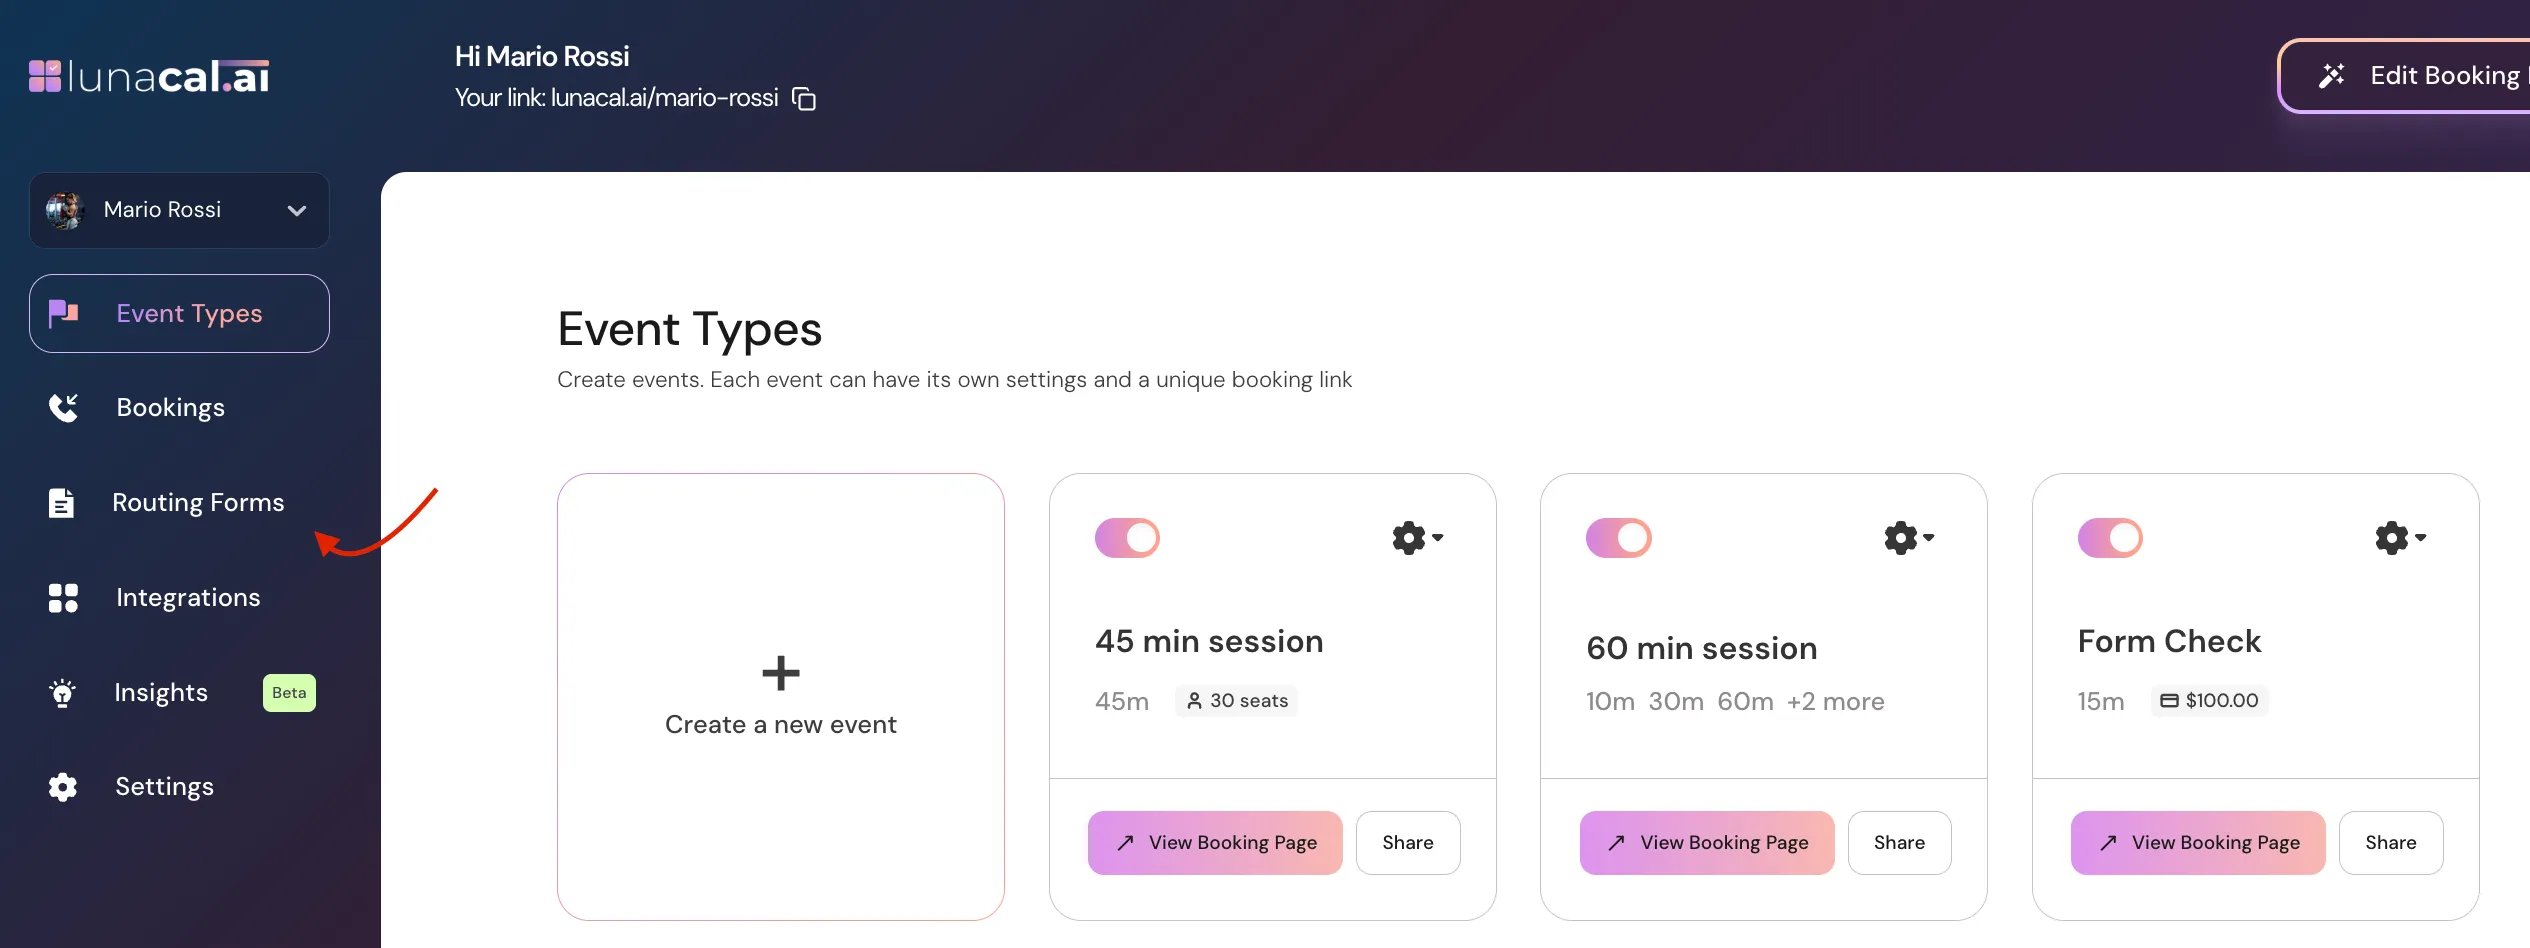
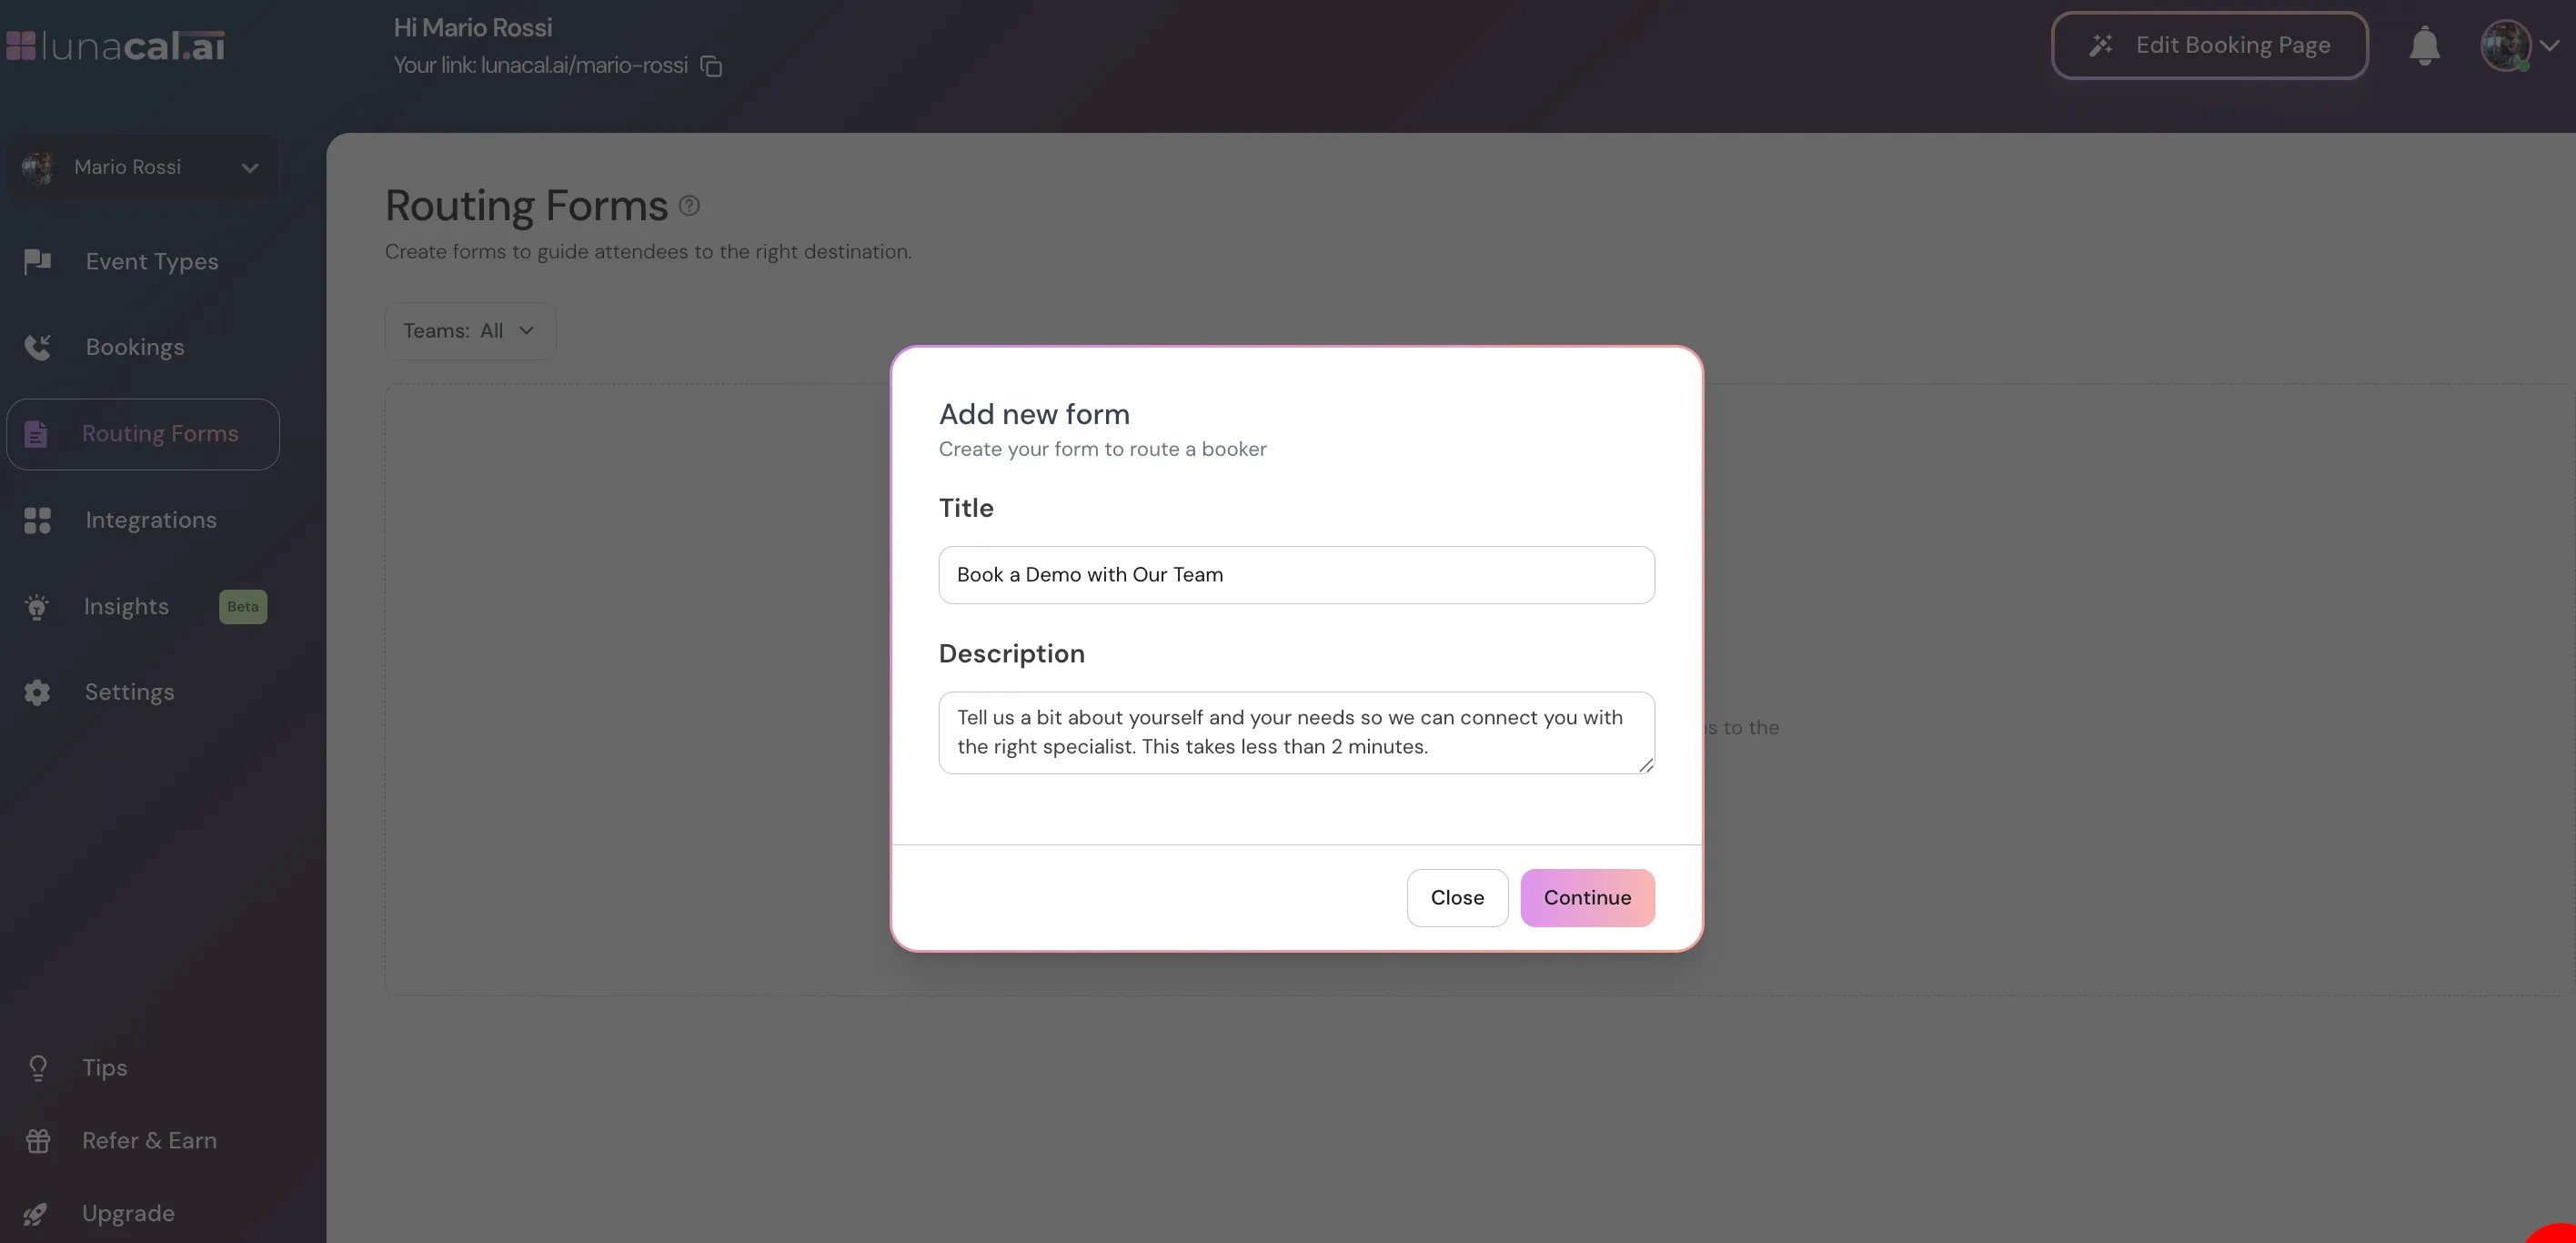
- Click New and choose whether to create the routing form for your personal account or for your team.
- Enter Title & Description
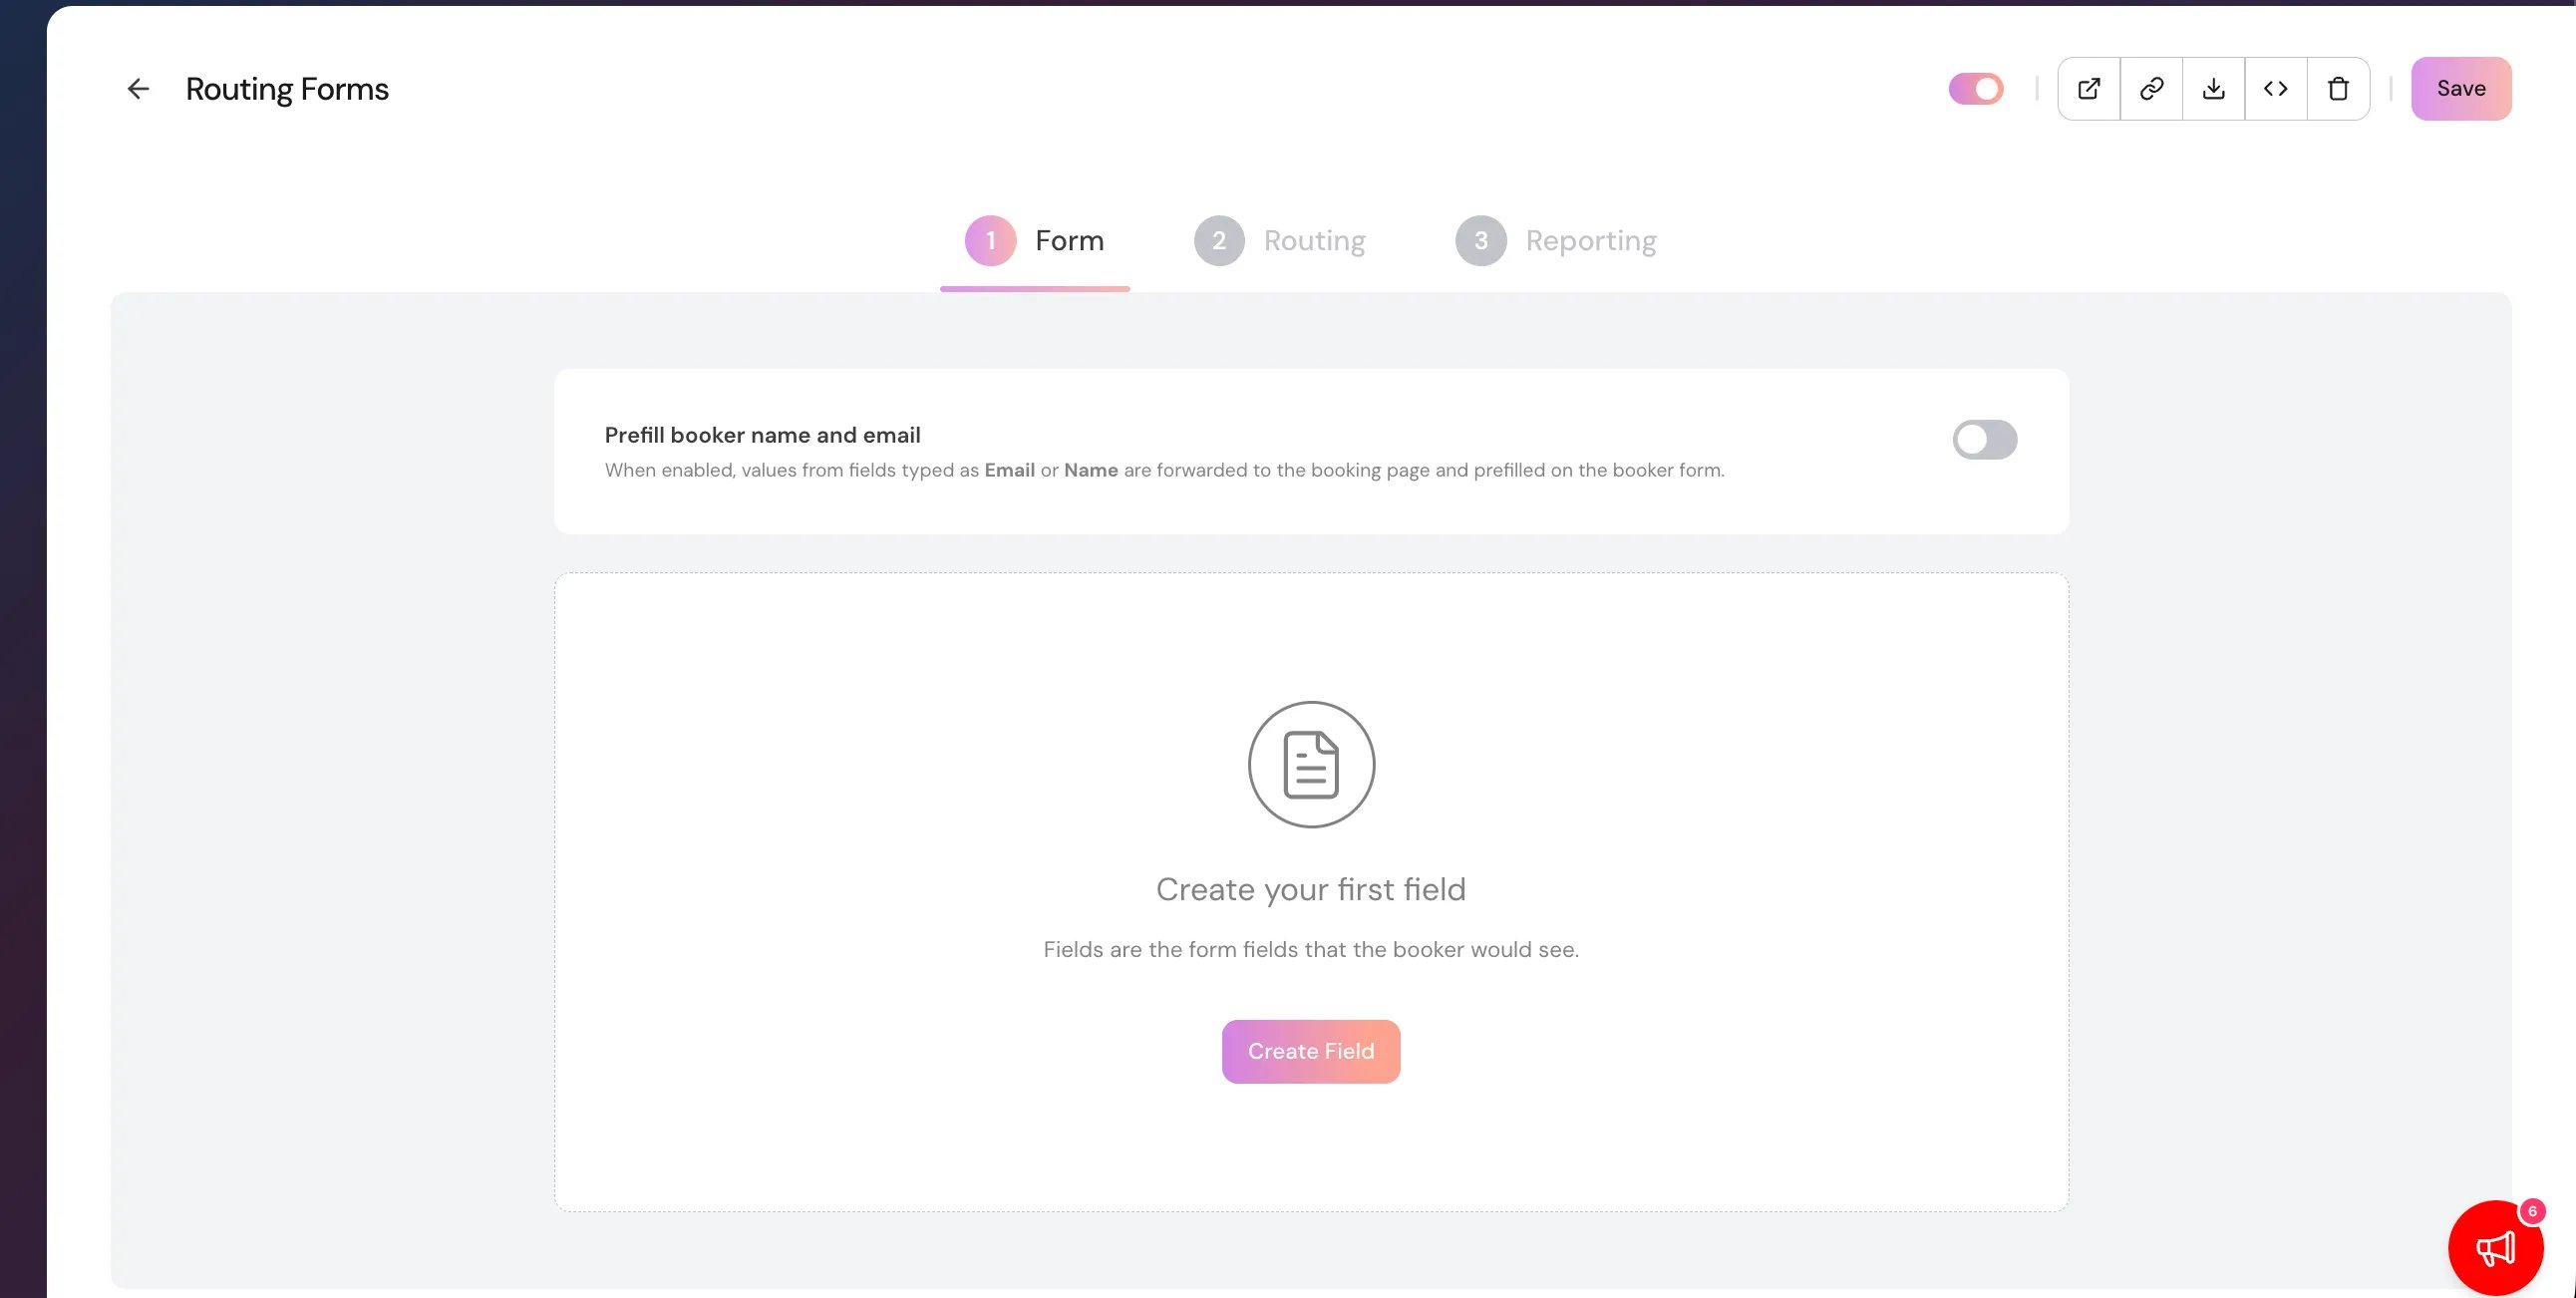
Step 2 : Edit form settings and add questions
Inside your routing form, you can:- Click Create Field to add question.
- Enter the question name.
- Select the question type (e.g. short text, number, dropdown, Long Text, multiple choice, Phone, Email).
- Configure the question settings ( Deleting Question, Make Question Mandatory )
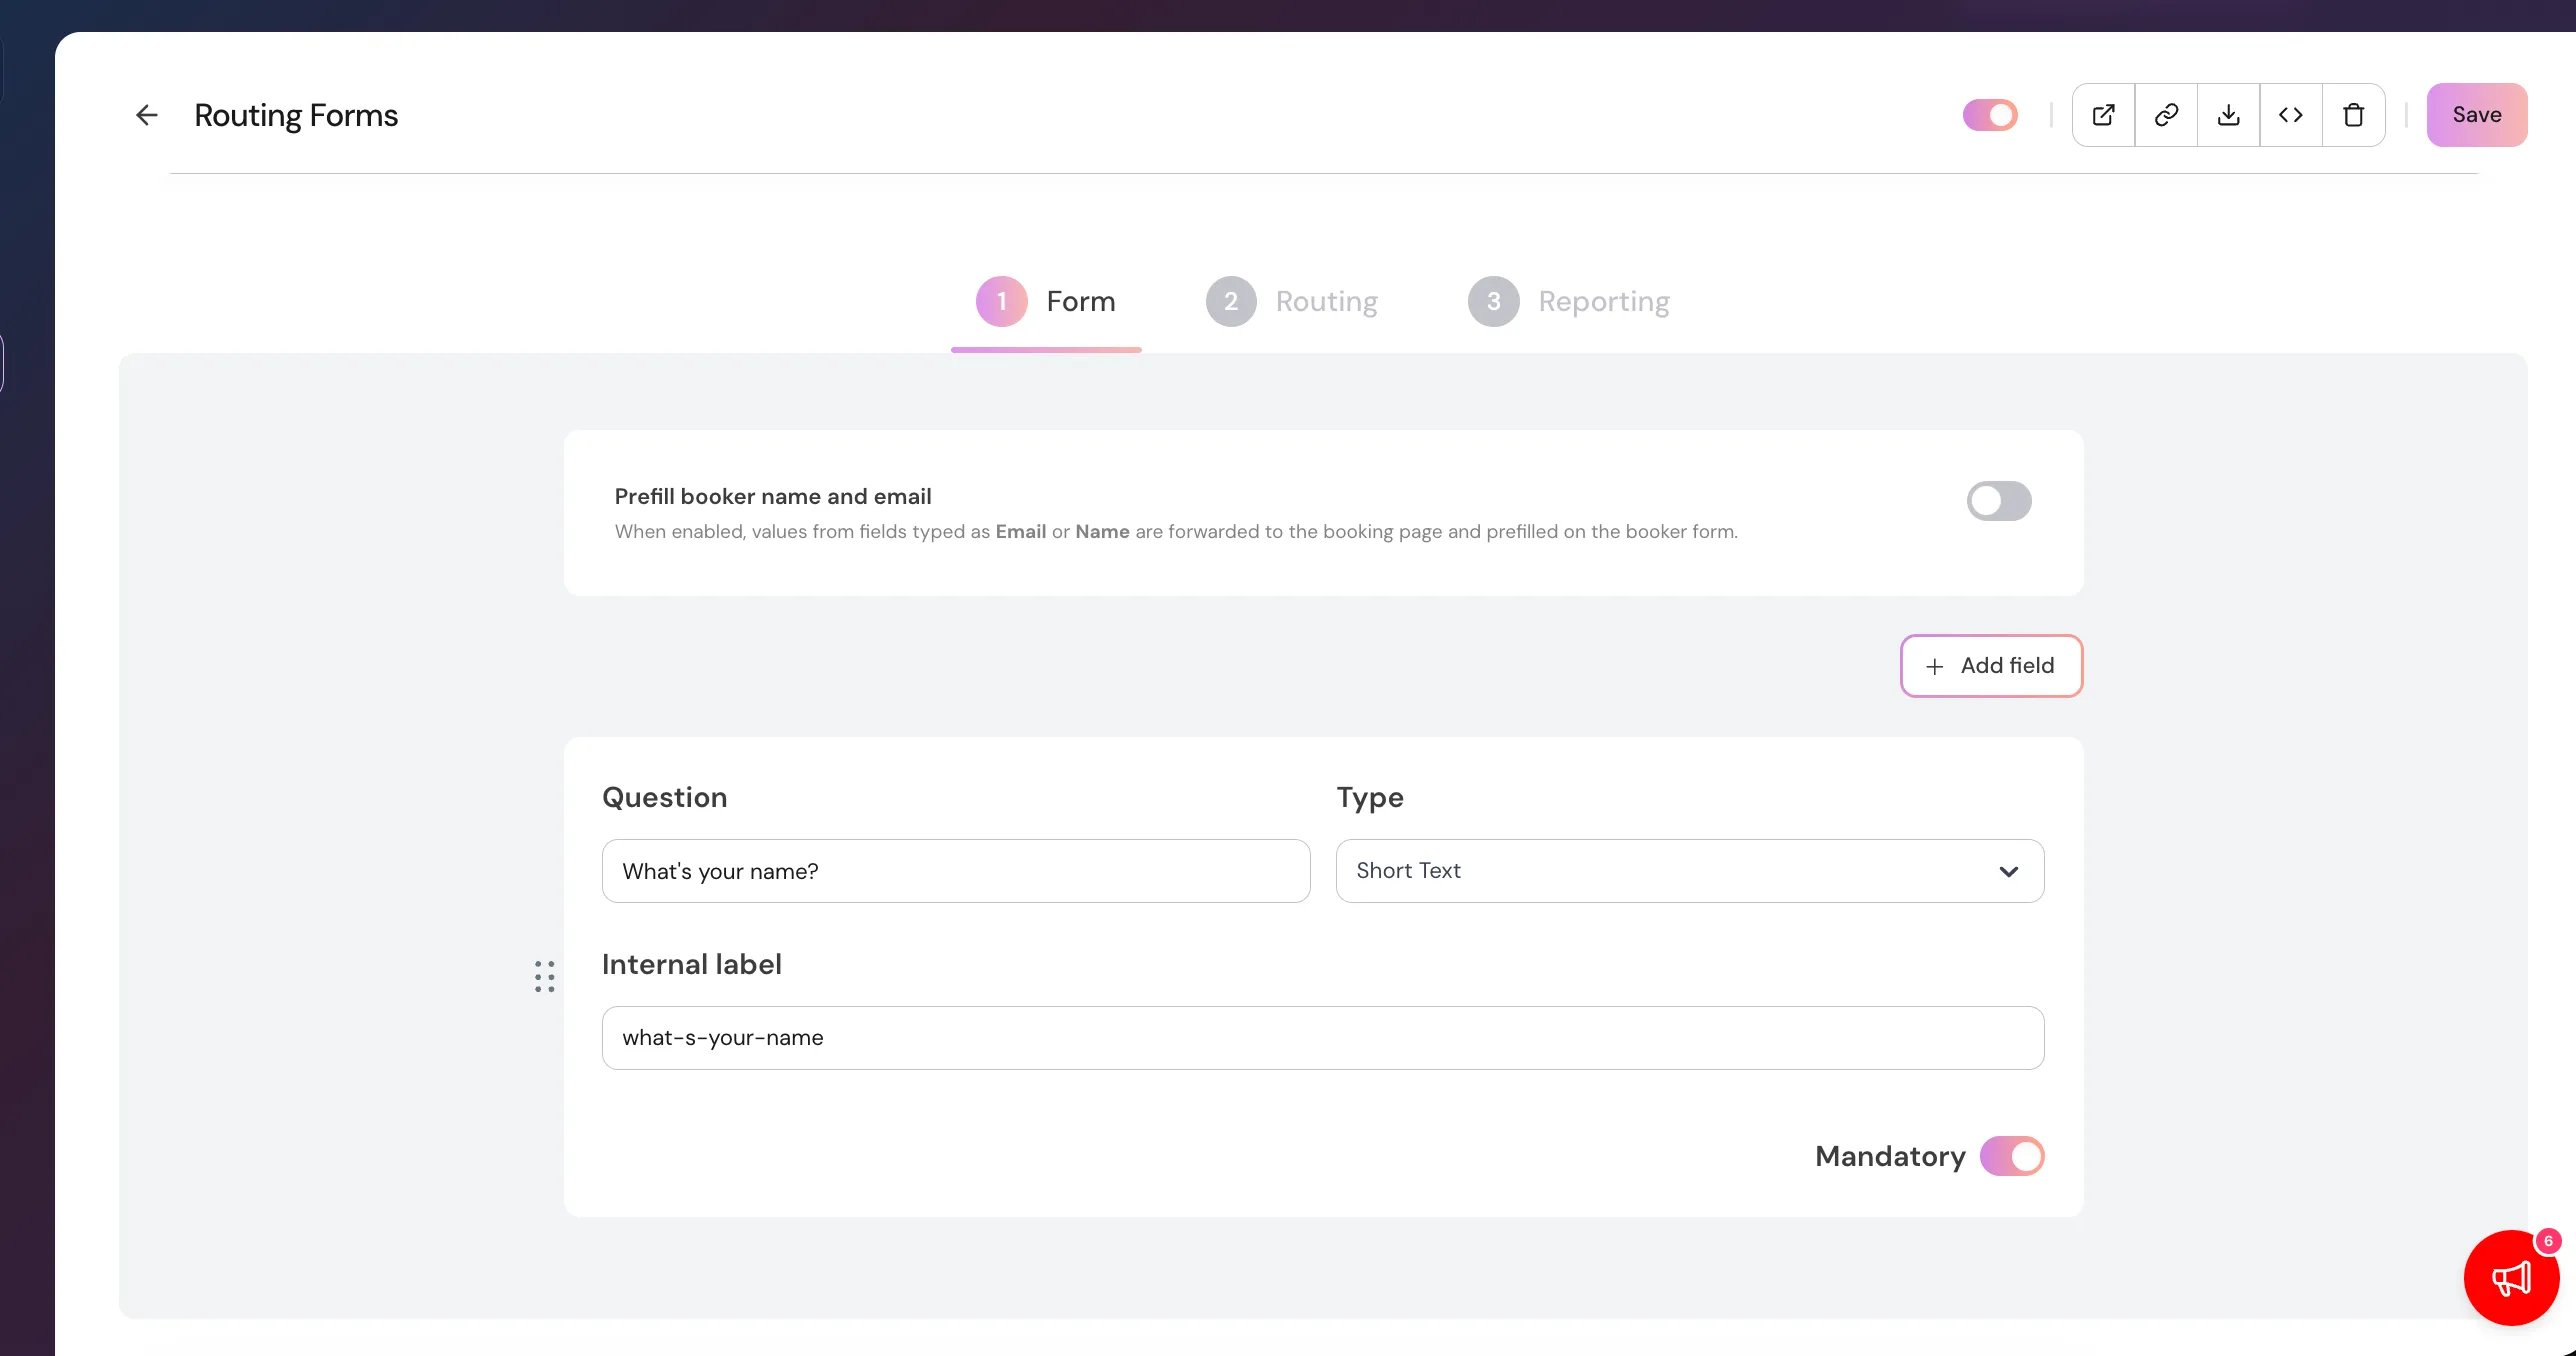
- Select Save.
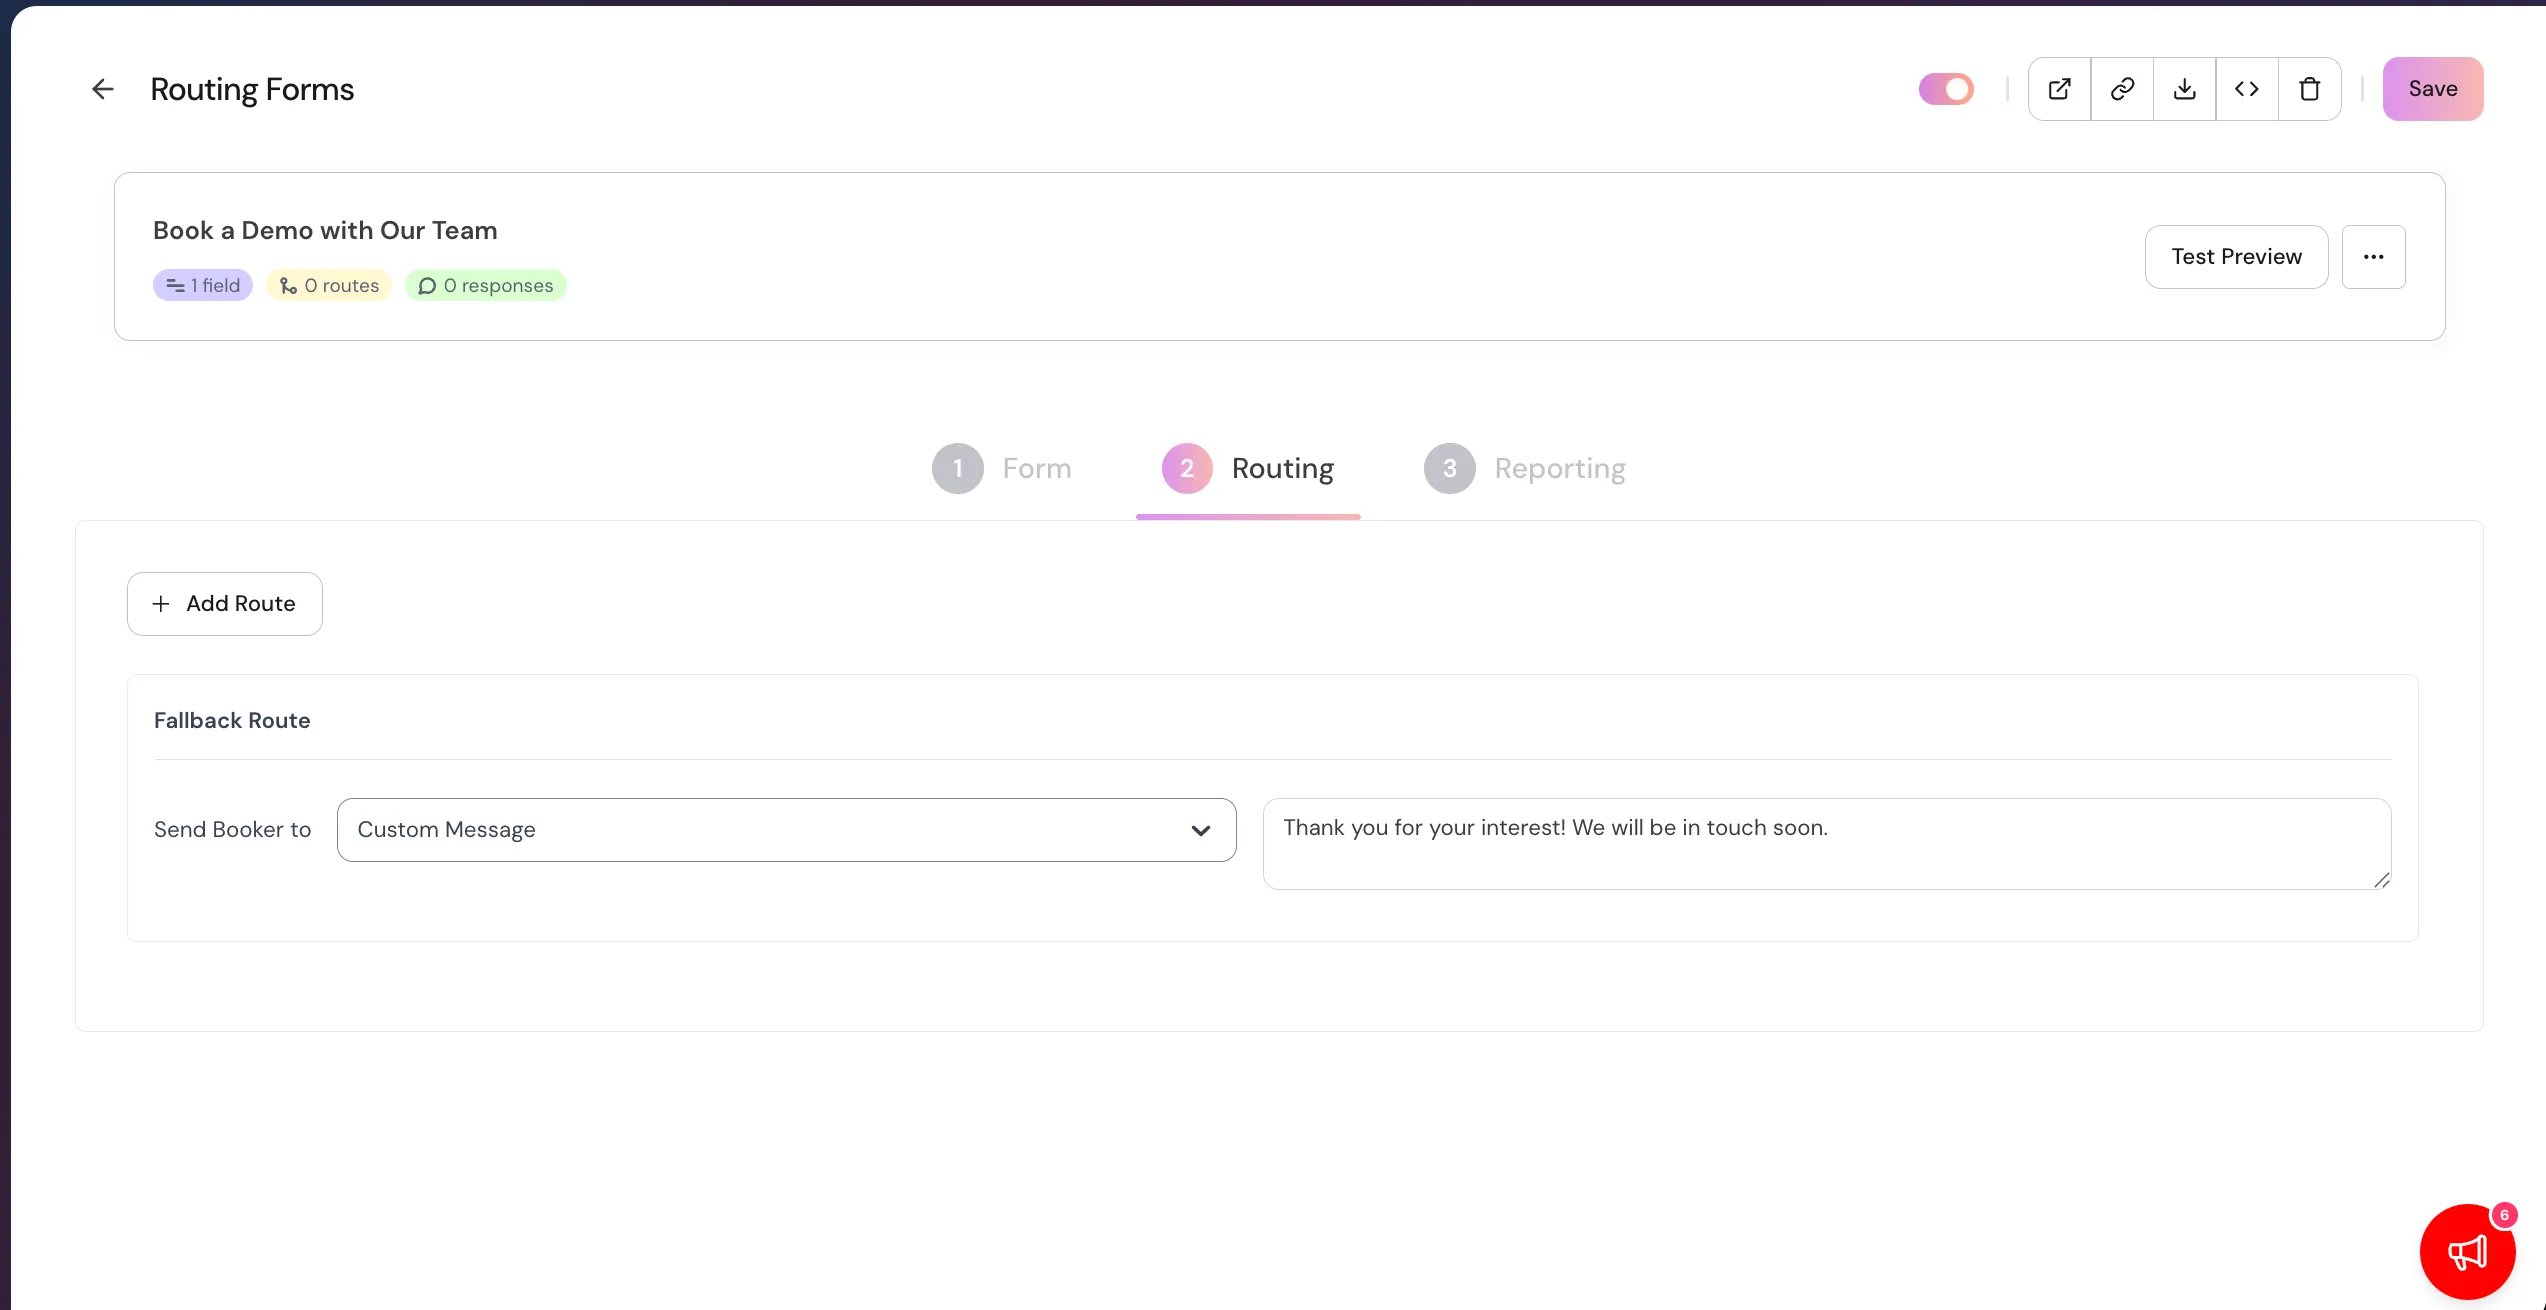
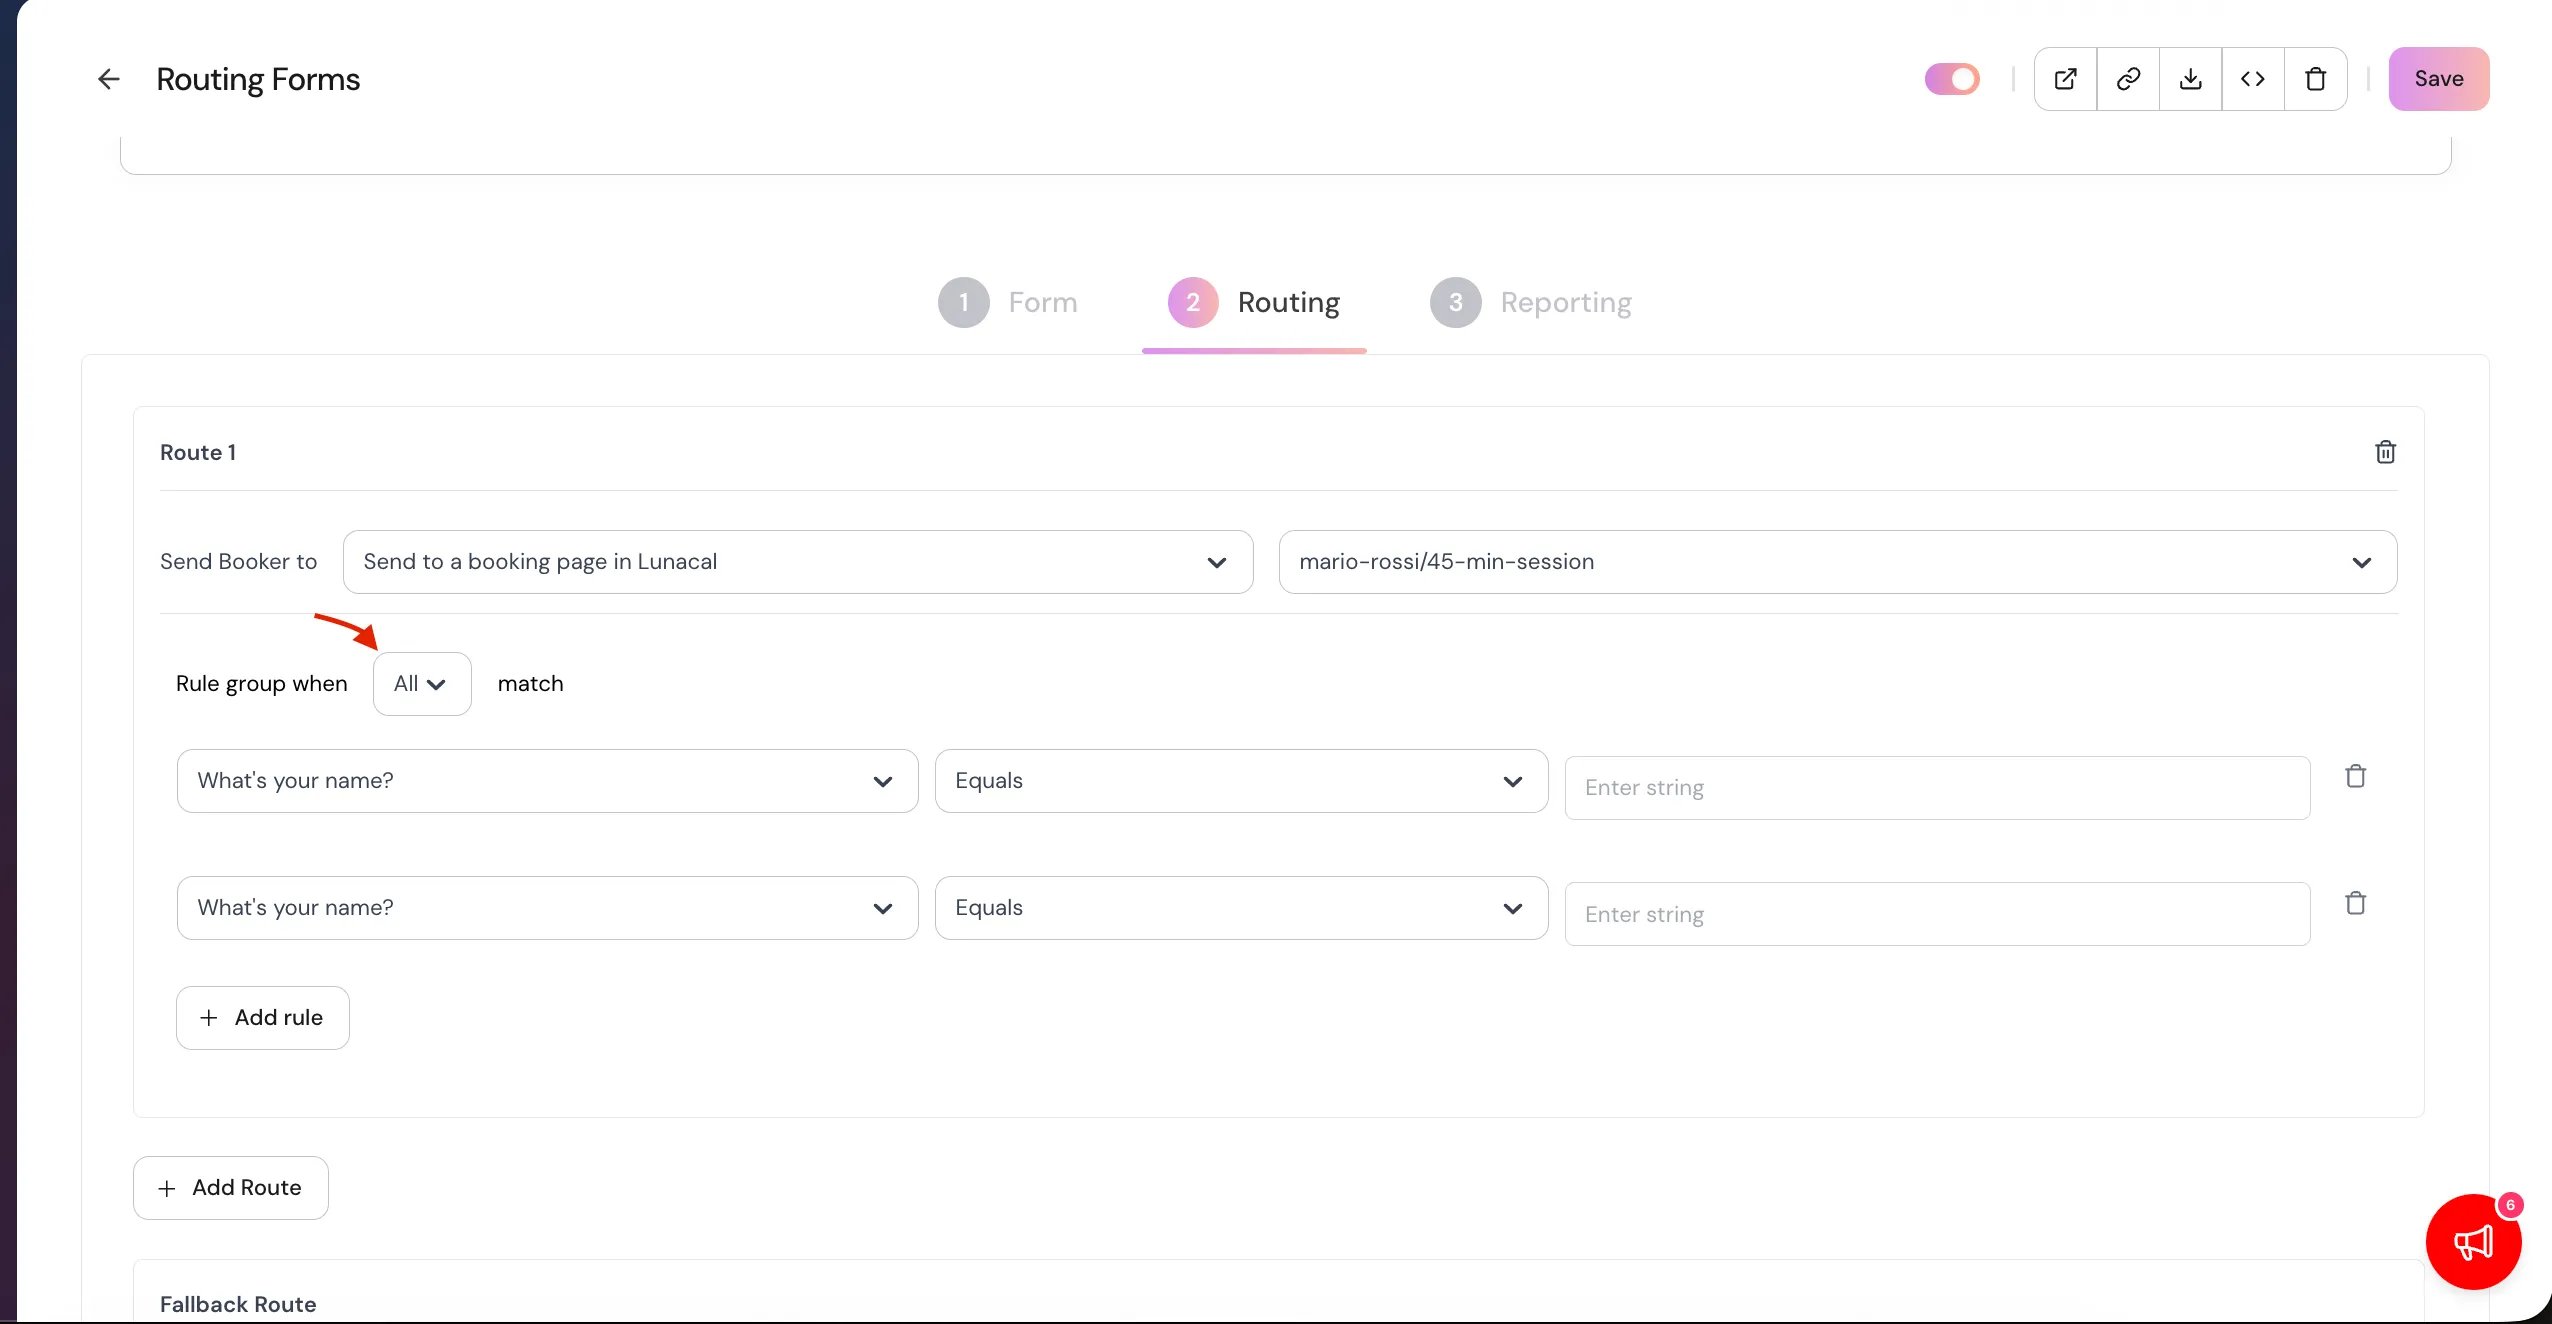
Step 3 – Set up routing logic
Create a route
- Open the Routing Logic tab.
- Select Add Route.
- Choose Use form answers to route based on visitor responses.
- Set your conditions by selecting:
- A question
- A qualifier (equals, contains, etc.)
- An answer
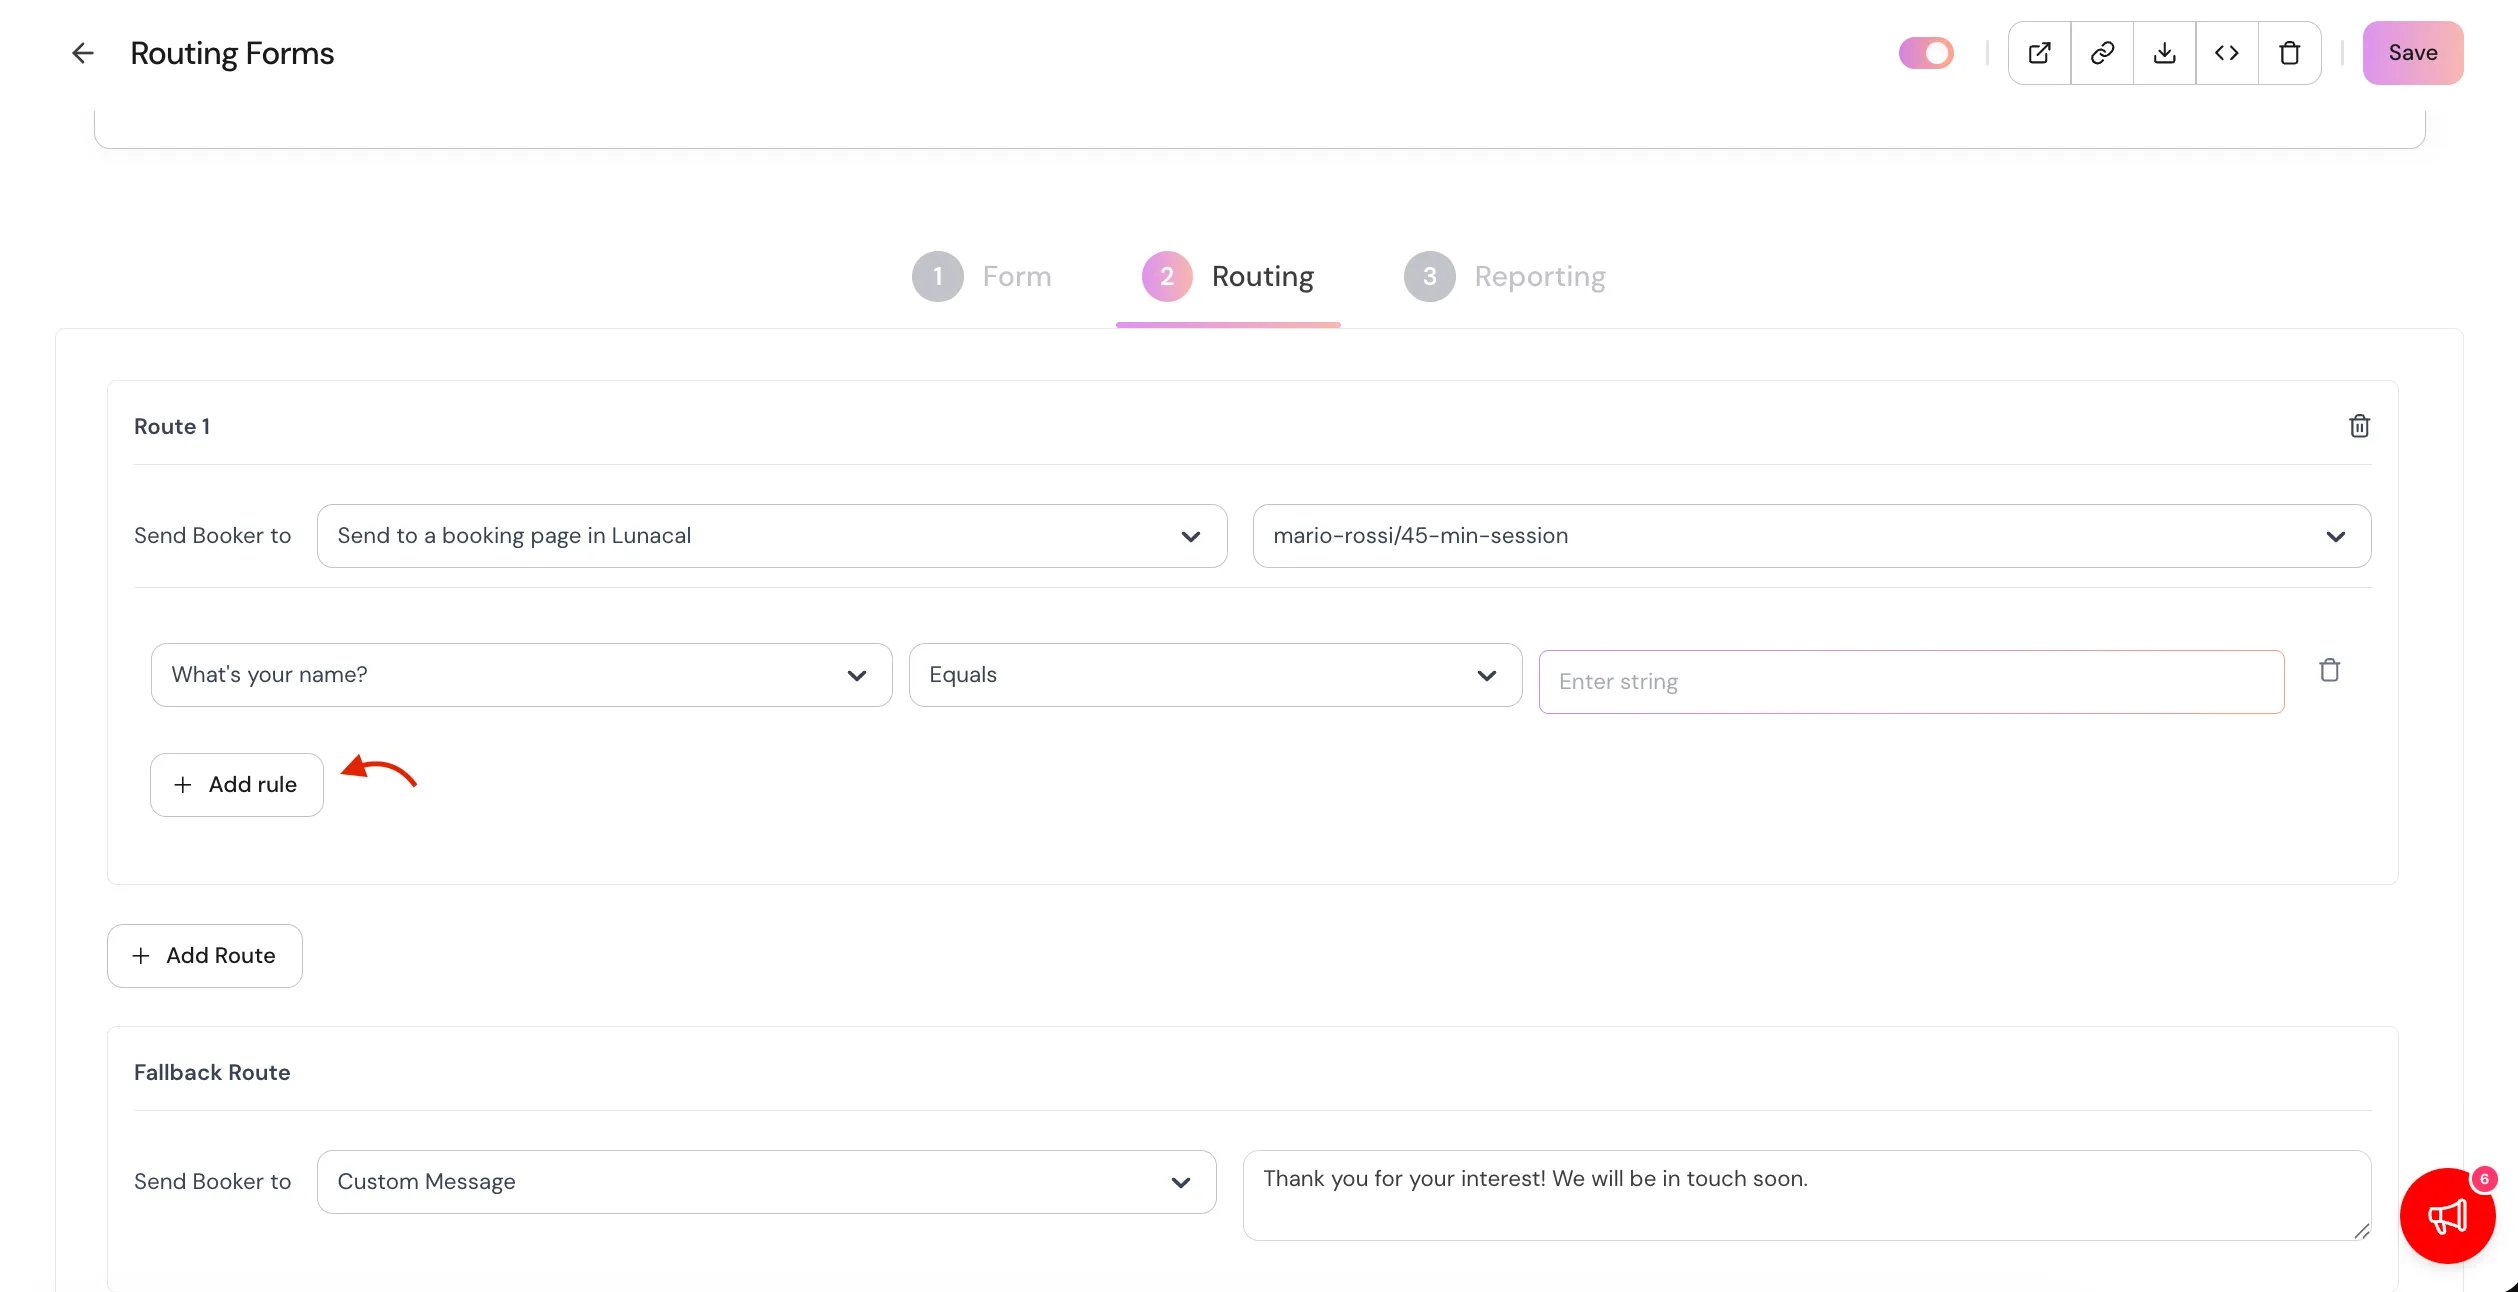
- To refine your logic:
- Use AND / OR to add more conditions
- Click Add another question to include additional criteria
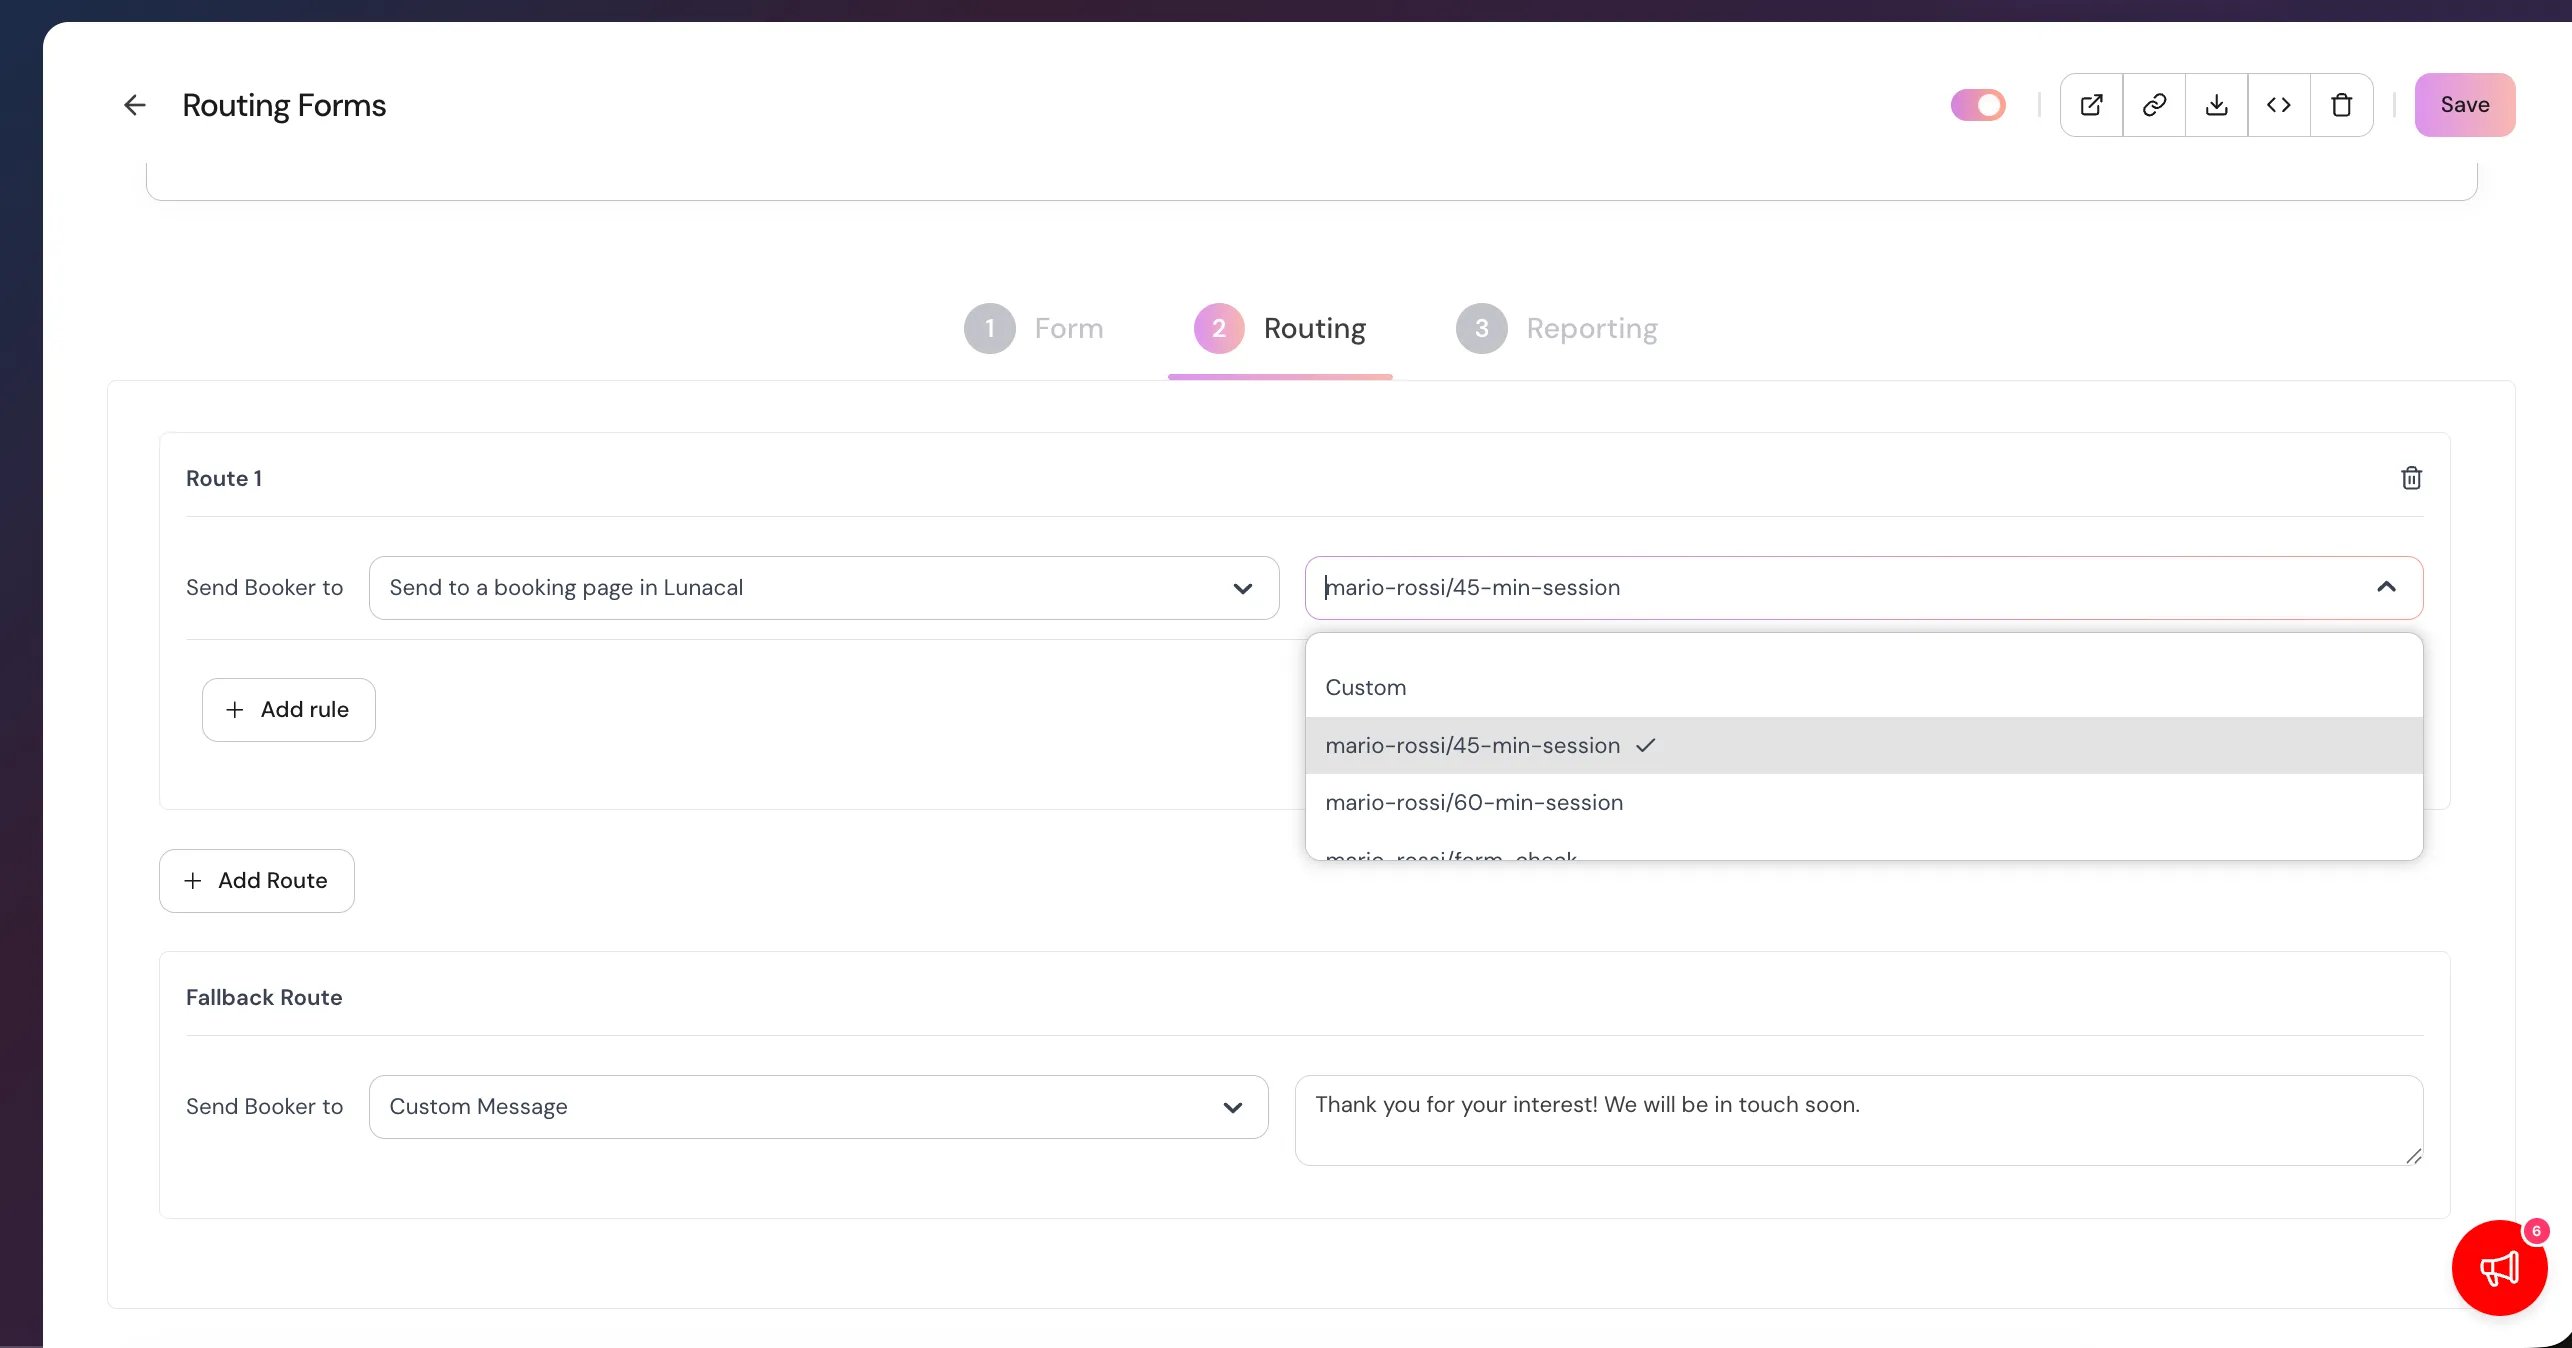
Choose a destination
For each route, select where qualified visitors should go:- Event Type – Route visitors to a specific Lunacal event
- Custom Message – Show a message for unqualified visitors
- External URL – Redirect visitors to another webpage
- Click Save when finished.
Fallback route
Every routing form includes a fallback route.- This route applies when a visitor’s answers don’t match any defined rules.
- By default, it displays a custom message.
- You can edit the message or change the destination by clicking the fallback route settings.
Step 4 – Preview and publish your form
Before publishing, we recommend testing your routing form.- Click Preview Form.
- Fill out the form to test routing behavior.
- Responses submitted during preview are not recorded.
- Once everything looks correct, select Publish Form.
Step 5 – Share your routing form
After publishing, you’ll see sharing options including:- Share a link – Copy and share the form URL
- Add to website – Embed the routing form directly