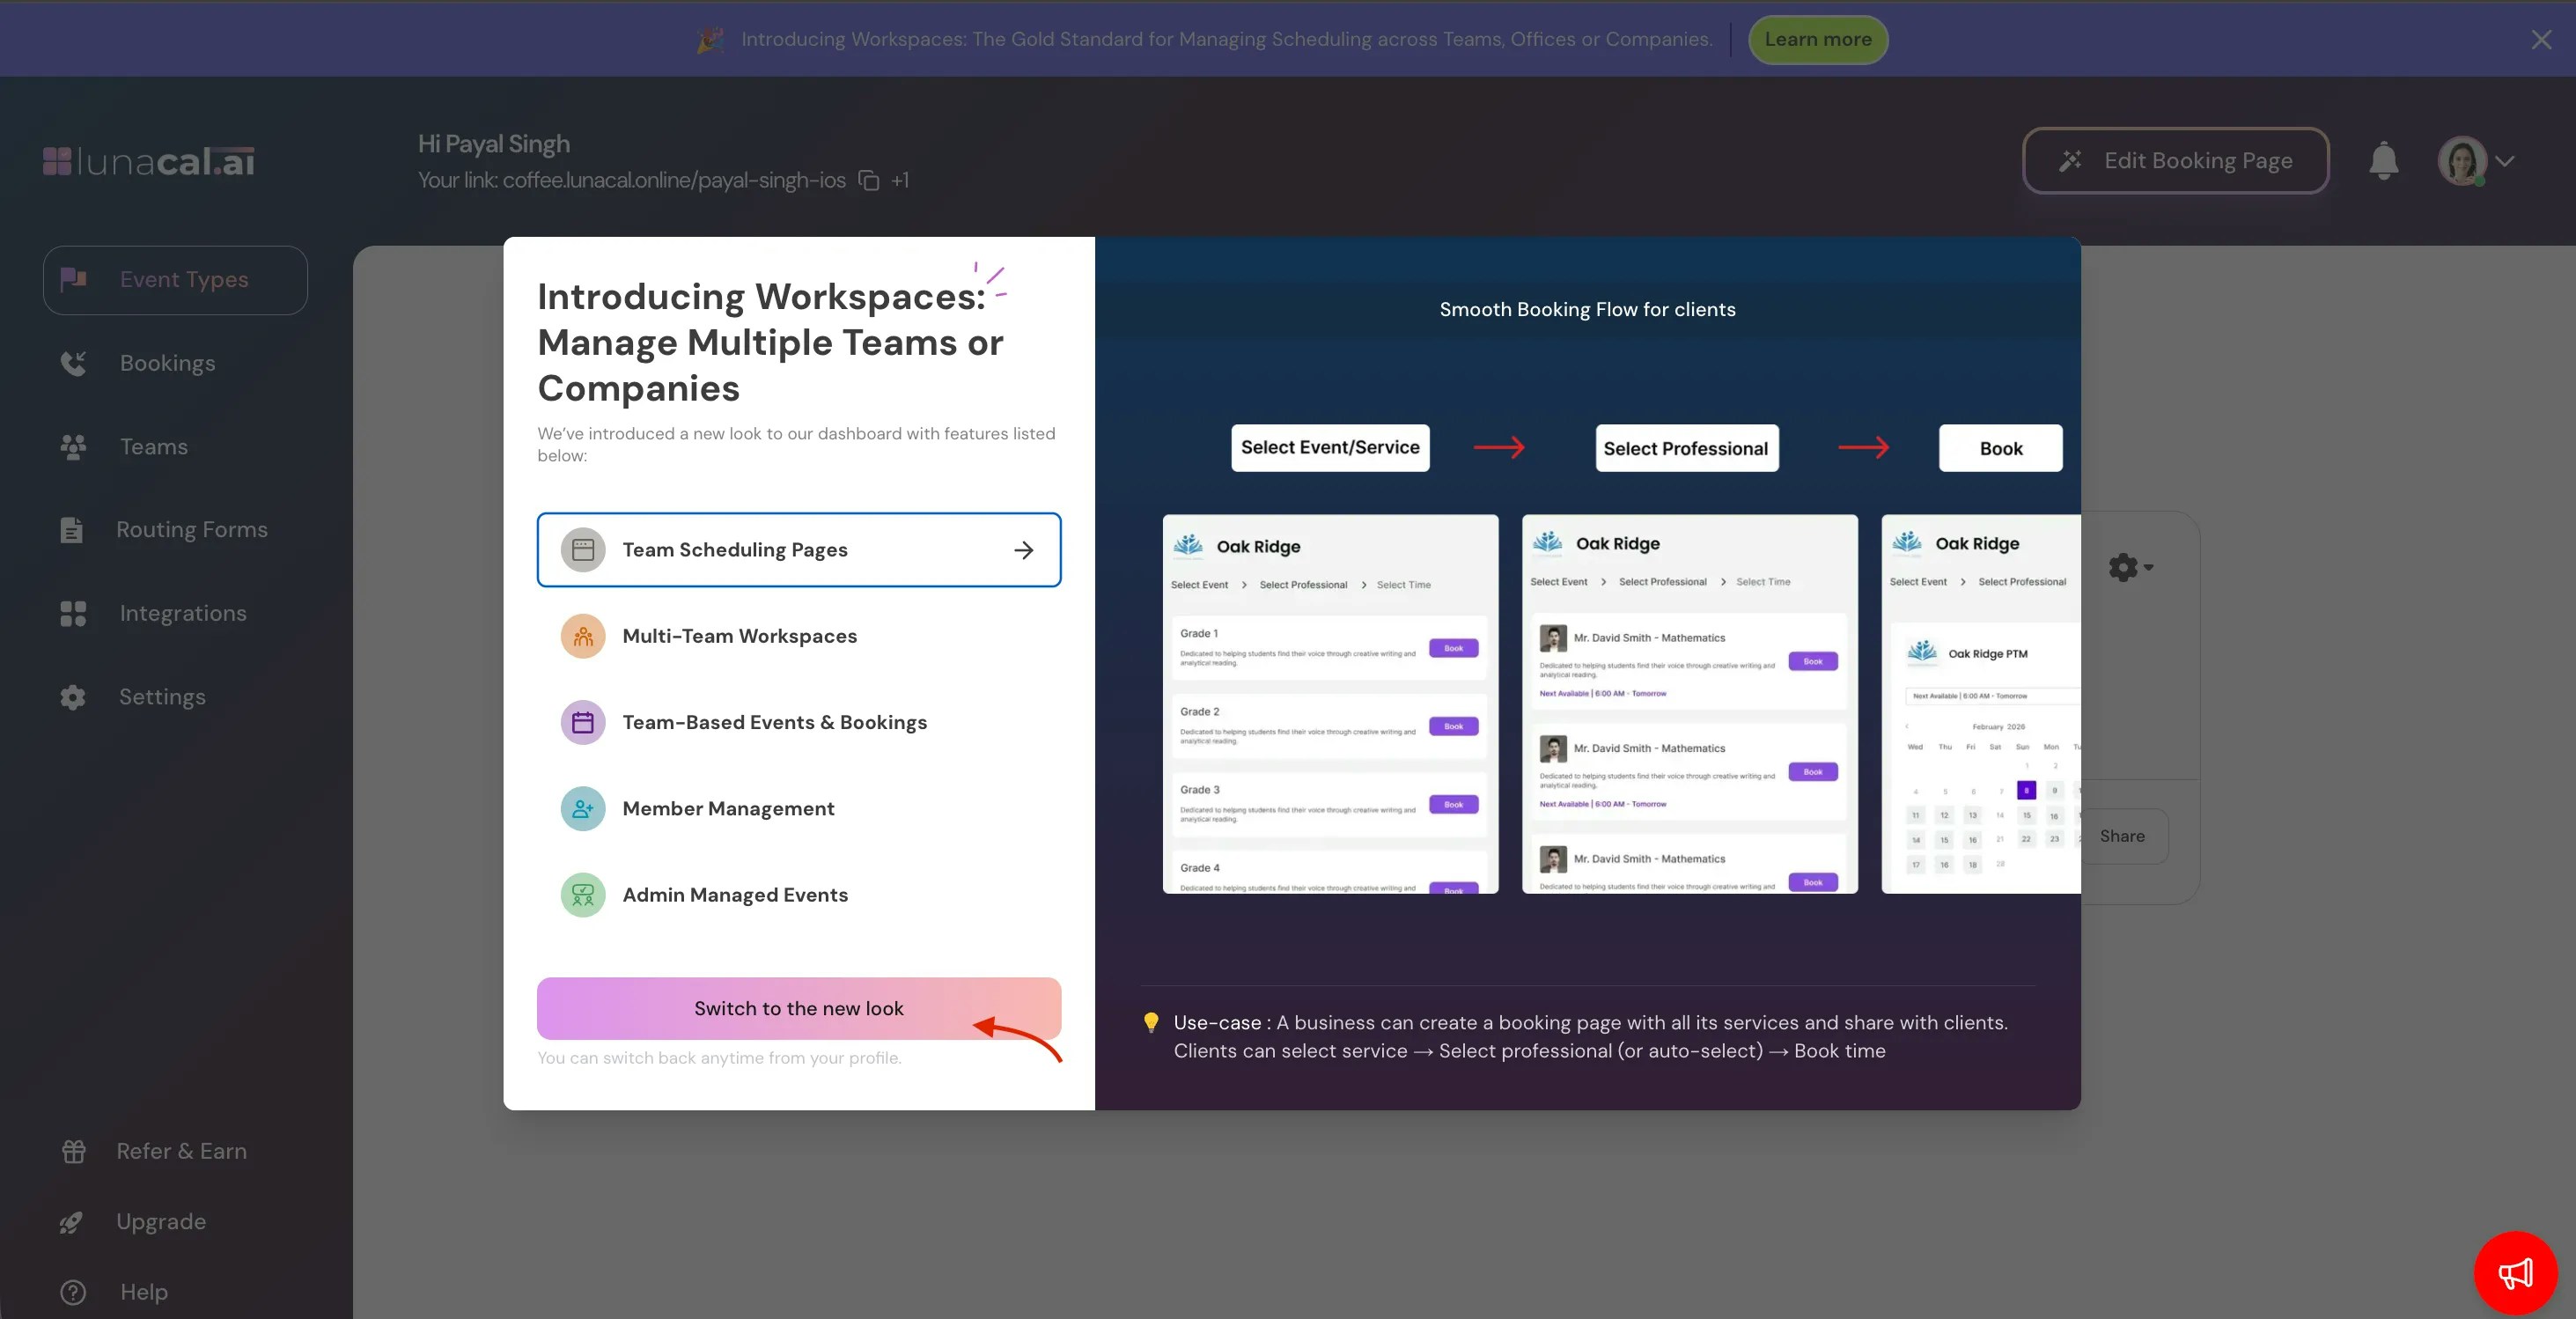
We’ve Moved to Workspace
We’ve upgraded Teams to our new Workspace interface. Go to your Dashboard → click Learn More on the banner → select Switch to New UI. Your existing data remains unchanged.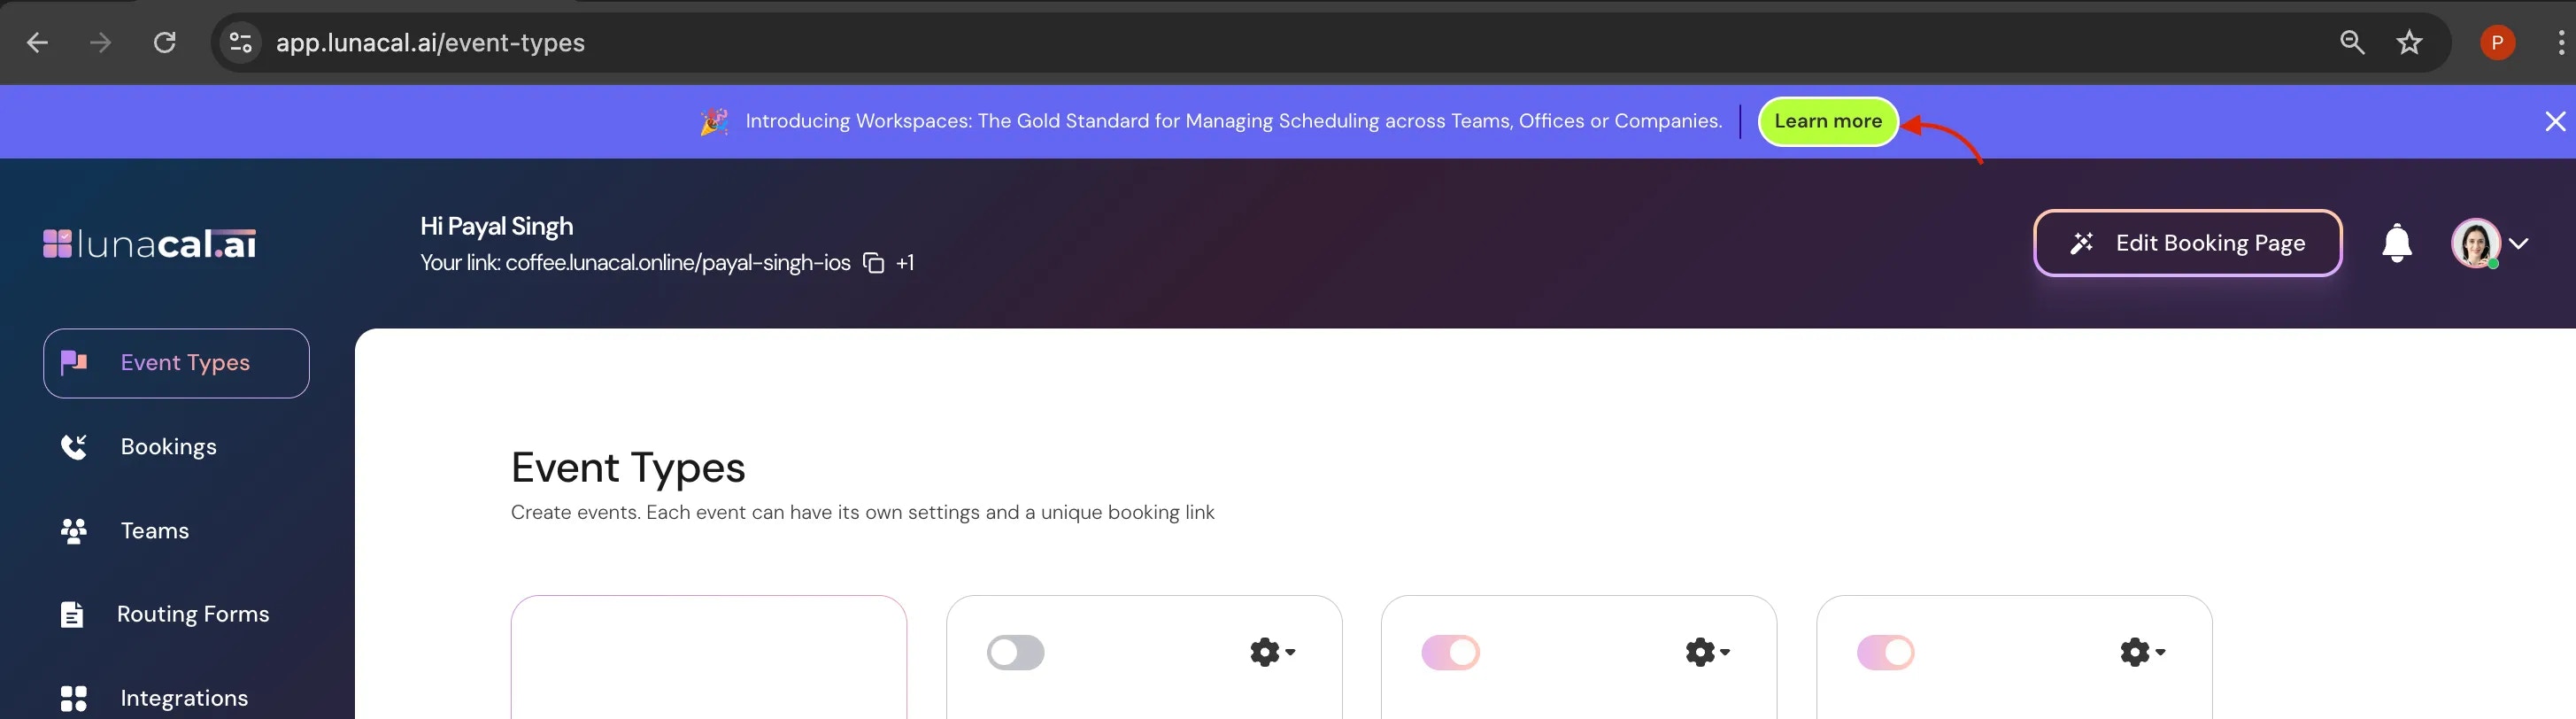
1. Accept Your Invitation
Once an team owner/admin adds you to a lunacal workspace:- Check your email for an invitation from lunacal.ai
- Click Accept Invitation
- You’ll be asked to:
- Sign up for a new lunacal account, or
- Log in to an existing account
You’ll see invitation from team.
4. Click “Accept”
2. Complete Your Profile
Your profile information helps attendees know who they’re booking with. Go to Profile Settings and update:- Full name
- Profile photo
- Role or designation
- Time zone (auto-detected, but editable)
3. Connect Your Calendar
To avoid double bookings, Lunacal needs access to your calendar.- Navigate to **Integrations → **Calendar
- Connect your preferred calendar:
- Google Calendar
- Outlook / Microsoft Calendar
- Choose:
- Which calendars Lunacal should check for conflicts
- Which calendar new bookings should be added to
4. Set Your Availability
Availability controls when others can book meetings with you.- Go to Availability Settings
- Define:
- Working days
- Working hours
- Breaks or buffer times
- Save your availability
5. Create or Manage Event Types
Event types define what kind of meetings people can book. Go to Event Types and:- Create a new event, or
- Edit an existing one assigned by your owner/admin
- Event duration
- Meeting location (Zoom, Google Meet, phone, in-person, etc.)
- Slot limits
- Booking rules (advance notice, buffers)
6. Share Your Booking Link
Once your event type is ready, share your booking link. You can use it in:- Email signatures
- WhatsApp or Slack
- Social media
- Website buttons
7. Notifications & Reminders
lunacal automatically sends:- Booking confirmations
- Cancellation emails
- Reminder notifications
- Workflows may already be set by owner, or
- You can customize reminders in Workflow Settings
8. Manage Your Bookings
From your dashboard, you can:- View upcoming meetings
- See past bookings
- Cancel or reschedule events
- Track attendee details
Need Help?
If you face any issues during onboarding:- Check other Lunacal help articles
- Contact your workspace admin
- Reach out to Lunacal support